Recycled Pen Tub Tutorial
/and
2 for 1 today - bonus!
I love the lovely little pen tubs that you see all over the internet/Pinterest where old metal tins are covered with pretty paper.
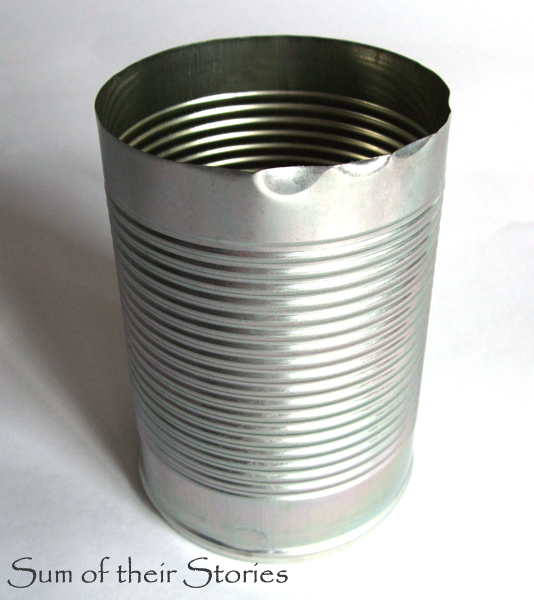
The problem I have is that my can opener leaves the tops of cans like this:
Not really suitable for crafts! That edge is REALLY sharp.
I have to assume I'm not the only one - surely. The good news is there are a couple of alternative "saved from the bin" items which work really well.
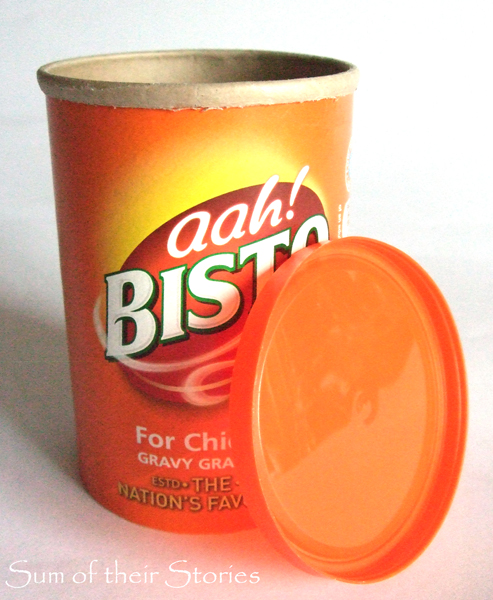
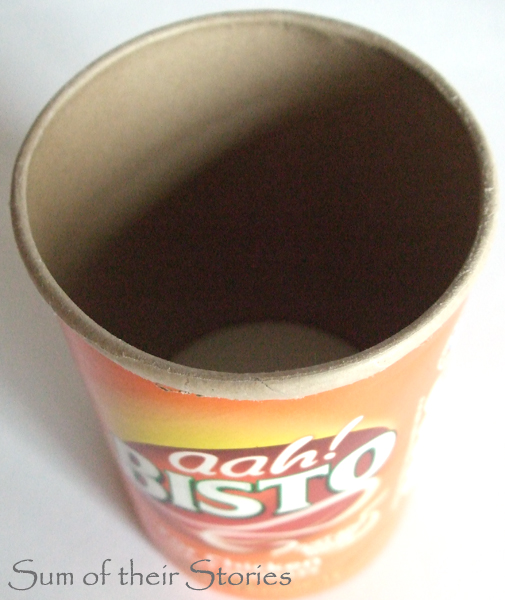
Inside is a kind of waxed card, outside is not shiny so glue sticks really well.
I gave it a really good wipe round inside with my dishcloth, I don't think the card would like a dunk in the washing up water!
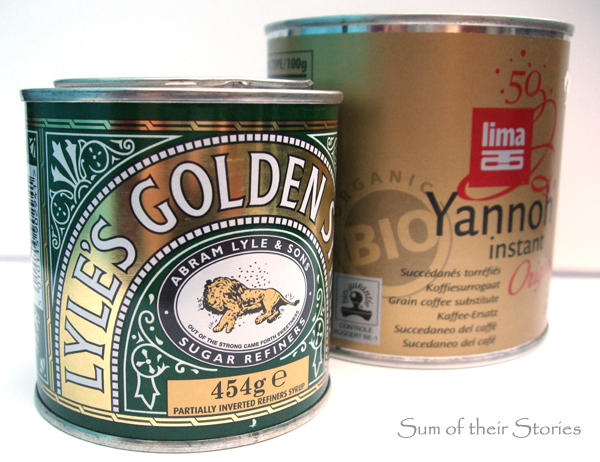
And these kind of tins:
The Yannoh is some sort of coffee substitute, I just fished the empty tin out of the bin at work! It has a paper wrap which just soaked off in warm soap water.
To make the pretty tub you need:
An empty tub
PVA glue or Mod Podge
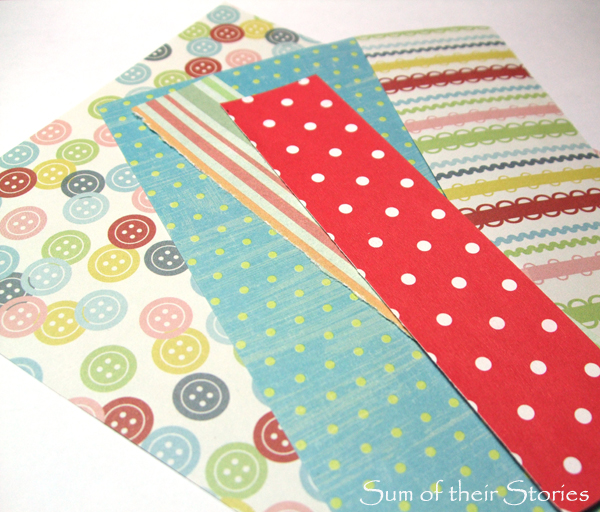
Strips of co-ordinating scrapbook paper
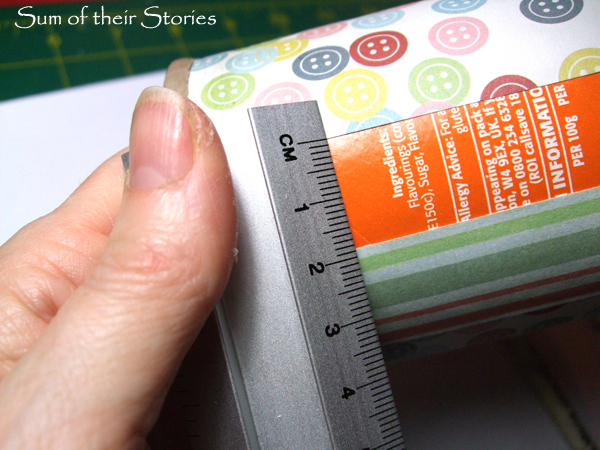
Measure the height of your tub (mine was 8.5cm) then cut the strips of paper just a little bit longer.
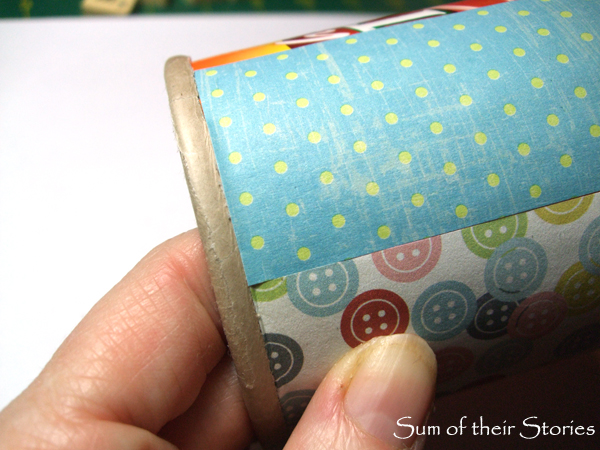
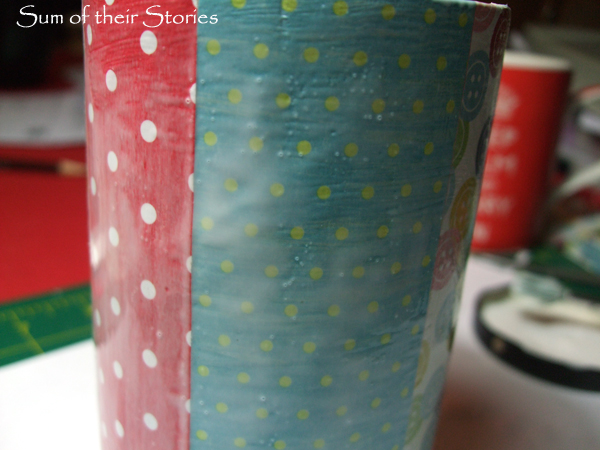
Spread glue liberally on the back of the paper then stick then to the tub, line the top up as neatly as you can, then smooth out any bubbles in the paper.
When you get back round to the beginning just measure the gap and then trim your final piece of paper to match.
Then cover the whole thing in a layer of glue to seal.
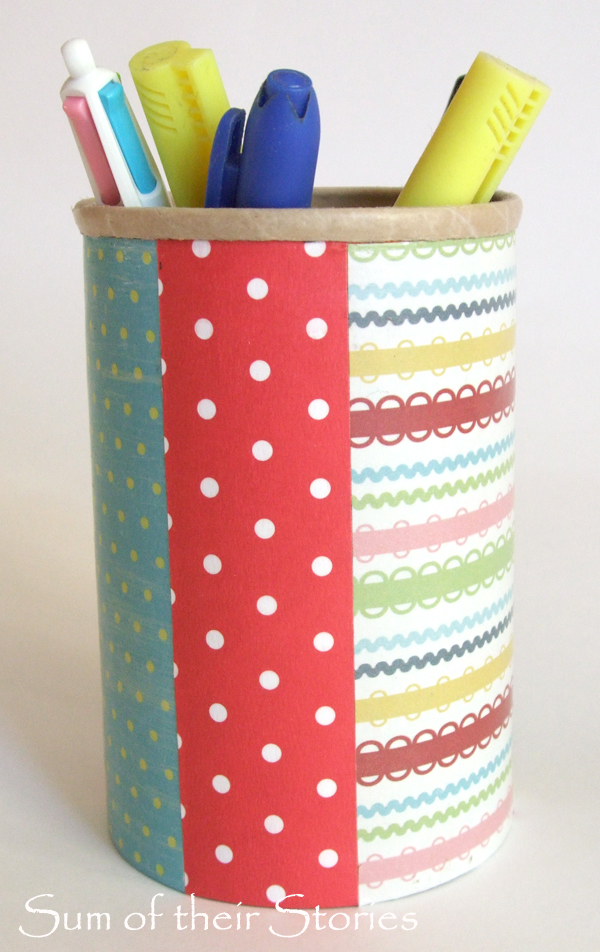
Leave it to dry thoroughly then enjoy!
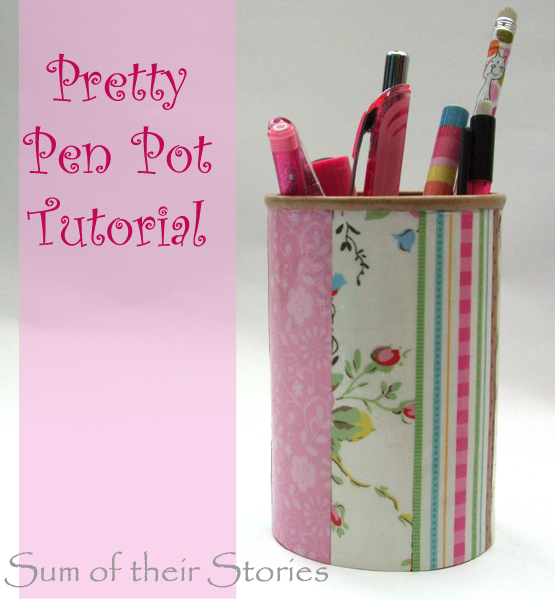
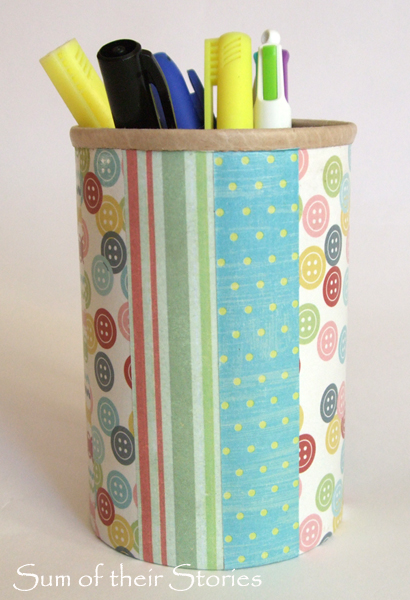
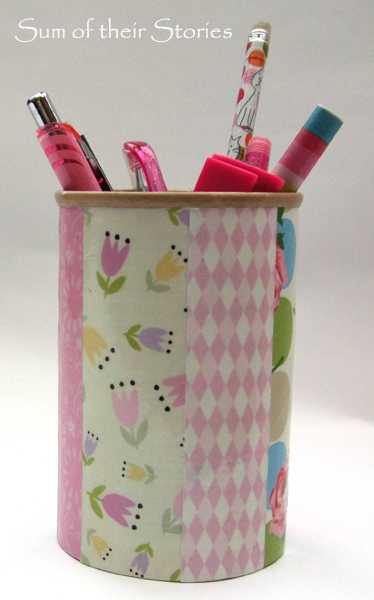
I made this pink one months ago and have it on my desk at work. You could easily use just one piece of paper instead of the strips. I save all the little scrappy bits of paper I have from card making so this is a great way to use a few up.
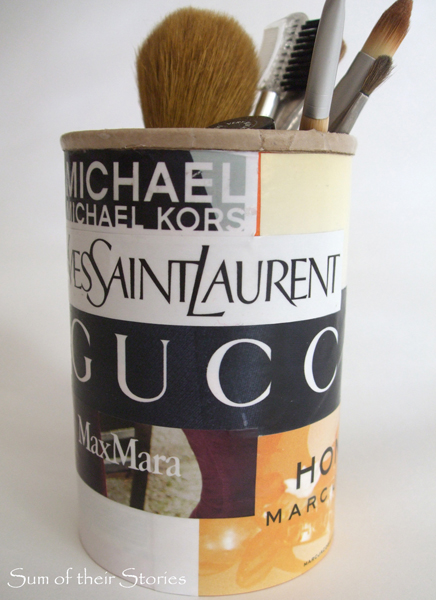
If you don't have scrap book paper you could use good quality wrapping paper, magazine pages, coloured envelopes - whatever you like. You could use the logo part of adverts in glossy magazines for posh make up or perfume and then use the tub for make up brushes.
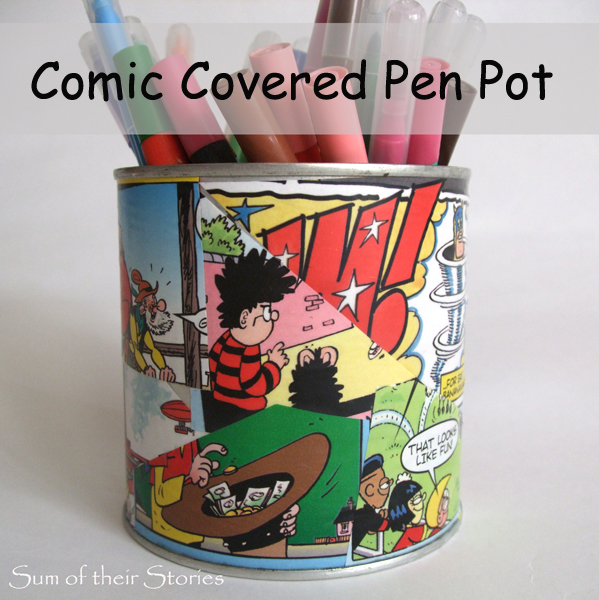
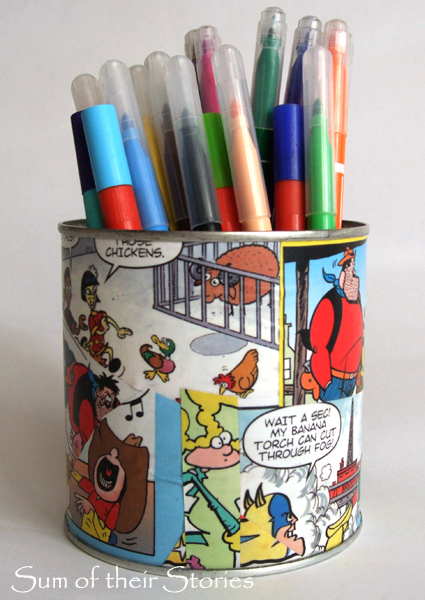
The tin Comic book version was made in exactly the same way. The comic paper was a little bit thinner so I couldn't smooth it down without ripping it or rubbing of the ink. I just sort of patted it into place. It has wrinkled just a little in one place but the layer of glue over the top is protecting it all.
A fun, easy and inexpensive way to make a pot to keep your desk or workspace tidy.
Julie
I'll be linking up at all of these great link parties


