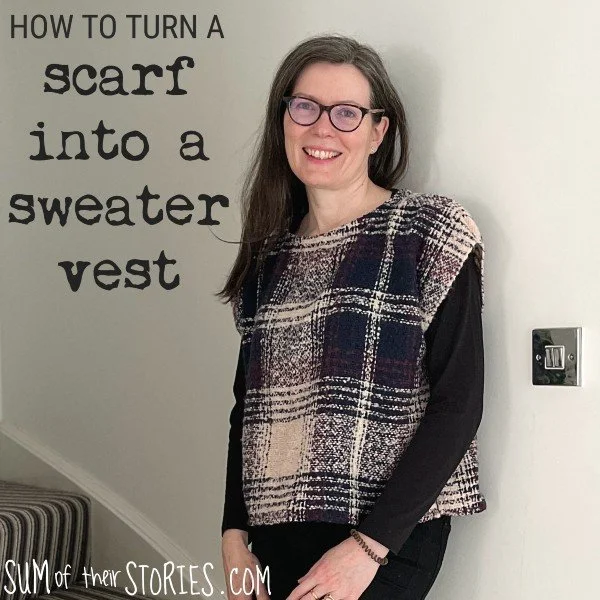
How to turn a Scarf into a Sweater Vest
/How to turn a woven scarf into a sweater vest style layering top.
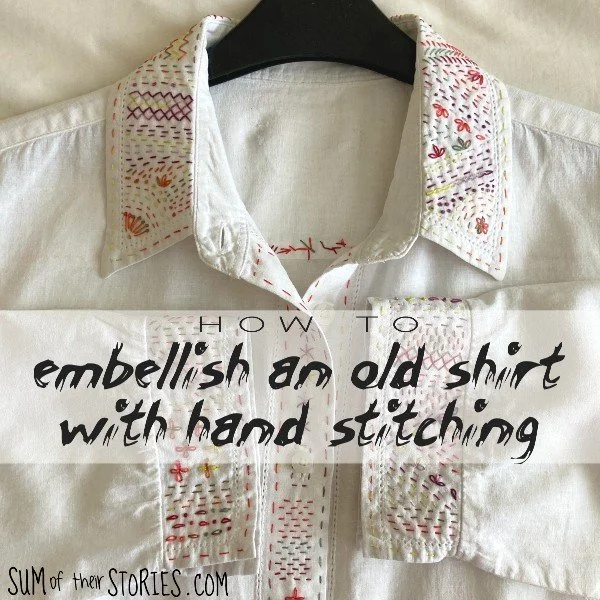
This is a quick sewing project for anyone who can already sew, it took me about an hour from start to finish. It might be a little tricky for a complete beginner because you are using bias binding to secure the neckline, the rest is very straightforward.
My scarf is a large and very soft loosely woven scarf that I bought from a charity shop a few years ago. I really like it but found I was hardly ever wearing it so it was ideal for a refashion.

What kind of scarf can you use to make a sleeveless sweater vest?
This is going to sound really complicated but I promise it’s not!
The width of the scarf needs to be half your bust measurement plus AT LEAST 4” - and more than 4” if you want a looser fitting vest. So if your bust is 36” then your scarf has to be at least 22” wide (18+4) If your bust is 40” then your scarf will need to be 24” (20+4).
(If you work in cm then you want your scarf to be at least 13cm wider than half your bust measurement. So if your bust is 92cm then your scarf needs to be 59cm or more (46cm+13cm)
You could use a scarf made from a different type of fabric; something felted would be easy to make because the neckline wouldn’t need binding but I wouldn’t recommend anything too firm or heavy. I think you want a floppy sort of fabric or the vest top will stick out too much and look shapeless.
I think a fine knit scarf would work but you could only use a chunkier knit or crochet scarf if you are a confident or experienced sewist because anything chunky is going to be a challenge to sew and you’d need to be sure your machine will cope with it.
A very fine, chiffon or gauze type fabric would be lovely but would make a garment ideal for summer or the beach rather than something cosy like the layering piece I have made.
How to turn a scarf into a sweater vest
What you need:
A scarf
A sewing machine and thread
Fabric scissors
Bias binding
A water or air erasable fabric pen
Start with the neck opening

Fold your scarf in half and then half again to find the centre. Mark the centre with your erasable pen.

Open the scarf back out and mark a half oval. I marked mine 10.5” at the widest point, with a depth of 2.5” which worked well for me. This is going to be the front of your vest. I’ve marked the blue line on the photo above just because the erasable pen line didn’t show up very well in the photo.

Then open the scarf right out so it’s completely flat and complete the oval but this time make the depth a little less. Just so the back neck doesn’t come down so low. You can adjust these measurements to suit the style you want of course.

Stitch all the way round where you have marked. Cut the oval out just inside the oval you have stitched. (The stitching stops the fabric unravelling when you cut)
At this point check to see if you can fit this over your head.

Pin the bias binding all around the neck opening. If your scarf fabric has a right side and wrong side then you are pinning the bias binding to the right side. My scarf is the same on both sides so I didn’t have to think about right and wrong sides.
Stitch the bias binding all the way round, then fold it over to the wrong side and stitch again.
Stitching the bottom hem
The next step is to decide how long you want your sweater vest to be. Pop it over your head, it’ll be a bit like a poncho at this point. Decide the length you want and mark it in the front, something like a safety pin is ideal.

Lay your scarf with a hole/poncho on a flat surface and fold it in half again. Take your time to smooth it carefully so it’s nice and flat and even. Cut straight across both layers, the front and back, one inch lower than your mark or safety pin.
Turn a double hem to the wrong side on both the front and back and stitch.
Stitching the side seams

Lay the fabric out flat again, folded in half, right sides together. Measure and mark down from the folded edge the size you want your armhole to be. This can vary depending on the look you want, mine is 12” (30cm).
Stitch the side seams leaving the arm hole you’ve marked unstitched of course! These seams are the edges of the scarf so you don’t need to worry about raw edges or fraying.
I’d suggest you try your sweater vest on again at this point. Depending on the fabric and your preference you might want to call it a day and say your garment is finished.
Personally I wasn’t entirely happy with the shoulders on my vest and the way they stuck up a little so I had one more step to sew.
Round the shoulder seams (optional)

Lay the vest out flat, mark and then stitch a curved seam that goes from the neck edge and curves down to about 1” down on the armhole edge. Repeat on the other side.
Normally when dressmaking you would trim this excess after sewing, but because my original scarf was so soft and “frayable” I didn’t, the fewer raw edges the better.

That’s it, finished. It seems to have taken a lot of words, photos and diagrams to explain how to sew something which is actually incredibly easy and straightforward.
I’m so pleased with my new sweater vest, tank top, sleeveless jumper or whatever else you might call this really useful layering garment. I think it’s going to be a really useful addition to my wardrobe, especially when spring makes an appearance.
I did ask on Instagram for opinions before I converted my scarf to a top about the bottom, whether I should try to include the scarf fringe at the bottom edge or do a hem. Most of my Instagram friends thought the fringe would be good but unfortunately when I looked closely it was pulled away on one side. I would have needed to trim that, re fray to the right length and then stitched or zig zagged it somehow to prevent more fraying.

In the end it seemed easier to do a simple double hem at the bottom as described above.


Do you have a suitable old scarf knocking around somewhere at the bottom of your wardrobe or closet that would make a nice sleeveless sweater like this? I’m finding it a really useful addition to my wardrobe already, it layers up nicely with several tops I already own, I think I’m going to try it over a dress next.
Julie
I’ll be sharing this tutorial at some of these link ups