"Shortbread" biscuits like my Nan used to make
/These biscuits are from my Nan, Pearl's favourite recipe. She called them Shortbread but I've seen traditional shortbread recipes and I don't think you make it like this!
When we were little, she and my Grandad would baby sit for us sometimes and she would always bring a tin full of these with her.
It's a really good basic recipe that you can add pretty much whatever you like to. On the day I made this batch I added Chocolate chips but you can have them plain, ice them, cover them with chocolate, add dried fruit, add dried fruit and chocolate - whatever takes your fancy!
Update: I made these last Christmas as small star biscuits and dipped them in chocolate:
So here's the basic recipe, and loads of photos so if you've not cooked much before you know what it should look like as you go along! I find lots of photos really helpful (and reassuring) when I’m making something for the first time.
You can view a "no frills" version for printing here.
Pearl's "Shortbread" Biscuits
Makes about 20 - 25 depending on how big you make them
225g, 8oz, 1 cup margarine or butter (any kind of spreading marg or block baking marg is fine as long as it's NOT low fat, it just goes all watery when you beat it)
115g, 4oz, 3/4 cup icing sugar
225g, 8oz, 2 cups, self raising flour
115g, 4oz, 3/4 cup corn flour
Put the oven on to 180c, 350f, gas 4
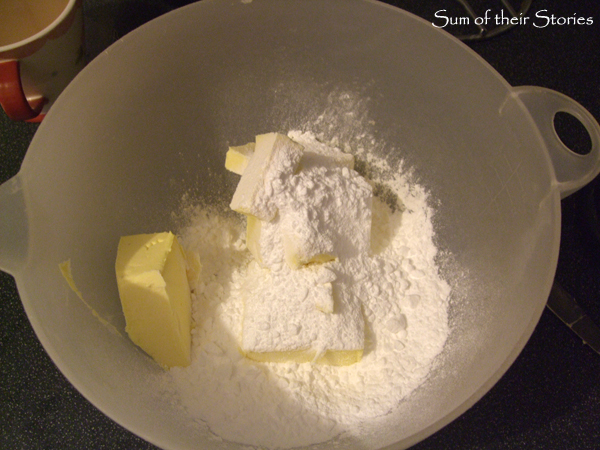
Put your margarine/butter in a bowl and add the sugar.
Cream them together by beating with either a wooden spoon, a hand whisk (as I have here) or a lovely food mixer if you have one.
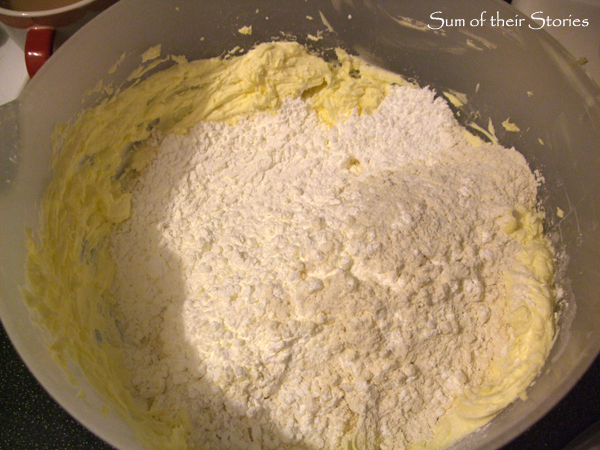
You want it to look like this.
Add both types of flour
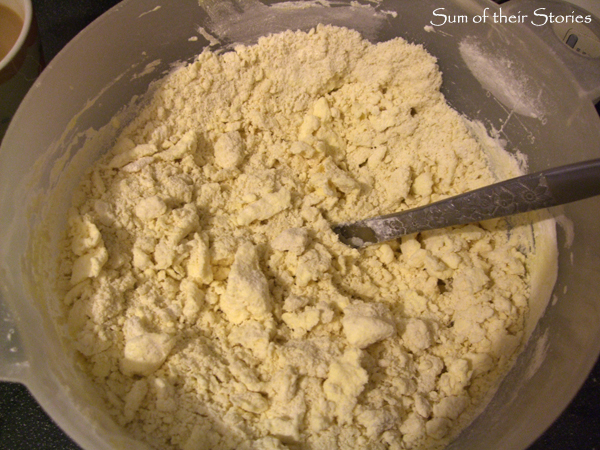
and give it a stir with a knife or spoon until it looks like this
If you want to add other ingredients like chocolate chips or raisins etc now is the time.
This next bit is a little bit messy, you have to squeeze the mixture together so just get stuck in, you can wash your hands afterwards!
Just keep squeezing handfuls until it starts to come together, stop when it looks like this (should take a couple of minutes)
Sprinkle a little flour on your worktop then just tip the mixture out
Knead lightly, a sort of gently rolling and pressing until it forms a ball
Give it a little pat (I don't know why but I HAVE to give it a pat)
From this point on the photos are of the chocolate chip version, it makes no difference to what you do. (I just fancied chocolate chip that day and had forgotten to add them at the proper place 5 photos back, so I just added them here and kneaded them in. See, this is a very forgiving recipe!)
Sprinkle a bit more flour on the workshop, you don't want it to stick, then roll out to about 1cm thick
You can do thicker or thinner if you want; thicker will take a little longer to cook, thinner will be a little bit quicker, it’s up to you (you are the boss of these biscuits, you decide!)
Then cut them into whatever biscuit shapes you want. (more decisions!) I like to use a round fluted cutter because that's what my nan did, but over the years we have cut them into rectangle (just use a knife), made them fancy shapes with cookie cutters, all sorts really.
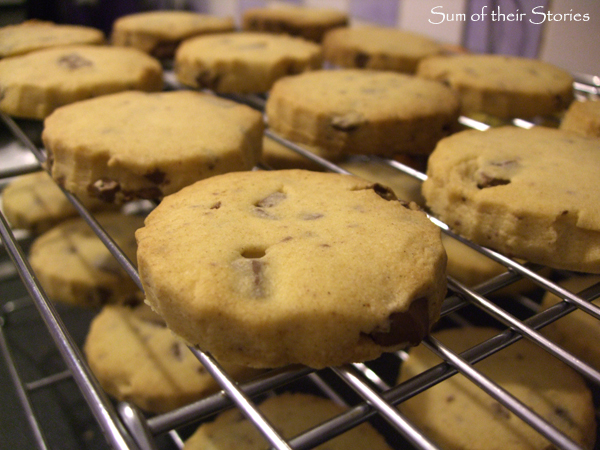
Pop them onto a greased baking tray and bake for about 15 minutes. They will smell lovely and look like this when they are ready
Just starting to brown round the edges but not too much.
Take them out of the oven and leave them for just a minute or so on the baking tray to firm up a bit before moving them onto a cooling rack
You can keep them in a tin for 4 - 5 days I would think, its hard to say as they never last more than a day or 2 in our house so I can't be sure.
I've never tried freezing them, so no idea there either I'm afraid!
You could easily make double and keep half in the fridge for at least a week, just roll and bake them as you want them - uuumm lovely!
Perfect with a nice cup of tea!
Julie
I'll be linking up at all these great link parties,


