Recycled Magazine Art
/It is SO easy to make fun collage style art from junk mail and old magazines.


This post was originally published in Jan 2018 and has been updated and republished
Need a bit of art in a hurry and don’t have a lot of money to spend on it? Then I’ve got the perfect, easy DIY papercraft art project for you, and the best bit? It will cost you next to nothing!
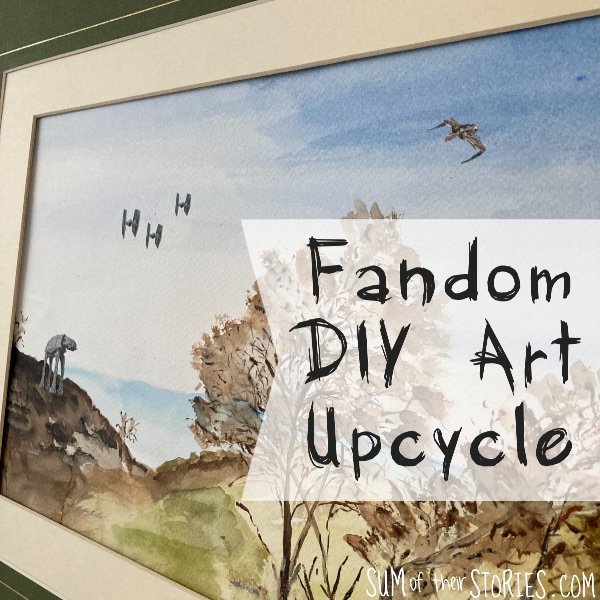
A few days ago we were discussing art ideas in an upcycling/recycling group I'm in on Facebook and I mentioned this piece of art that I made for our hall when we first moved into our current house several years ago. It was a guest post I'd done for The Pinning Mama and I realised I'd never shared it here. So let's put that right now!
This is SUCH a simple DIY art idea, you don't need any artistic skills at all - honest! It’s just cutting and sticking.
The Easiest Way to Make Art From Old Magazines
To make recycled magazine art you will need:
A picture frame - a clip frame is ideal but you can use any kind
Paper the same size as the frame (if your frame has paper in it already happy days - you can use that)
Old magazines and Junk Mail
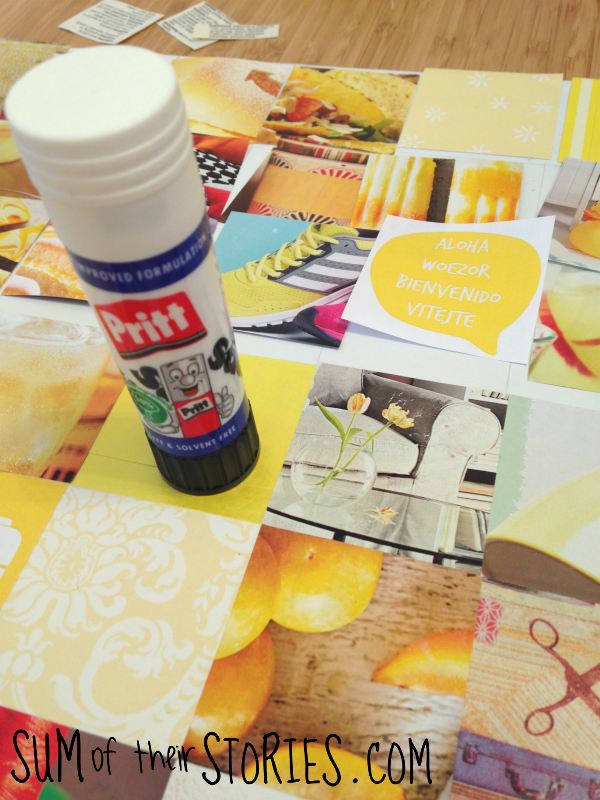
Paper Glue - I used Pritt Stick
A ruler, pencil and scissors or a guillotine

First decide how to divide up your art
If your frame comes with a piece of paper in it already just flip that over and use the back to plan your art. Otherwise cut a piece of paper to fit your frame.
Use your pencil and ruler to mark out an even grid on the paper. The size of the grid you mark out will depend a little on what size your frame is.
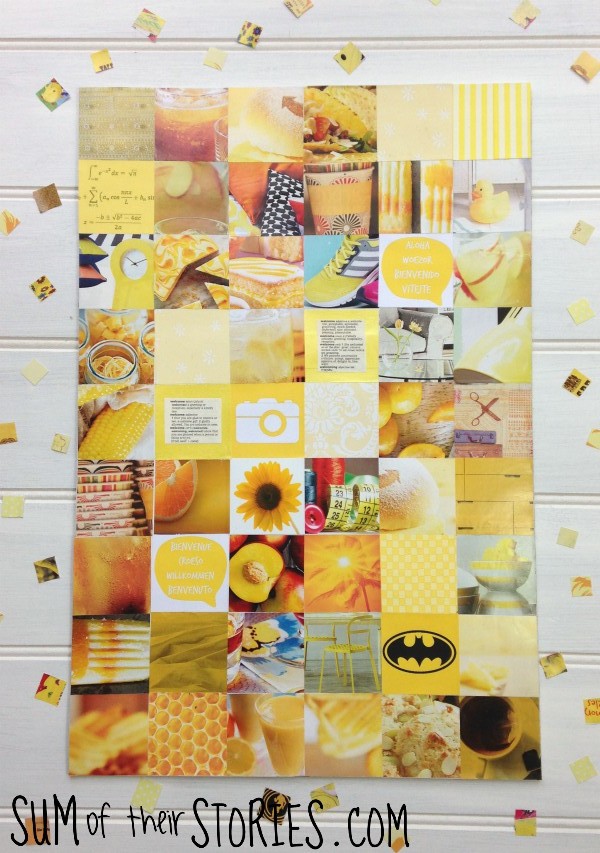
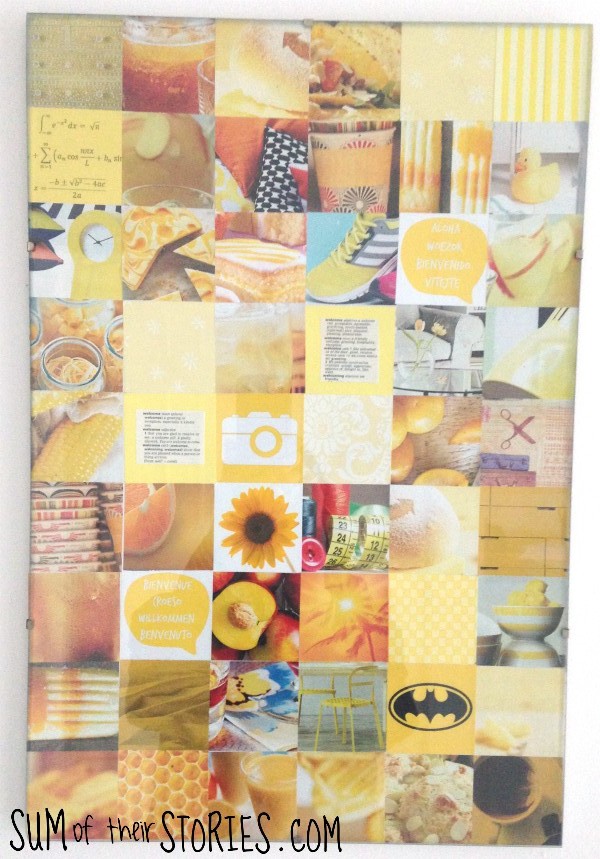
My frame is 12" x 18" so I marked out 2" squares.
You just want something that will fit evenly in the frame if possible, it'll just make it easier. Measure your frame and see what divides best into that measurement. I was lucky that both 12 and 18 divides by 2 evenly so I could mark a grid of squares but you might find a rectangle works better in your frame.
Prepare the collage pieces
Once you've decided on your grid size just cut out squares that size from your old magazines and junk mail. I went for a yellow theme to go with our table and mirror in the hall but you can literally make your art ANY colours you like.
I enjoyed choosing a mix of recognisable items and close ups that appear quite abstract. I also printed a few speech bubbles on the computer with "Welcome" in a few different languages, this art is for the hall way so I thought that was appropriate. I found "Welcome" in an old dictionary and thesaurus too and cut those out as well.
Create the Art Collage
Once you've cut out a load of squares the fun can begin. You want to be working in a bit of space where you can spread out, somewhere where no cats are likely to come by and walk all over what you are doing and definitely somewhere out of drafts!
Start arranging your cut of pieces on the paper grid, don't stick anything down to start with, just play around with the pieces until you are happy with the arrangement.

Once the arrangement is perfect I’d highly recommend taking a photo, just a quick one on your phone. That way if disaster does strike and you inadvertently tip the whole thing on the floor or if someone bursts in the room making a huge draft you are not back to square one!
Remove the paper squares one at a time, starting in one corner, apply glue to the back (use a bit of scrap paper underneath to protect your work surface) and stick back in position. Use the grid to guide you and keep everything straight and lined up nicely.
That's it - easy as that! When all the squares are attached just pop the frame back together and hang your art on the wall with pride.
For our artwork I “hid” a picture or two especially for each member of the family too. Kind of like a yellow, personalised "Where's Wally/Waldo"! See if you can spot them: in the family we have a gym fanatic, a mathematician, a photographer, a superhero fan and me (lover of all things craft).
This art is still up in our hall at the moment, and we are coming up for 10 years since we moved in! We are not people who redecorate all that often but this kind of art could be re-done and changed up as often as you like. It's practically free to make which is always a good price!

Cheap, easy and with almost unlimited variety - you can't ask for more than that! Do you have a bit of blank wall that needs a fun piece of recycled art?
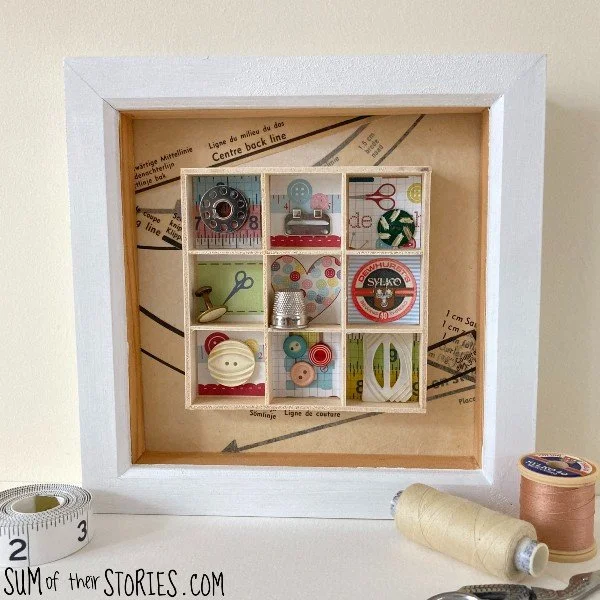
I made some similar art more recently using the vast collection of my late grandma’s paintings and experimented a little more with different colours and layouts so you might find that helpful to reference too. You can find the details here : Mosaic Art Canvas
Julie
This project was featured in Twinkl’s Recycle Week blog.
I'll be sharing this project at some of these link ups.