How to make a gift boxes from old greeting cards
/How to make a gift box from old greeting cards
To make a gift box from an old card you will need:
2 old greeting cards
Glue - Something like a Pritt Stick is ideal or a tacky pva like Aleene’s Tack Glue or Hi-Tack
A ruler, pencil and scissors
Clothes pegs
You need two cards which are roughly the same size. I only use the fronts of the cards so I need 2 cards for 1 box. If you use the back of the card too then you only need 1 card per box - you with me so far?
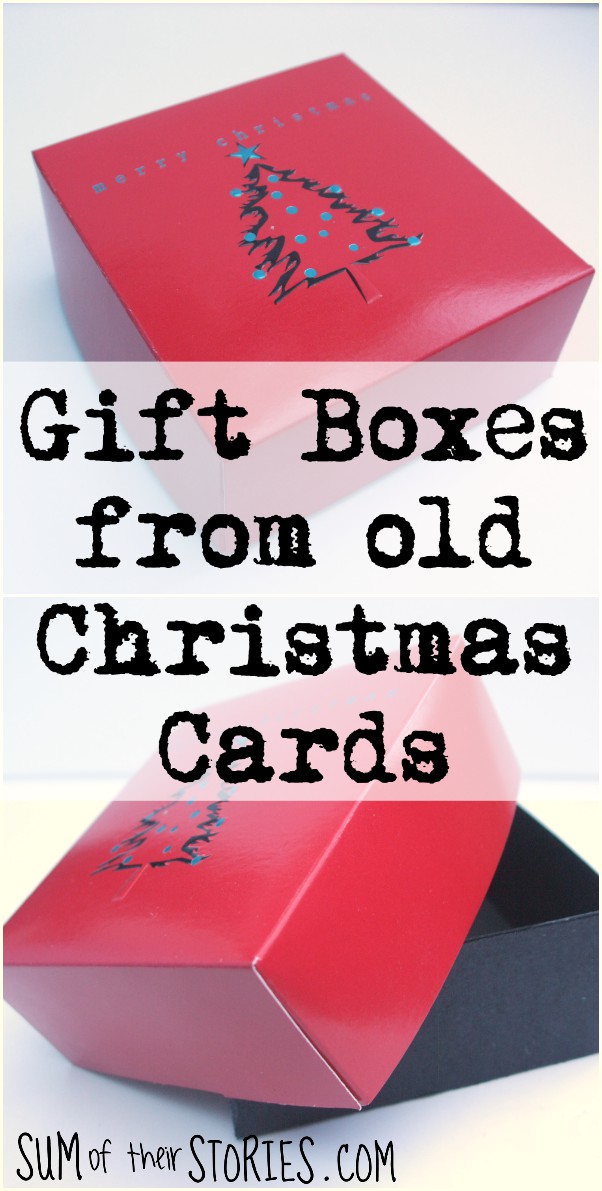
If you have a card with a small design in the centre and can centre that motif in your square then the design will end up in the centre of your box (this is what I did with the red card here)
You can make these mini gift boxes with any size of greeting card so I’m not going to give too many dimensions in this tutorial. I’ll explain the principles and give examples, that way you can make your own mini gift boxes with whatever cards you have.
I’ve made several of these gift boxes uses a few different greeting cards so you’ll see the cards changing throughout this tutorial.
Preparing the gift box card
Cut your cards into a square or rectangle so that one is 3 - 4 mm smaller than the other. The smaller card will be your base, the larger one will be the top.
Make the box lid
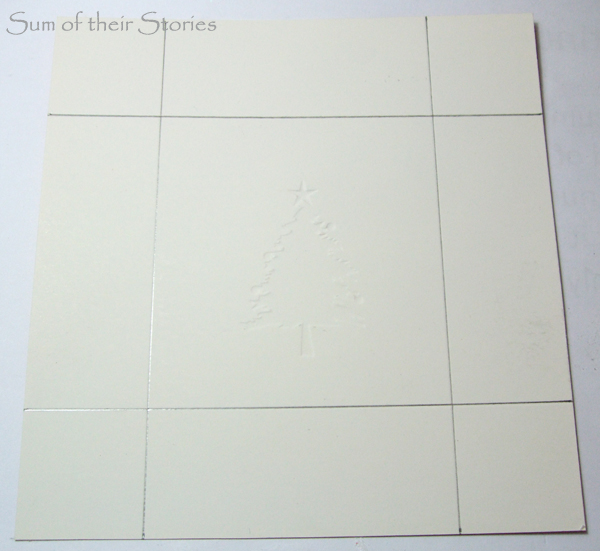
On the wrong side of your card, mark a line on each edge. This can be any distance but all the sides must be the same. The further the line is from the edge; the taller (but smaller) your box will end up.
Example: This card measured 16cm x 15.5cm and I measured 3.5cm from each edge. The box finished up approximately 9cm x 8.5cm x 3.5cm.
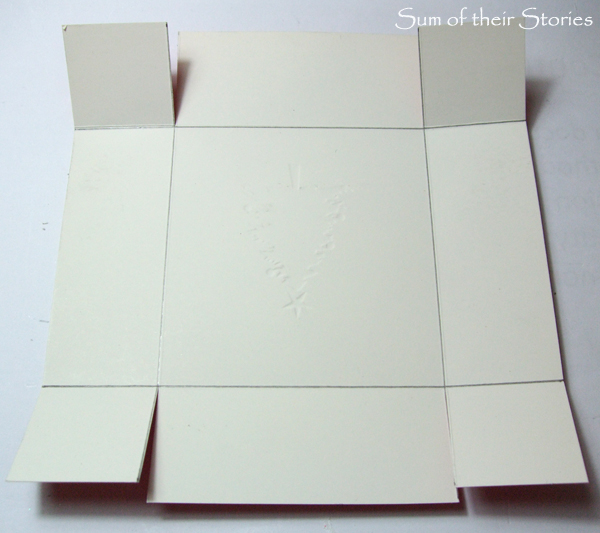
Score the lines and then cut where shown in the photo below:
Gluing the box lid
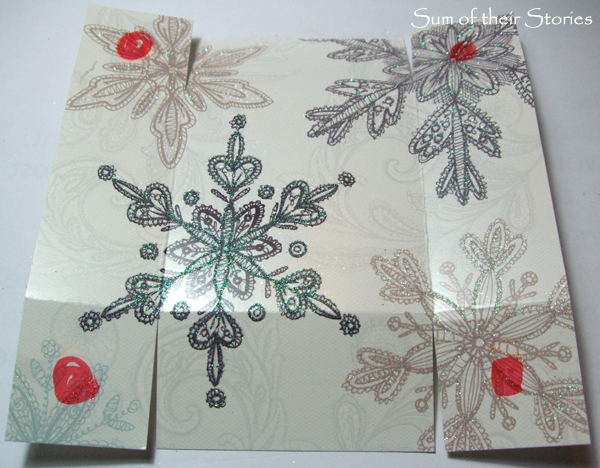
Put glue on the right side where the big red blobs are shown in the photo below (I had to use a fat permanent marker pen here as my card is shiny - I felt very "pulp fiction" as I drew the big red blobs! You don't put red blobs - you just put glue of course)
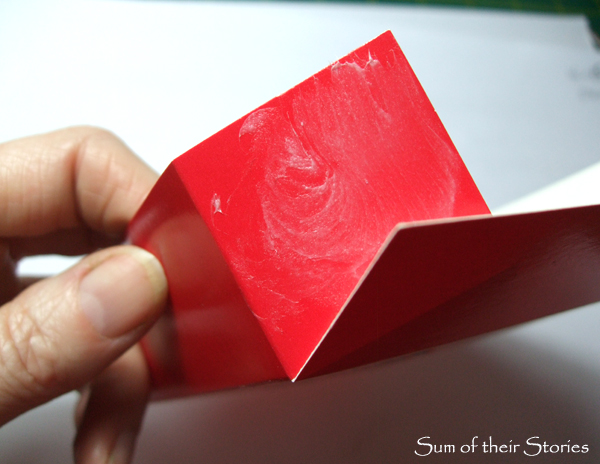
Fold the gluey sides in and stick in place to form the box lid.
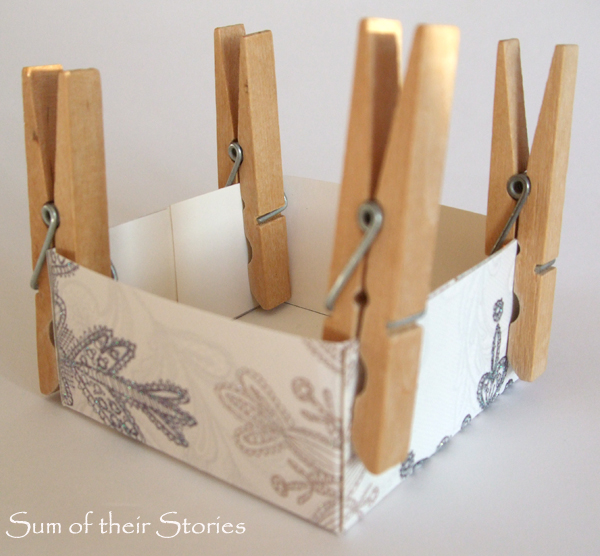
Then hold in place with clothes pegs until the glue is dry.
Make the box base
Repeat as above for the box base. Measure exactly the same distance from the edge on this slightly smaller piece of card as you did for the lid. Then the lid will end up just a fraction bigger and will fit nicely.
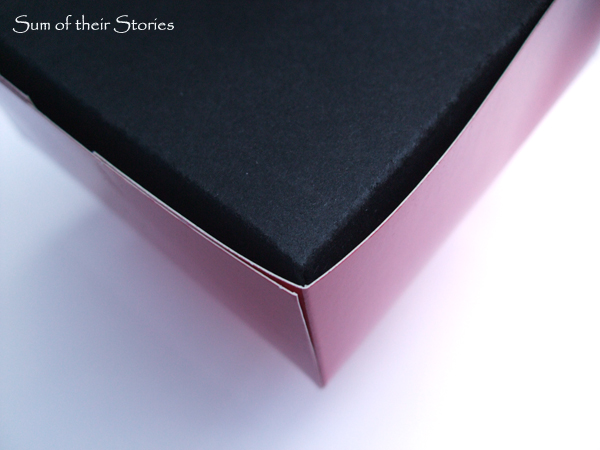
It's a good idea to make the cuts for your base in the opposite direction that you did for your lid, the photo above shows what I mean, it’ll make the box corners less bulky.
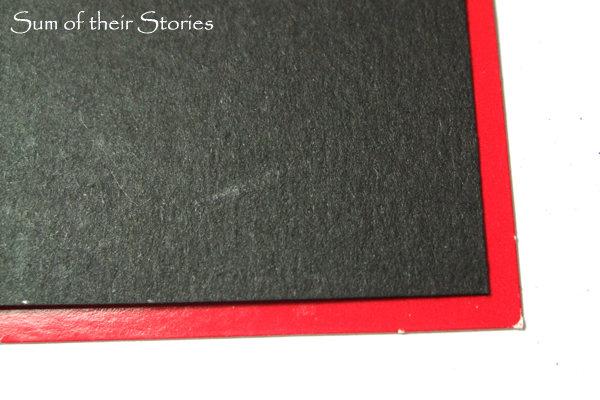
This is the gift box shown upside down, the red is the top and the black is the base
It’s as easy as that!
Unless you have enormous greeting cards to upcycle your gift boxes are going to be quite small, ideal for tiny gifts like jewellery, keyrings, little chocolates etc.
Julie
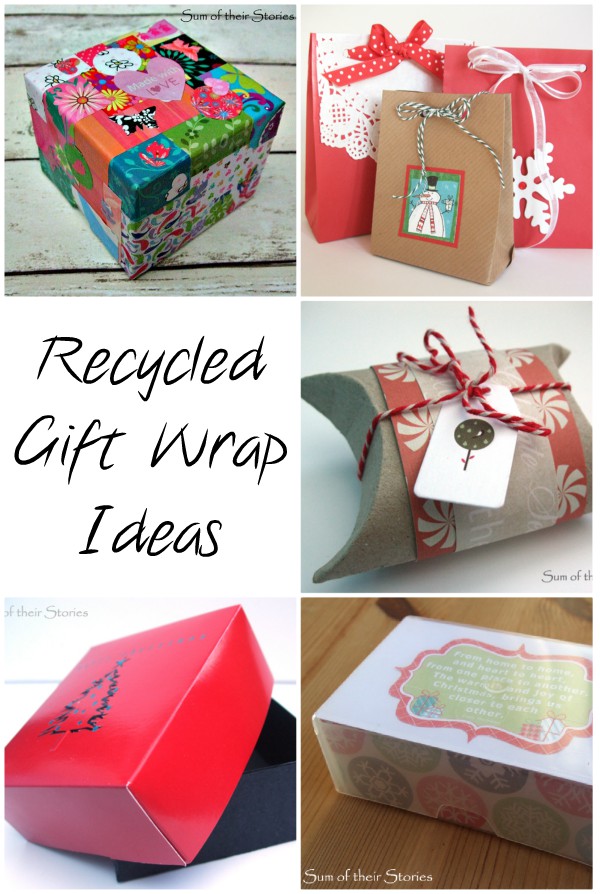
If you are looking for ways to reduce waste when gift wrapping you might like to check out this round up of ideas too:
I'll be linking up this project at all these lovely link parties


