Origami Cash Gift Wallet
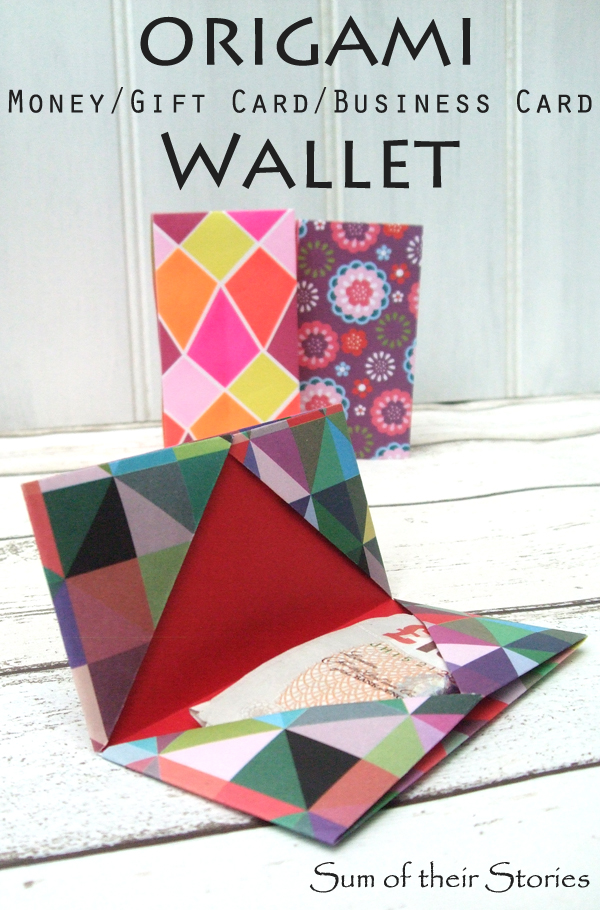
/I do love a bit of simple origami and this easy little wallet is so quick and useful I thought it would be rude not to share it with you!
Sometimes I feel like as soon as you get here I am sending you away! I don't mean to, and of course I want you to come back, but I found this amazing tutorial over at How About Orange to make these lovely little origami wallets.
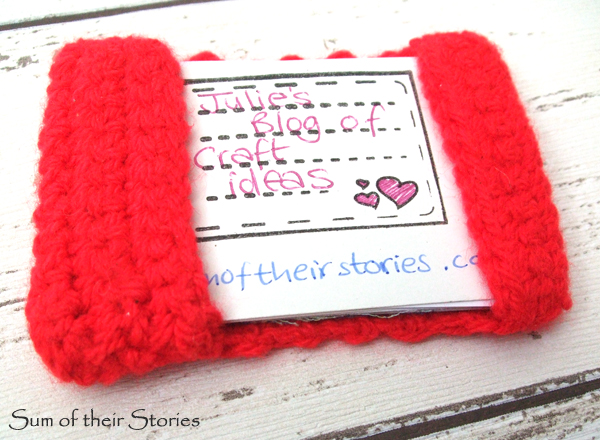
I was looking for something to use as a business card holder. My recycled business cards are currently nice and cosy in a very simple crocheted holder that I made for them.
I made this after seeing the idea somewhere online. Sadly this was before I had discovered pinterest so I have no idea where. I just made it up as I went along anyway. If I find a pattern I will link it up (if it's your idea please tell me)
It's perfectly ok for them, they are safe in there, but I have to keep swapping it from my work bag to my other smaller handbags. So I thought maybe if I had two that would be better.
So I ended up at How About Orange learning how to make this lovely and dead easy little business card holder from left over wrapping paper from my Speech Bubble Greeting Cards.
As usual I got a bit carried away trying out different papers, sizes and ideas. Here's what I made:
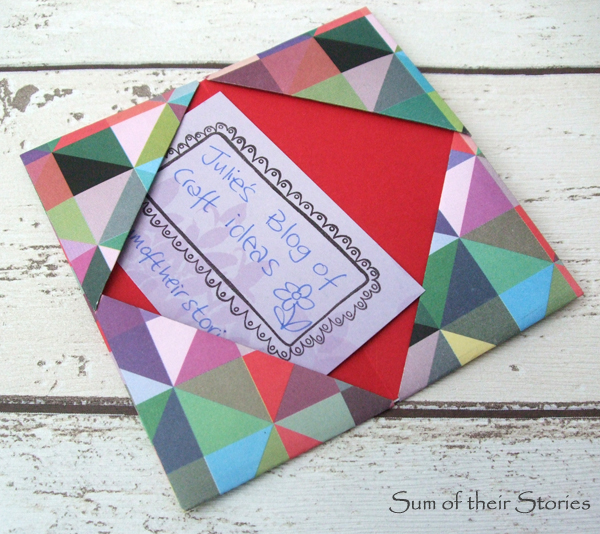
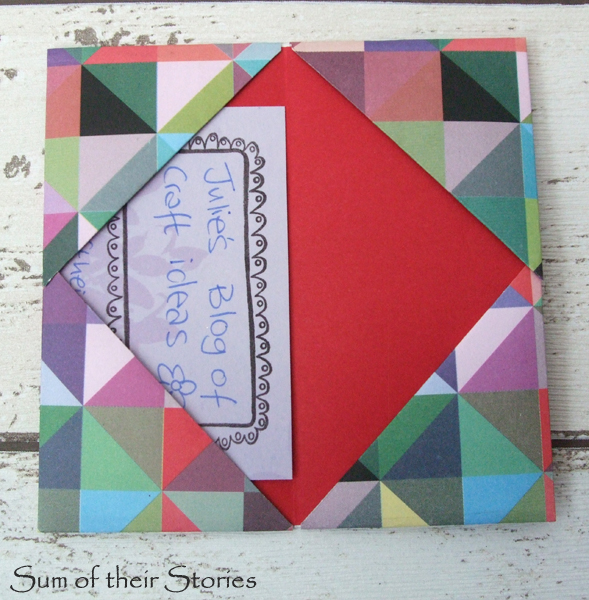
A paper wallet for my business cards. Made from a 9" square of thick quality wrapping paper. This ended up making a 2 1/4" x just under 4 1/2" wallet when folded in half. Just right for my business cards.
The only thing I added to the How about Orange instructions was to tuck in a square of red paper to line the inside.
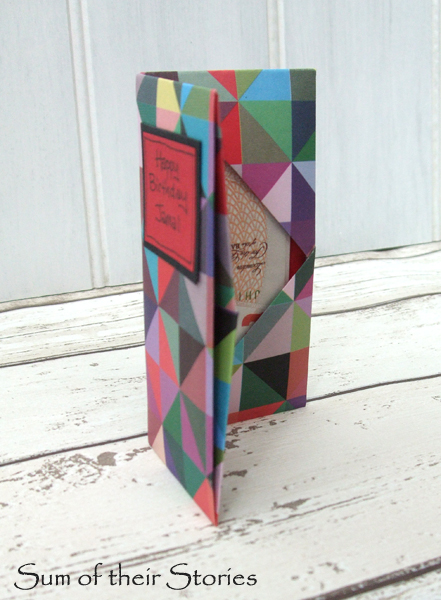
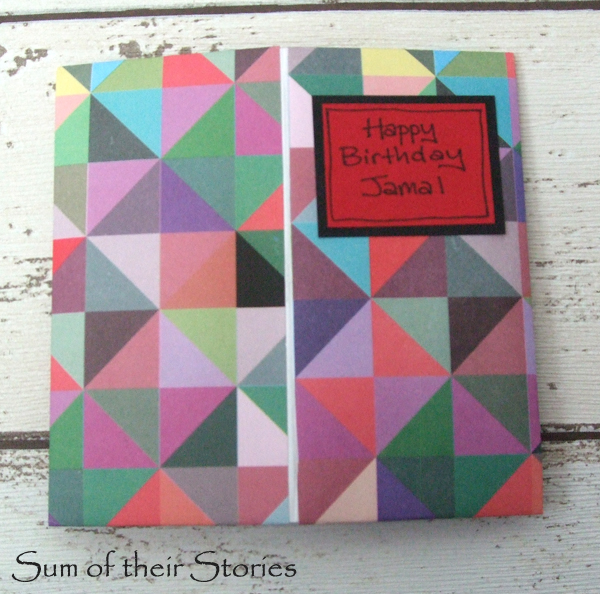
Then I made another one for a gift wallet for my nephew's birthday.
I just popped a little "Happy Birthday" message on the front and the cash inside. These photos aren't great but I'm afraid I can't take any more of this as I've posted it to him now!
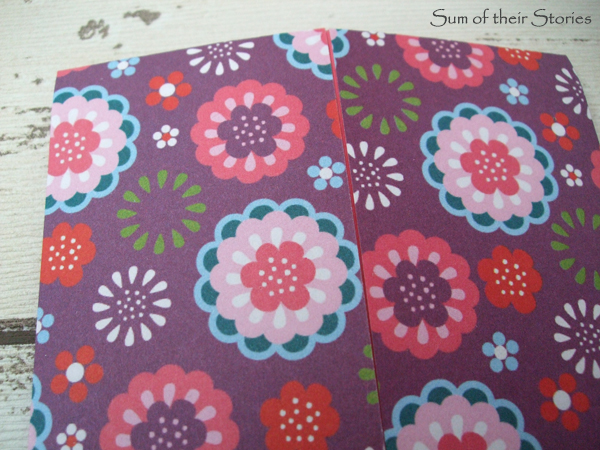
See how there is a line of white down the middle, to avoid that just make sure your folding is really accurate when doing step 2, like this:
I like to make these mistakes so you don't have to!
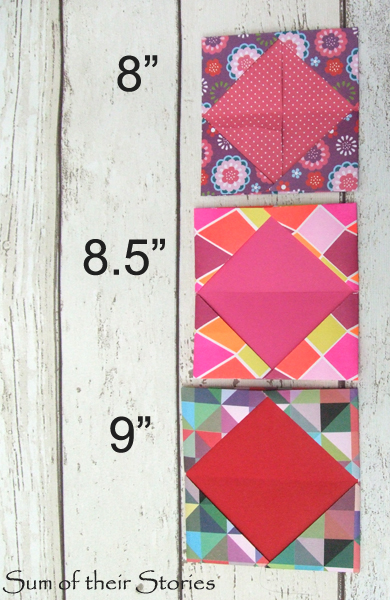
Next I made another one from wrapping paper, however I made a mistake (yes, another one) with the measuring and it came out smaller. Turns out my starting square was 8.5"!
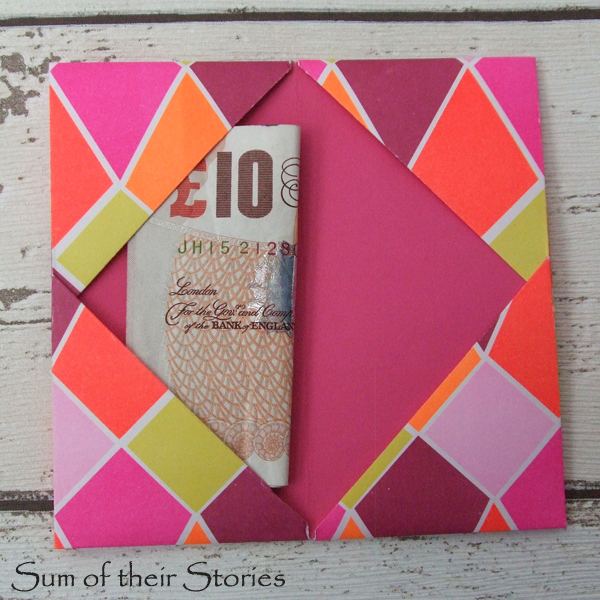
Again I lined it with coloured paper. At this point I realised that for cash the size of these is not so important. I wanted to try some double sided scrapbook paper and not one piece of 12x12 paper in my stash is double sided, but I did have some A4 magazine freebies.
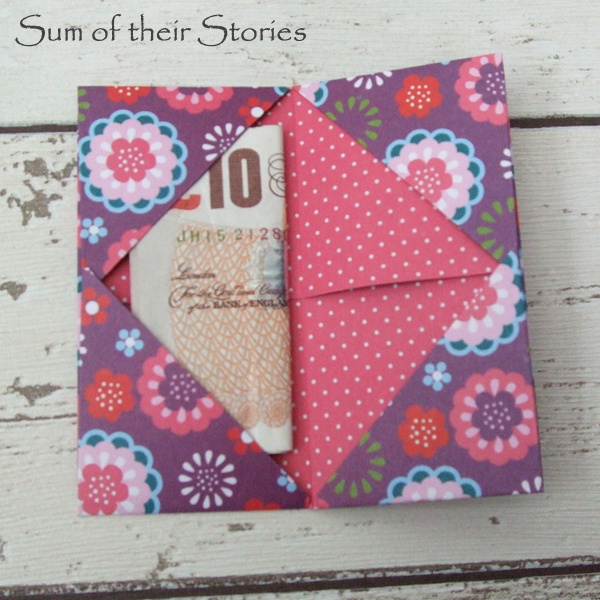
So this was made with an 8" square - still fits a £10 note - hooray (love those polka dots!)
The starting size of the square only makes a fraction of difference to the finished wallet as you can see:
If you want to use these for a gift card you need to start with a 9" square, but for cold hard cash you can be a little bit more flexible.
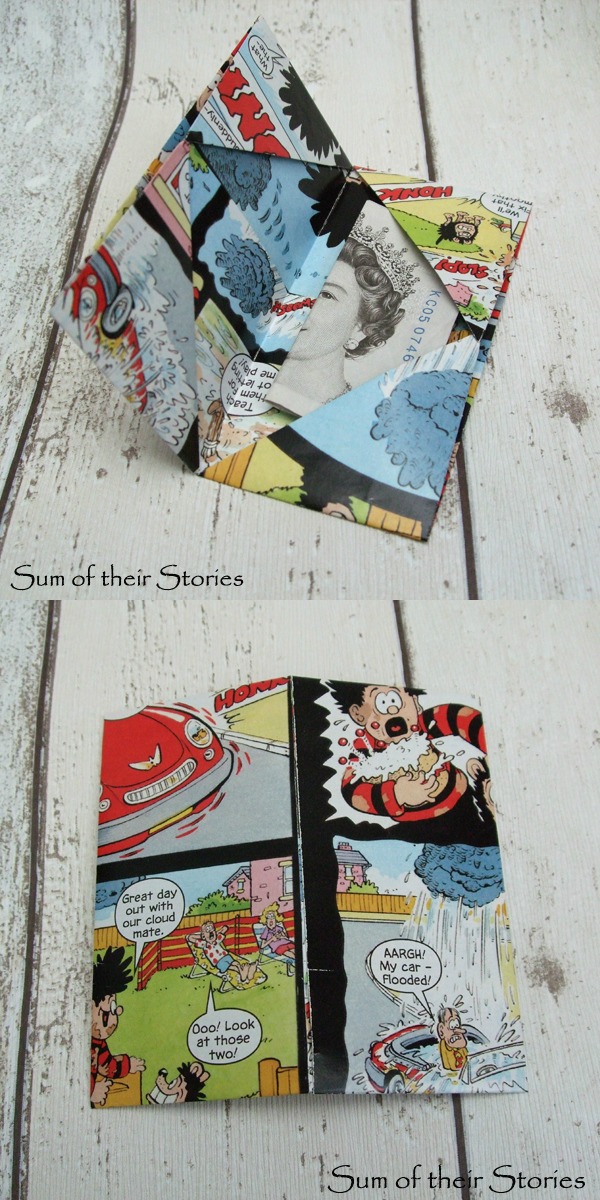
Next I tried using a page from an old comic which came out kind of fun.
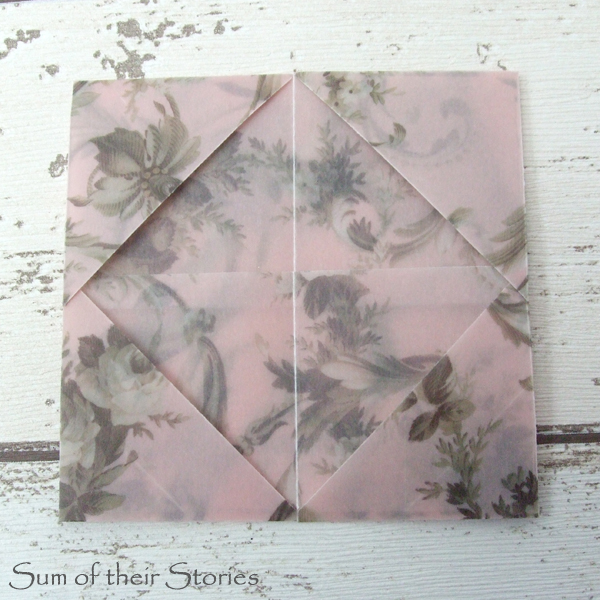
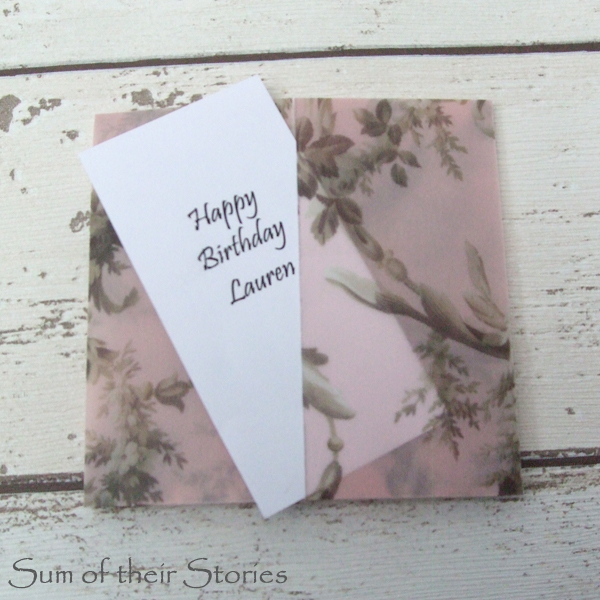
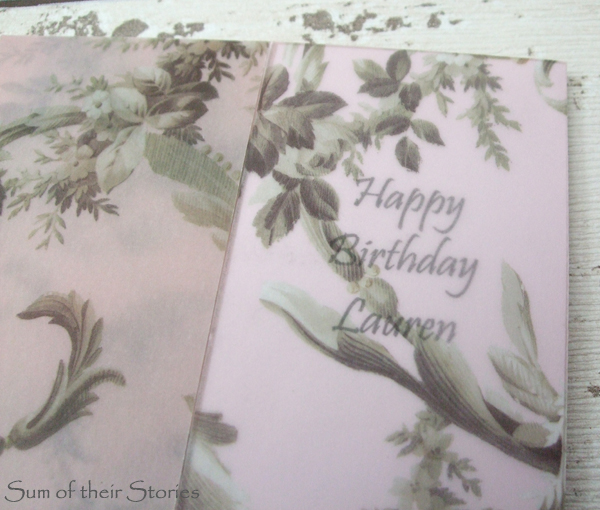
Lastly I experimented with some transparent printed parchment paper I had.
At first I was a bit disappointed, not as lovely as I had imagined it would be. Then I tucked a piece of printed paper inside the front cover and "Huzzah!" much better.
Have a go, they are really easy and really useful. You could use them to put a special birthday message in the kids lunch boxes. The kids could make them to give to their friends, put secret messages inside, or an invitation, a few little sheets of stickers, a stick of chewing gum, an un-blown up balloon with a message written on it.... Honestly the possibilities are endless!
I'll be linking up this project at these link ups


