Long & Short Handle Bag
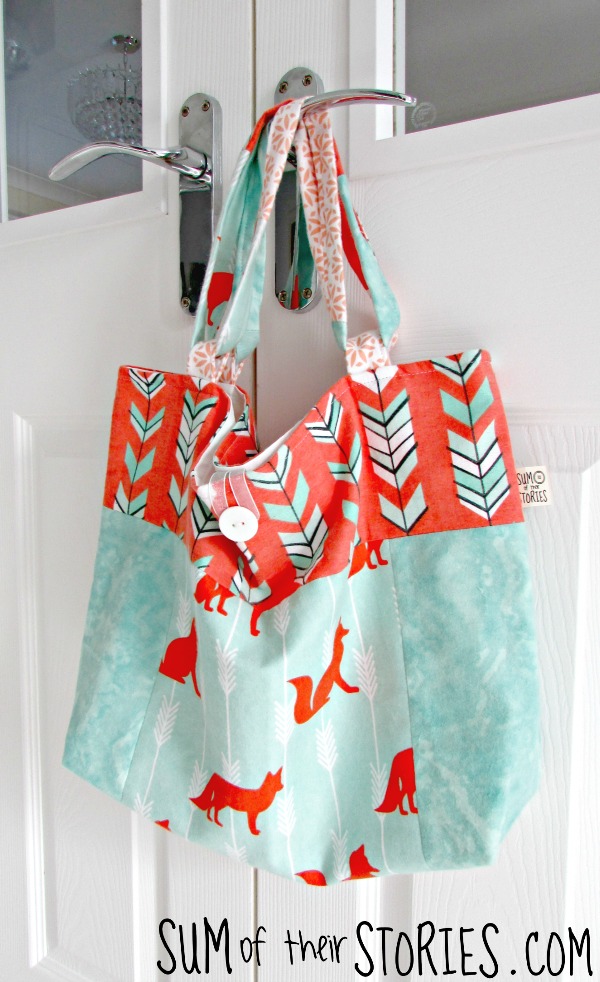
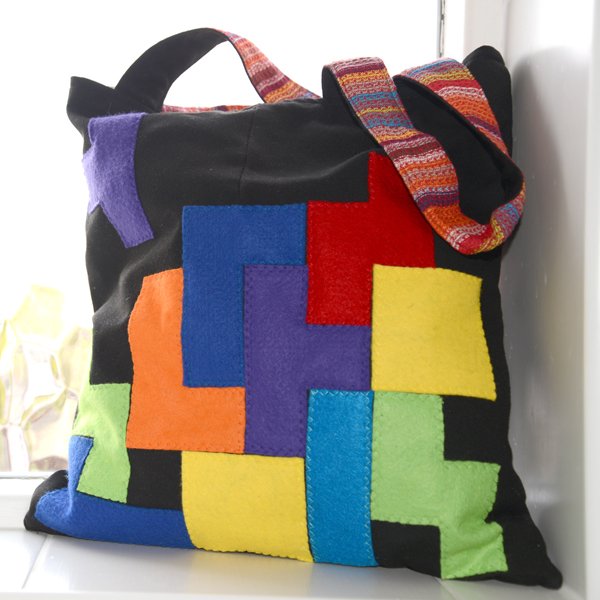
/Sometimes you want a shoulder bag and sometimes you want a hand held shopper. Well this bag can be both - yay!
Today I'm sharing a reasonably simple bag pattern which I made for a friend recently. It's an adaptation of the Velvet Topped Print Bag from the lovely book 'The perfect Handmade Bag' by Claire Youngs. I love this book, if you like making bags I really recommend it.
This project started when I saw a fabric pack at a reduced price at my local Hobbycraft store.
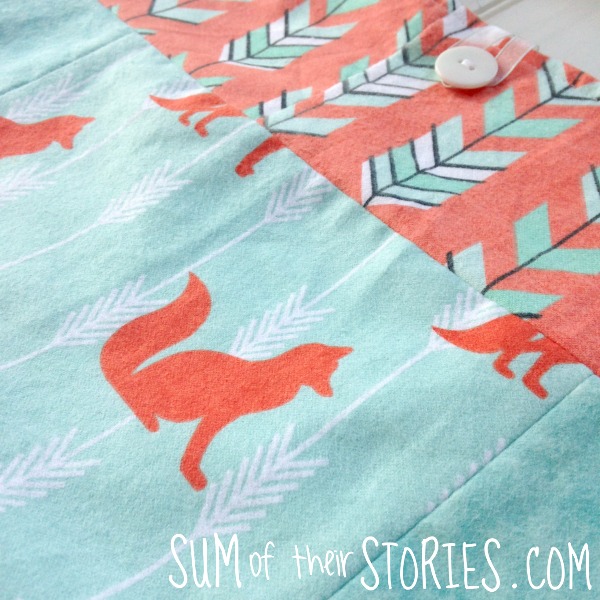
The pack had 12 x 10.5" squares of fleecy fabric in it, in 5 different designs. For this bag I used most of 10 of them. I have a few scraps left. You will also need something plain to line it, I used an old sheet.
This bag is patchwork but that was because of the size of these squares. You could do any type of patchwork or simply use bigger pieces of fabric.
The finished bag measures approx 14.5" x 17.5" or 37cm x 44cm
Because I used 10.5" squares and you may not, it makes more sense to list the sizes of the pieces you need to end up with, once any patchworking is done.
Just join your pieces however you fancy with whatever fabric you have. Just make sure you end up with:
2 outer pieces of fabric 15"x18" (38cm x 46cm)
2 pieces of lining fabric 15"x18" (38cm x 46cm)
4 pieces of pattern fabric 3"x4" (8cm x 10cm) for handle loops
2 pieces of patterned fabric 2.5" x 32" (7cm x 81cm) for the handles
Use a 1/4" seam allowance throughout.
Press any patchwork seams open before you start joining the bag up.
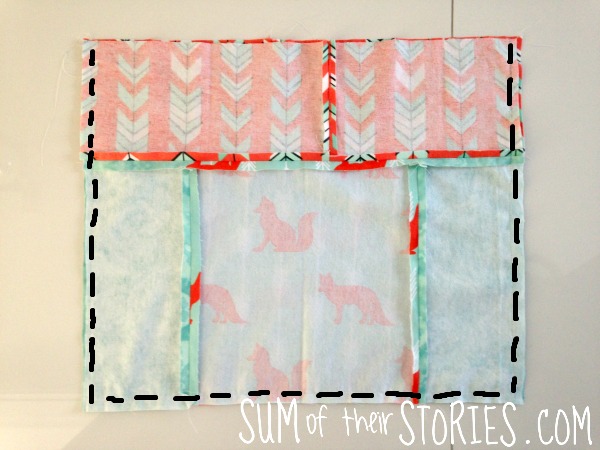
Join the outer pieces on 3 sides:
Join the 2 lining pieces in the same way as the outer pieces but LEAVE A 4" GAP in the bottom middle. THIS IS IMPORTANT!
Now box the corners:
Starting with the outer bag, press the seams open, then fold the bottom corner sideways so the side and bottom seam line up. Measure a line straight across 2" from the point and stitch across, making sure you reserve a few stitches at each end to make the stitching secure.
Repeat for the other corner of the outer bag and both the lining corners.
This is what they look like from the outside.
Next make the handles by pressing a 1/4" hem on each long edge, then folding the handles in half lengthways. Pin and top stitch to close them but leave a good 2" open at each end.
Next you need to make the handle loops. Take the 3"x 4" pieces and fold then sew each one in exactly the same way as the handles - just much shorter!
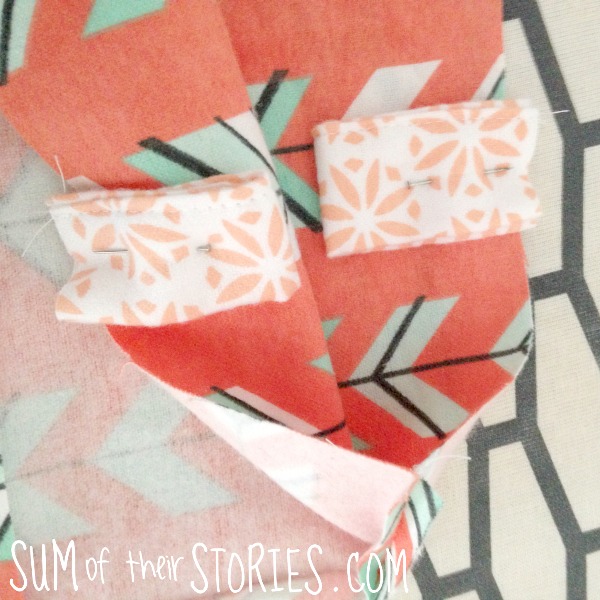
Once your handle loops are made, fold them in half and position them, raw edges together, on the top edge of the bag outer, 2.5" from the seam edge.
I left them just pinned but you could tack them in place. You just need to be careful later if you leave them just pinned.
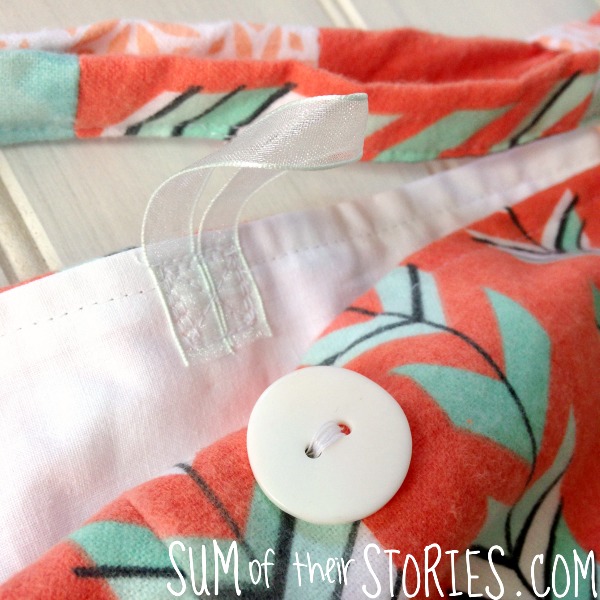
At this point you may wish to add a ribbon loop fastening too - I forgot this step! If you do, just add a 4" (10cm) length of ribbon in the centre of the outer back, exactly the same way round as the handle loops.
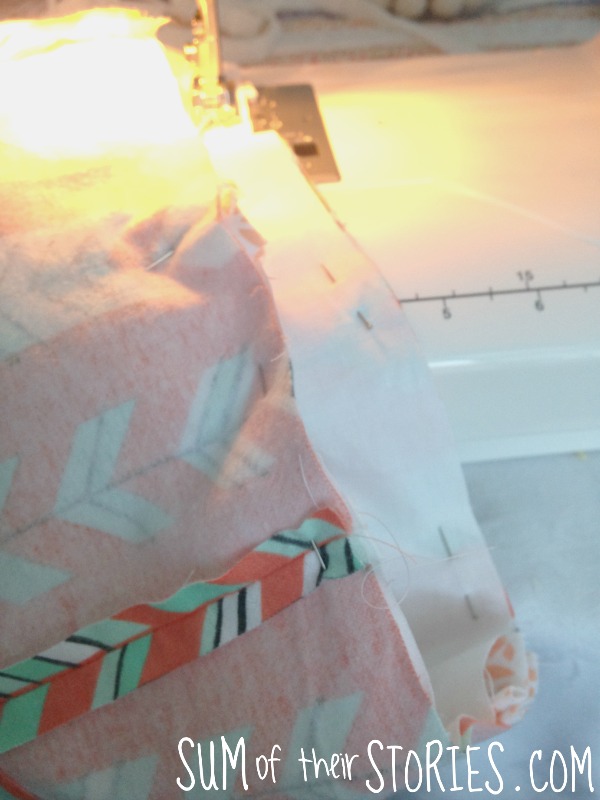
Turn the bag lining right side out, and place it inside the bag outer. Match up the side seams and pin then stitch the lining to the outer bag around the top edge. Go slowly when stitching over the handle loops and your machine will thank you.
Turn the bag right side out through that gap you left in the lining. Do this very carefully if you left the pins in the handle loops!
Stitch the gap in the lining closed (on the machine or by hand) then give everything a nice press with the iron.
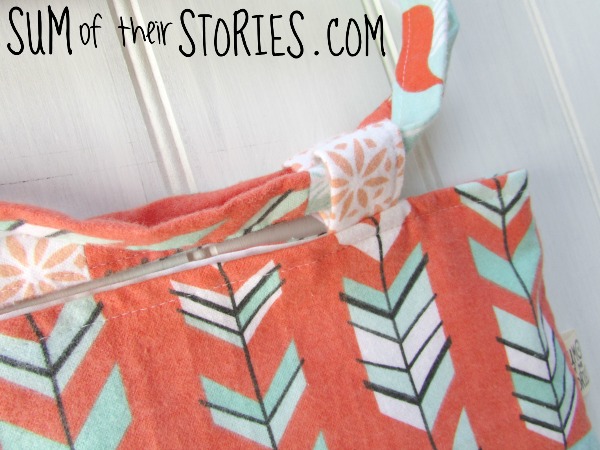
Push the lining inside the bag then top stitch the top edge to keep everything neat and tidy. Again, go slowly over where the handle loops are, that's a lot of layers of fabric for your machine to deal with.
Now thread your handles through the handle loops. One handle through the loops on the front of the bag and one through the loops on the back.
Join the handles up by placing the right sides together on those open ends and stitching across. You can see in this photo I only left about 1.5" at the ends and it was a bit of a fiddle, I think leaving 2" would make this easier!
Turn the raw edges inside and top stitch to close.
Finally, add a button to the centre of the bag front. If like me you forgot to add the ribbon loop, just sew it on now as neatly as you can.
You could use a snap fastening or hook and loop tape instead or leave a fastening off altogether.
Your bag is complete! You can use it with the handles pulled up double to carry it in your hand or as a shoulder bag with the handles long.
I went for a floppy sort of bag feel but if you wanted your bag to be more substantial you could add an interfacing of some sort quite easily too.
If you enjoy making bags do check out these other bag making tutorials:
Julie
I’ll be sharing this tutorial at these linkups


