

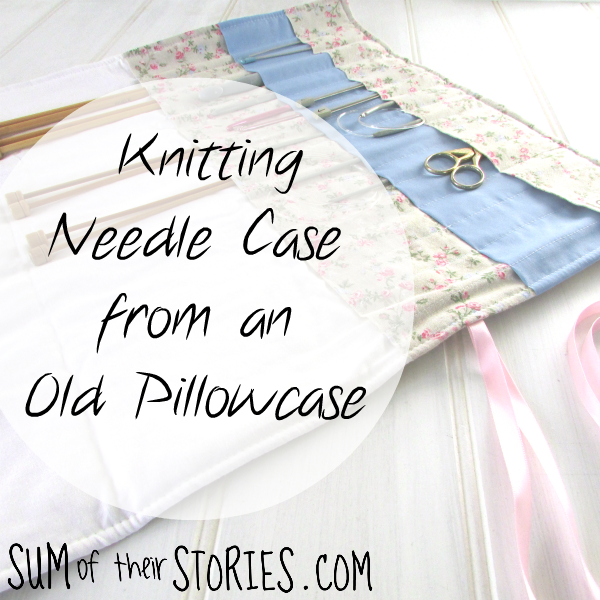
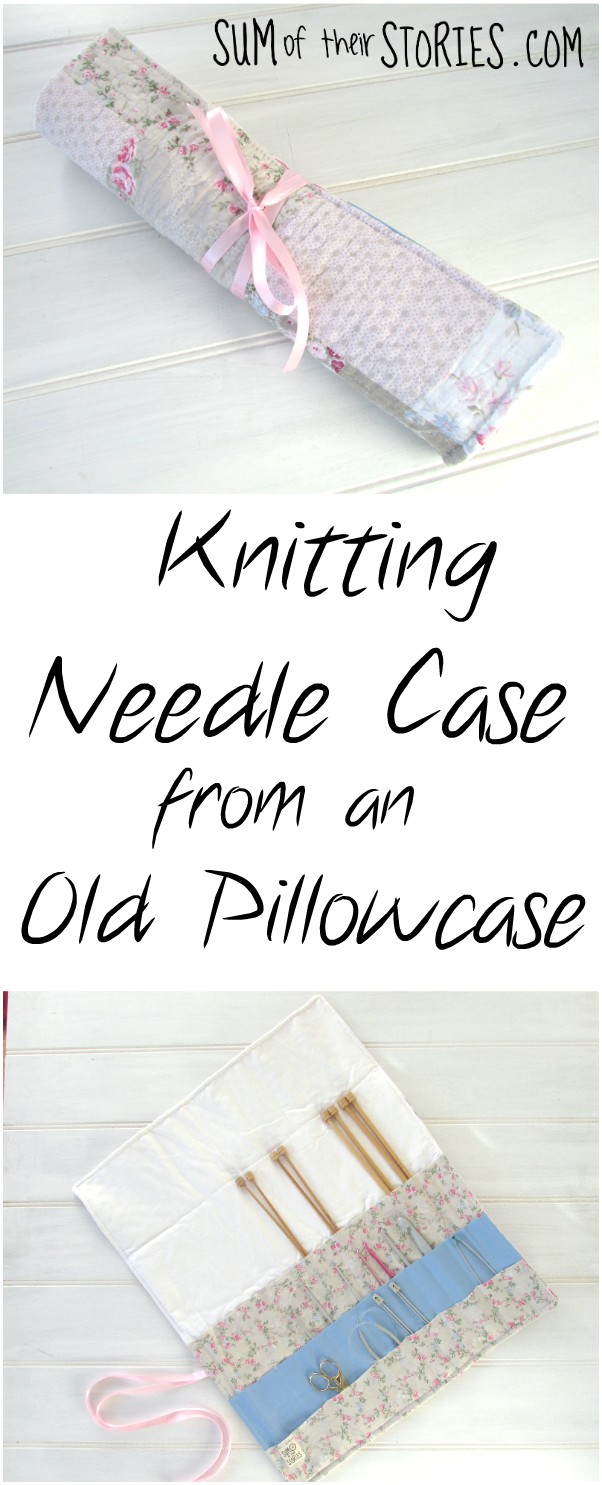
How to make a Knitting Needle Case from a pillowcase
/Make a case for all your knitting and crochet needles, hooks and accessories from an old pillowcase.

This tutorial was originally published in 2017 and has been revised and updated.
I have a confession, I find it really hard to walk past a Charity shop/Thrift store without going in for just a 'quick look'. Last week I was sourcing fancy dress costume elements for a halloween party so I had a good excuse for going in and I fell across this set of 2 quilted pillowcases that were just too pretty to leave behind. (I did get the costumes sorted too)

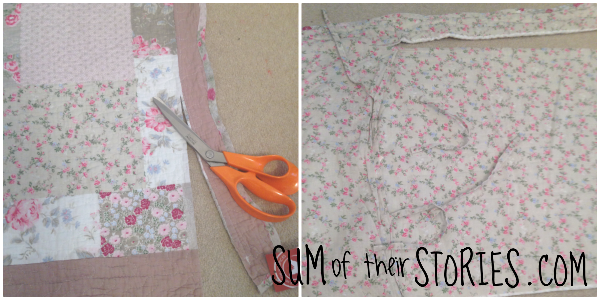
The patchwork is that printed 'fake' patchwork, but the tops were thick and quilted. The brownish border was a separate piece, like the border you get on an Oxford pillowcase, so I trimmed that off. The back was in 2 pieces, one big-one small, with ties.
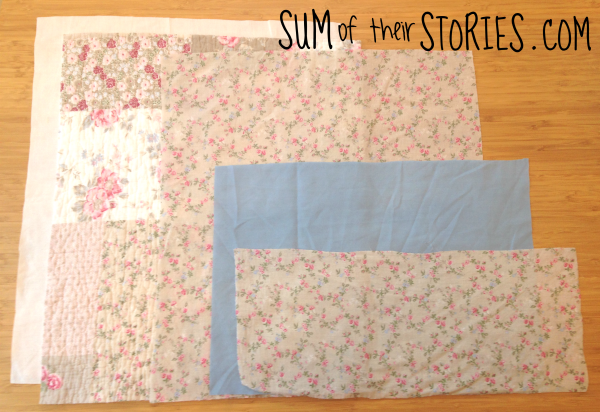
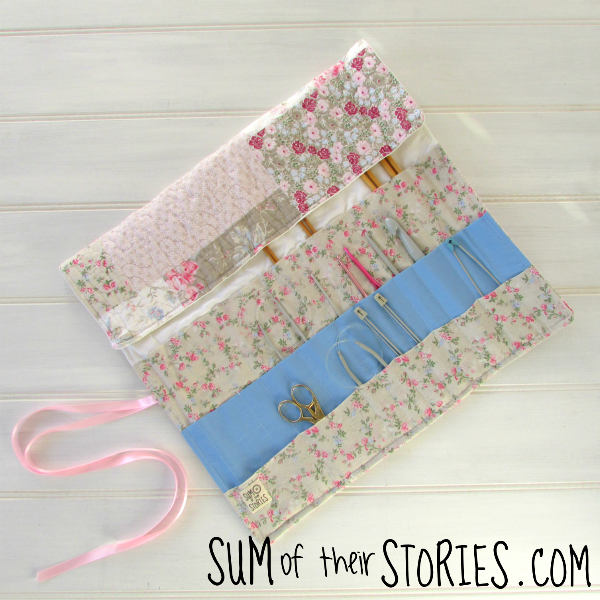
I decided to make a roll up case for knitting needles and crochet hooks with 3 rows of pockets, so there would be room for accessories as well. I used the front of the pillowcase as the outside of the case and the back of the pillowcase to form 2 pockets. I just needed to add in some white and blue fabric from my stash for the lining and a 3rd pocket.
How to make a roll up knitting needle case
To make a Knitting needle case like this you will need:
Outer case - 17" x 20" (44cm x 51cm)
Lining - 17" x 20" (44cm x 51cm)
Pocket 1 - 17" x 19" (44cm x 48.5cm)
Pocket 2 - 17" x 12" (44cm x 31cm)
Pocket 3 - 17" x 7.5" (44cm x 20cm)
Ribbon 39" (100 cm)
Sewing machine and thread
Scissors, ruler, pins
If you are not as lucky as me and your pillowcase is not thick and already quilted then I would recommend adding a piece of batting (thin wadding) or an interfacing to your outer fabric, just to give it some extra structure.
These measurements are very much based on the size of pillowcase I had to work with. If yours is a different size you can adjust the pieces as necessary.
Note: All of the pocket here are doubled over, this is because the fabric I had from the back of the pillowcase was very thin. If you are using a thicker fabric, something like a quilting cotton for example you would be better to make your pockets half the height and just turn a small hem along the top edge instead.
Sewing your roll up knitting needle case
Press each of the pocket pieces in half and then stack them on the lining like this:
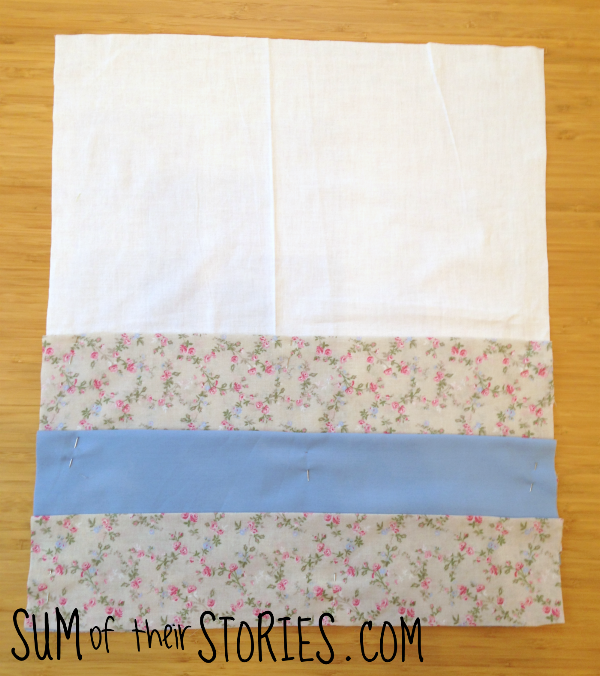
Secure the layers in place with a few pins and mark the channels for your knitting needles vertically with an erasable pen.
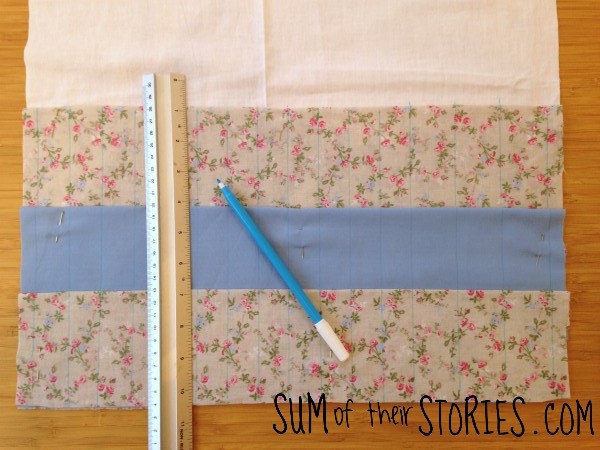
Working from right to left, mark 3 channels 1.5" wide and then 12 more at 1" wide. Obviously you can adjust these channel widths to suit whatever you’ll be keeping in your storage roll.
You can see them a little better in this close up.
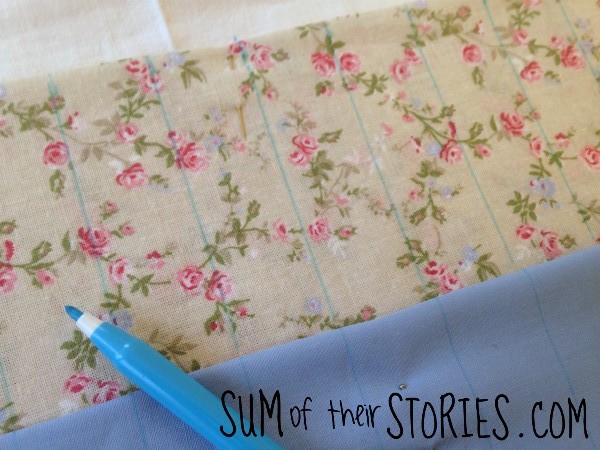
Starting on the right side, stitch over the lines you’ve drawn from top to bottom. You are stitching over all the layers of fabric, securing all 3 pockets as you go. Work a few back stitches at the top edge each time to make sure the stitches don't come undone when your case is in use.

Creating useful wider small pockets
I created a couple of small wide pockets for items like needle packets, scissors, tape measure etc. If you’d like to do the same then stop stitching when you get to the last 6 channels on the left side.
I wasn’t happy with the number of photos I took of these steps when I originally made this knitting needle case and it sounds complicated when I try to explain with words so I’ve drawn a series of little diagrams to try and make it clear. lease not, these diagrams are NOT to scale!

Fold the top layer, the smallest pocket strip, over to the right, pinning it out of the way.
Stitching 2 more channels, this time just stitching through the 2 larger pocket layers.
Then replace the smallest pocket layer back to it’s original position for the next line of stitching.
Then pin it over to the right, out of the way again for the last 2 rows.

Next lay your 2 pieces right sides together. That’s the outer fabric piece and the one you’ve just stitched all the pockets and channels onto.
Fold the ribbon almost in half. That sounds a bit odd I know! You are folding it in half but unevenly, so one end is about 24” (60cm) and one is 15” (40cm). Position the ribbon on the left side of the case, 7" (18cm) from the bottom with the long ends all inside.

Stitch all round the case using a half inch (1.5cm) seam allowance and leaving a 3" gap on the right edge. Be careful not to catch the ribbon in your stitching.
Trim the corners and excess seam allowance and then turn right side out.
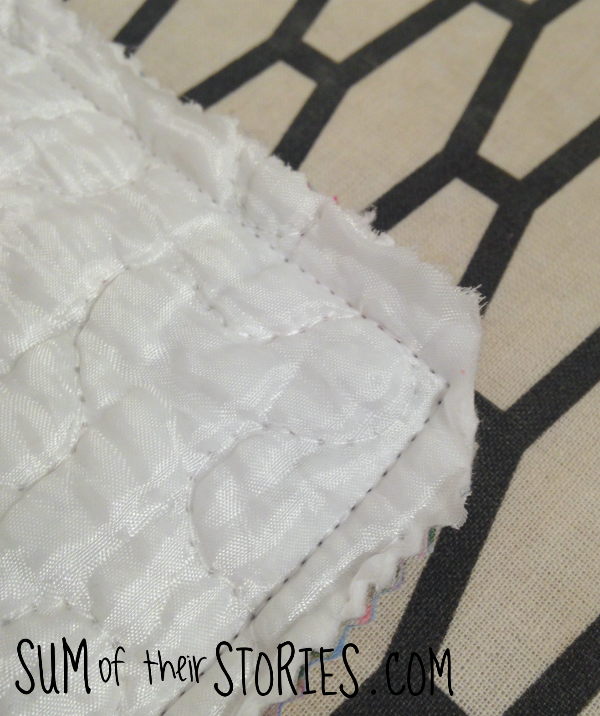
Press with the iron then top stitch all around to neaten and close the gap you'd left for turning.
Remove any remaining erasable fabric pens marks. If your erasable pen is a washable one then you can just rub the marks lightly with a damp cloth. If you’ve used a heat sensitive pen then use the iron.
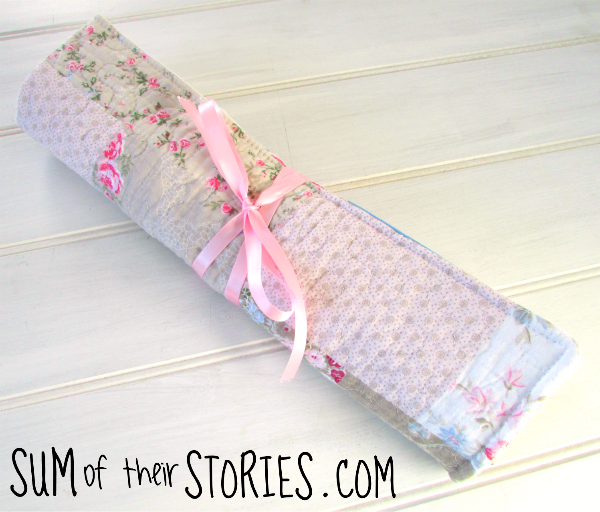
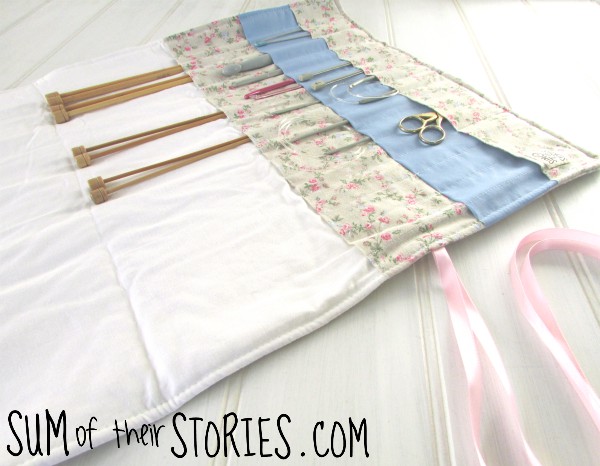
Now all that remains is to fill the case with all your knitting and crochet bits and pieces, fold the top flap over, roll it all up safely and secure with the ribbon ties.
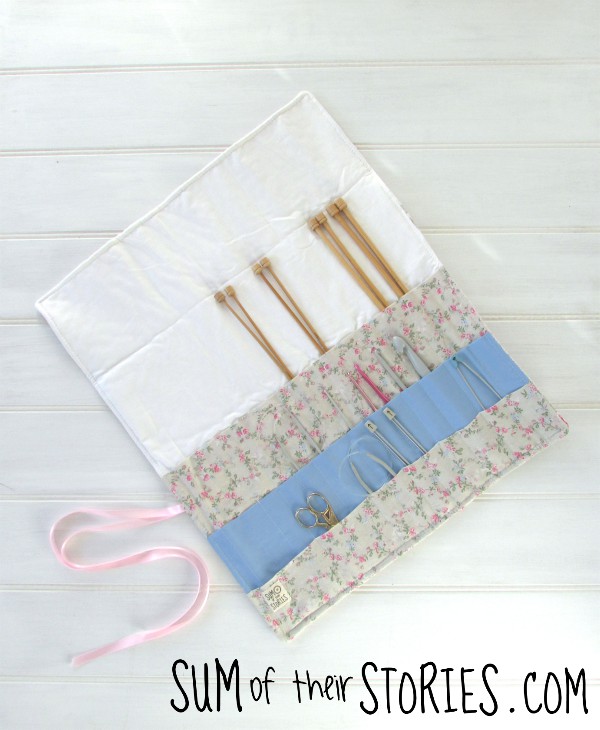
On reflection I'm not sure I need all 3 pocket layers, so next time I might play around with their depth and maybe only do two. I was guided by the size of the pillowcase fabric I had available on this occasion. The nice thing about making your own is that you can make it any size you like with whatever pockets you like.
A case like this would make a great gift for a friend who knits too, if you can bear to part with it!
Julie
I'll be linking this project up with some of these link ups


