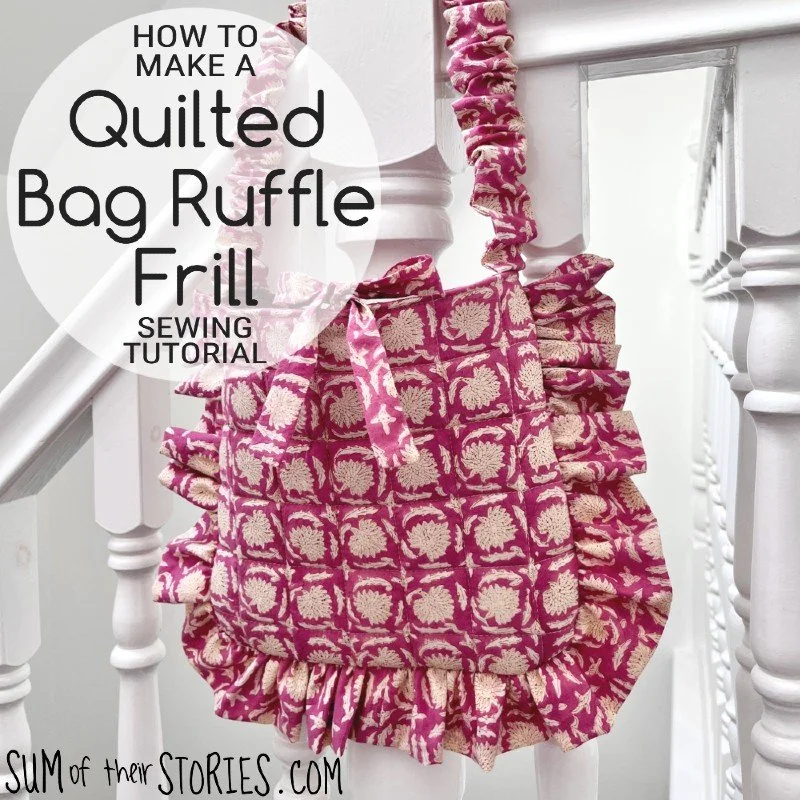
Ribbon Crossbody Bag Tutorial
/How to make a ribbon covered crossbody bag

A great way to use those short lengths of nice ribbon that are just to beautiful to throw away is to make a useful crossbody bag.
In my craft stash I found a piece of burgundy upholstery fabric that seemed just the right size to make a bag, I also have a box full of ribbons of all sizes, colours and widths due to my inability to throw any craft supplies away that could turn out to be useful! My fabric measured 22” x 8.5” but if you don’t have a piece that long and thin you could join several pieces together and make a patchwork “base” fabric.
Materials needed to make a ribbon covered bag

You can use any fabric to make yourself a crossbody bag like this. Ideally you want a fairly thick fabric for the outside, so something like an upholstery fabric, denim or canvas. The lining can be a thinner fabric, I used the leg of an old pair of pyjamas, but any dressmaking or quilting fabric would work, or even something silky.
You also need ribbon of course, otherwise it wouldn’t be a ribbon bag. I took this chance to use some of the fancier sequin embellished ribbon that I had in my stash, along with some other bits and pieces of fringing and plainer ribbon.
A fabric base 22” x 8.5” (56cm x 22cm)
A lining fabric 22” x 8.5” (56cm x 22cm)
Lengths of ribbon and trim at least 8.5” (22cm) long
Sewing machine and thread
A shoelace or cord at least 49” (125cm) long
A large popper/ snap fastener
Arrange Ribbons
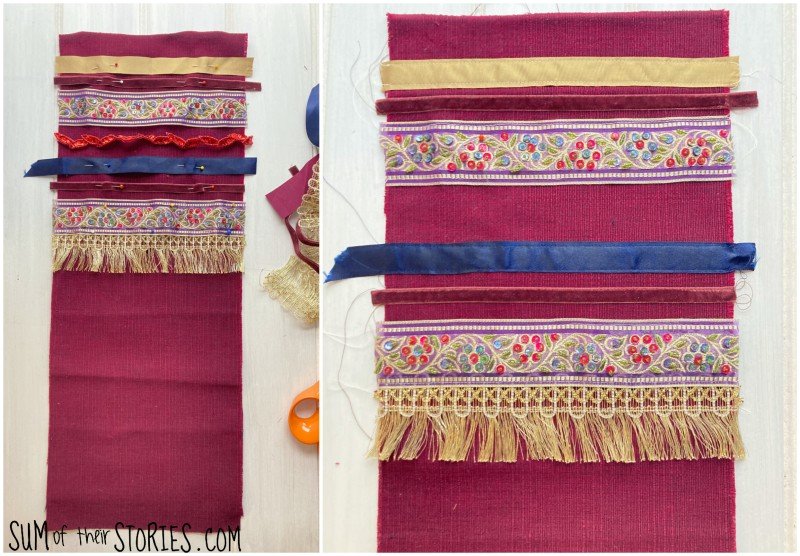
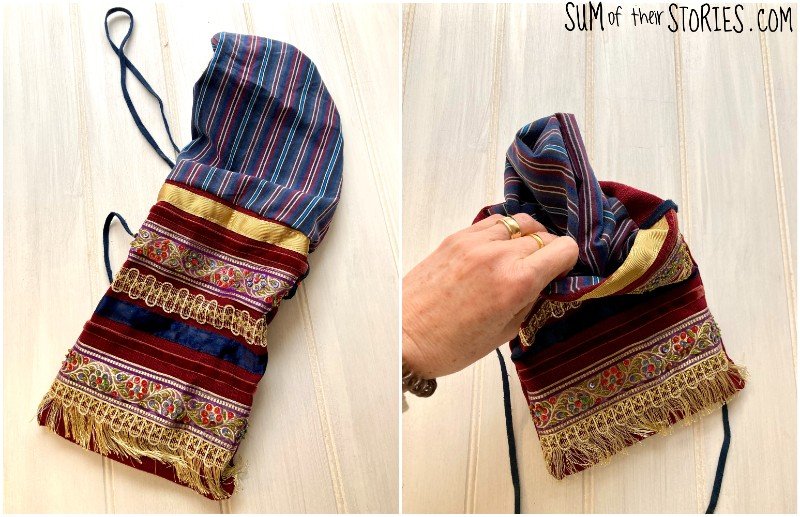
Start by marking the halfway point of your outside “base” fabric then arrange your ribbons on the top half. Take your time and play around until you get an arrangement that you are really happy with. When you are sure, pin everything in place and then stitch along the top and bottom of each ribbon to secure them.
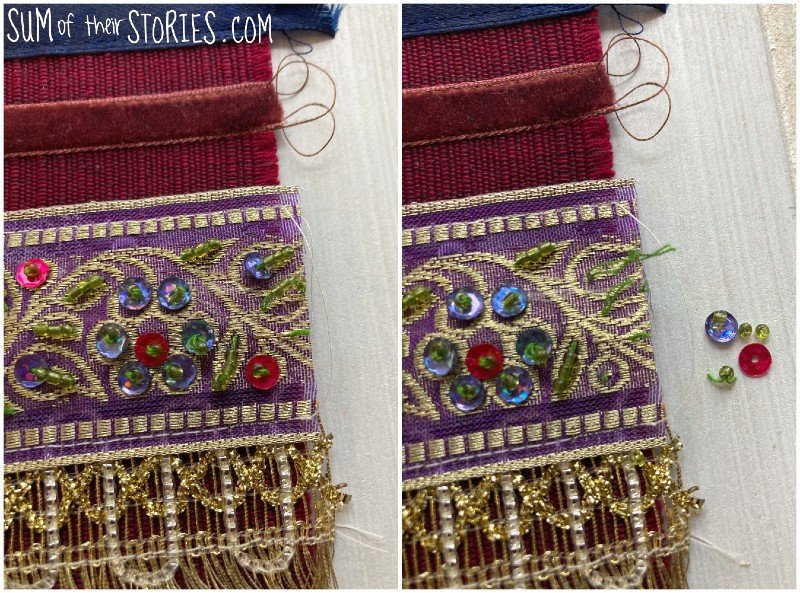
If you have ribbon with beads or sequins then you’ll need to remove any that are close to the edges before you sew up the side seams. I just used a pin to pull the threads and release the beads and sequins but I have seen that some people smash them with a hammer to remove them. My method is a little more gentle!
Sewing the bag
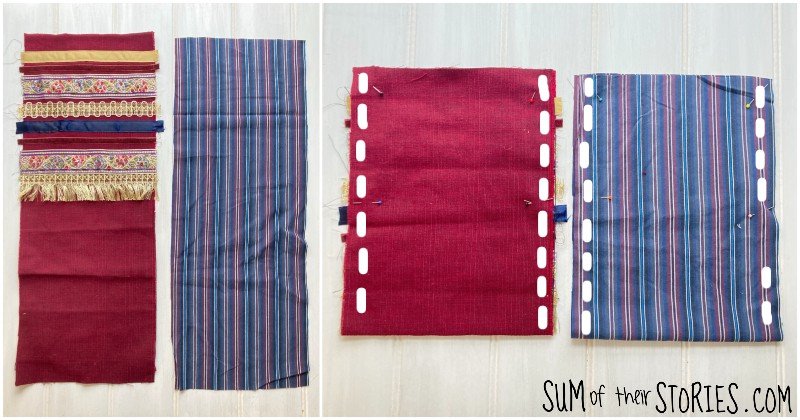
Fold your base (ribbon covered) fabric in half with the right sides together. Do the same with your lining fabric.
Stitch down the sides of your base fabric, use a few back stitches at the start and end of your seam to secure your stitching.
Do the same on your lining fabric but leave a 4” gap on one of the side for turning.

Turn the main bag right sides out and pin your bag strap in place on the side seams. I used an old boot lace as I had one that was ideal. You could use a length of cord or strong ribbon. *
Place your bag outer inside the lining, matching up the side seams and making sure the strap is all tucked inside. Then stitch all around the top. I would suggest some backstitches on the seams where the strap is, going backwards and forwards a couple of times to make it extra secure.
Now you are ready to turn the bag out through the gap you left in the lining.
Sew up the gap, you can do this on the sewing machine or by hand then push the lining inside the bag and press with the iron.

You could stitch a line of top stitching around the top to neaten. I didn’t on this occasion because once it was pressed my fabric held its shape nicely so I didn’t feel extra stitching was necessary.
Adding a fastening

This is completely optional but to finish my bag I added a large popper/snap fastener to secure it. I think it’s really old fashioned to hand sew a popper on like this! Most people will add a magnetic fastener or plastic snap these days. I found this large popper in my button box and thought it would be fun to use it on this slightly retro looking bag.
To sew on the popper I used a thread that matched the outside of the bag. I found a flat backed gem from my bead box to cover the stitching but again this is completely optional.
*If you like a loop and button fastening on your bags you could add a ribbon loop before you stitch the lining and bag together at the top, at the same time that you were adding the bag strap. Then just stitch a button on at the end.
That’s it, a beautiful ribbon covered bag that makes good use of short lengths of precious pretty ribbons and trim.

To give you an idea of bag strap length, I’m 5’6” and used a 49” long shoelace for my bag. It hangs nicely just over my hips when it’s across my body. You can adjust the strap length to suit.


You could make your bag any size too of course. A smaller bag would be nice as an evening bag when you only need your phone, lipstick and keys. If you make a larger bag you might need to think about the strap and make one with a strip of fabric or use something like a webbing just to make it stronger.
Have I tempted you to make a bag with your ribbon scraps? Do tag me if you make one and share it on social media, I always love to see what you make.
Julie
I’ll be sharing this bag tutorial at some of these link ups
You might also like to check out some of my other bag making ideas and tutorials: