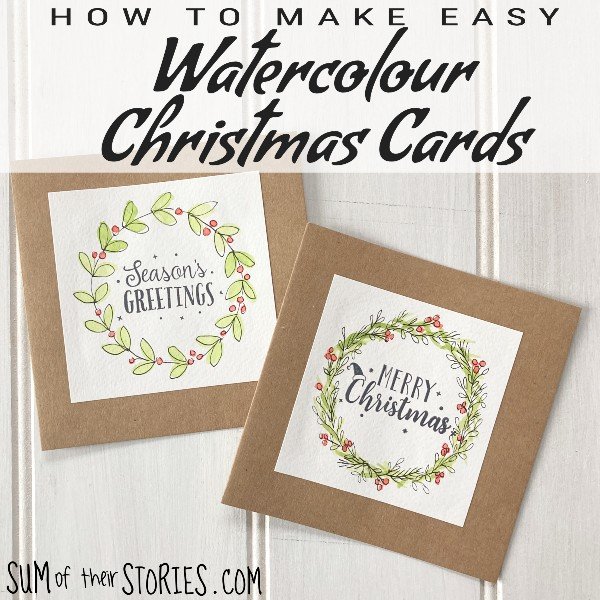
How to make Easy Watercolour Christmas Cards
/I love to send handmade Christmas cards to special friends and family, especially to people who we don’t get to see over the holiday season. If you have a long list of cards to send though, you either need to start your handmade card making MONTHS before or you need to keep the cards reasonably simple so you can mass produce.
For my birthday back in May I was given some lovely watercolour paints and I’ve had such fun experimenting with them. I’m definitely not a watercolour expert but I have learnt already that you can get some pretty effects with them and that less is more.
Niki | Life as a LEO Wife
Marci | Stone Cottage Adventures
Gail | Purple Hues and Me
Michele | Coastal Bohemian
Julie | Sum of their Stories
T’onna | Sew Crafty Crochet
Allyson | Southern Sunflowers
Today I’m joining the Christmas Crafts and Decor Blog Hop to show you a really easy way to make watercolour Christmas cards. If you can paint a blob, draw a straight line and a leaf shape you can make these cards, I promise.
I am a doodler, I love to doodle so these cards are very “me” but you really don’t need to be able to draw very well to make cards like this, I’ll break it down so you can see it’s just very simple shapes and lines, nothing complicated at all.
Materials needed to make simple watercolour Christmas cards:
Blank cards and envelopes
A brush
A black fineliner pen - I use a pigma micron
Glue for paper - I used a pva for these cards
Something round to draw around, I used a drinking glass
A pencil
Start by drawing VERY FAINT circles on your watercolour paper. My paper was an A4 pad so I was able to draw 6 drinking glass sized circles, you want them to be evenly spaced out so you can cut them out afterwards.
I guess you could cut your paper into squares first and then draw a circle faintly on the centre of each piece, there’s no reason why that wouldn’t work perfectly well too - but I’ve only just thought of that so it’s not what I did!!
Easy watercolour Christmas card painting basic steps
The basic steps are:
Watercolour painting
Allow to dry completely
Simple drawings over the painted area with a black fineliner
Cut out
Glue to card blanks
Post to all your special people!
You want to really wet the brush and paint well when using the watercolours, maybe start with a little on scrap paper first to see how it comes out before you start painting your “good” paper. You want soft colours, blobs of shapes etc, nothing harsh. The biggest tip I can give is not to over fuss your painting; keep it simple, simple, simple.
I’ve done a few design so I’ll go through the steps for each one separately.
How to draw a simple green watercolour wreath
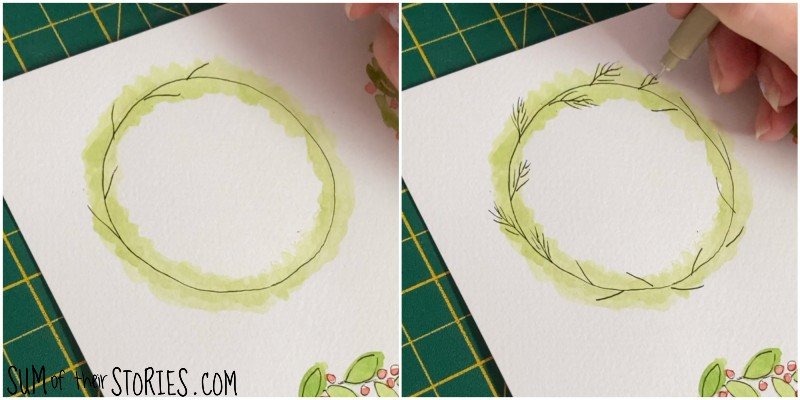
Paint over the pencil circle in green. You can do a solid line, a wiggly line or do lots of small strokes. Leave it to dry completely.
Take your black fine liner pen and draw over the circle.
Now draw some lines coming out from your circle randomly at a 30 - 45 degree angle, then add tiny lines coming out from those lines.
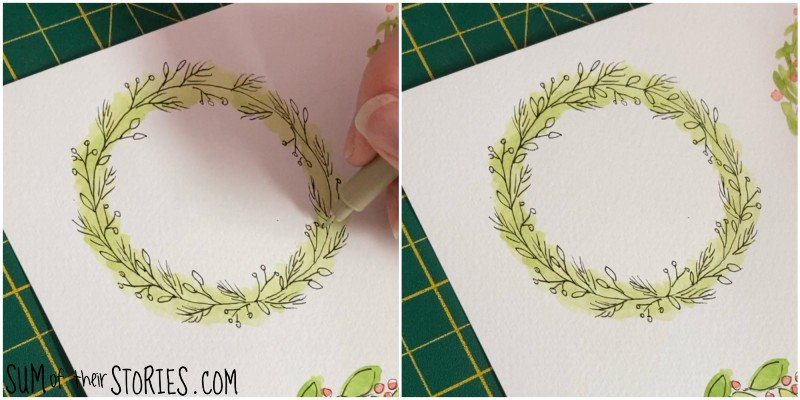
Next draw more straight lines from the central circle, filling in the gaps. This time think branches so draw a line with another line or two coming off it at a jaunty angle. Finish those ‘branches” with a little circle or a tiny leaf shape.
Finish the wreath with a few little leaves sticking straight out from the original circle. Just pop them into any gaps you have left.
That’s it! I told you it was easy, just straight lines and simple shapes.
Finish with a stamped greeting in the middle of the wreath, or even hand letter it if you feel confident.
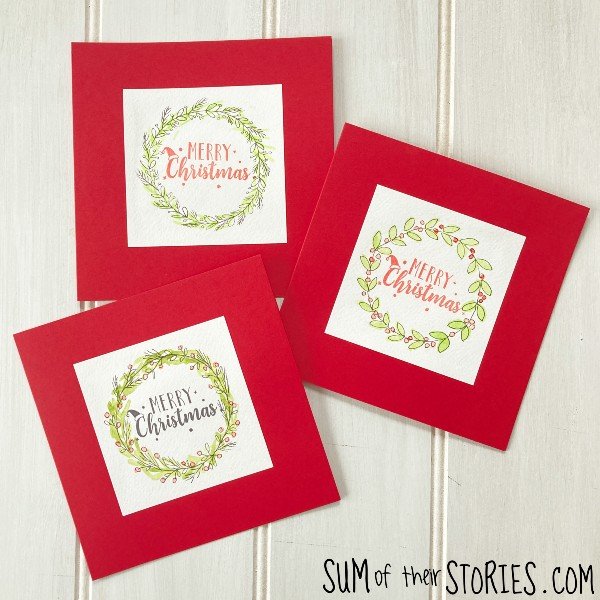
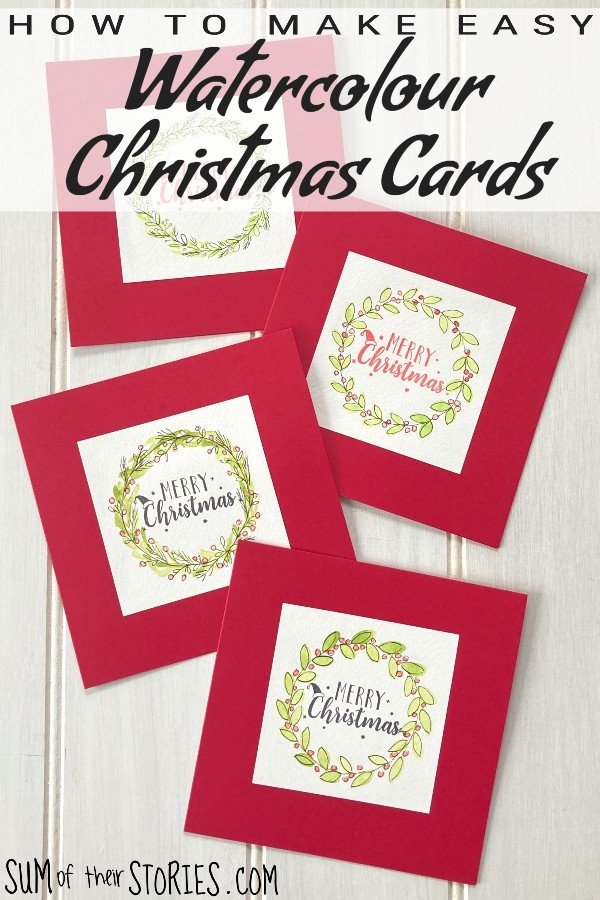
All these designs where done in the exact same way, but if you look closely you can see they are all slightly different.
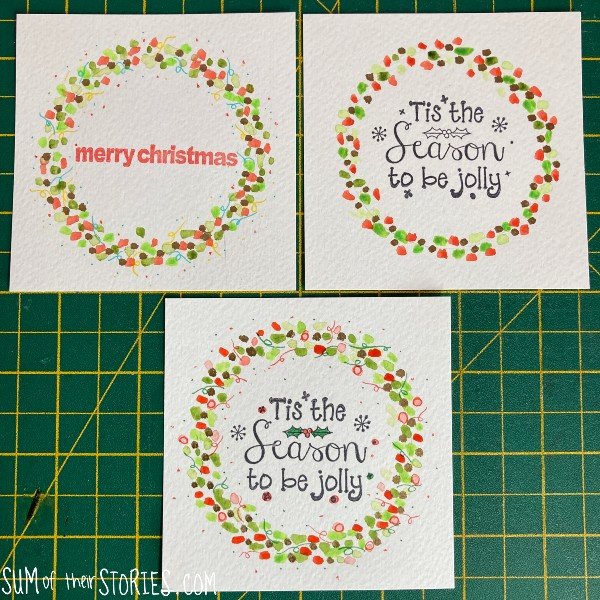
This set of wreaths are drawn in the same way as before. The main difference here is that the green watercolour painting started as a circle of short strokes instead of a solid circle. The top left has slightly larger leaves coming from the circle, they went on first, then the other elements filled in the gaps, plus as you can see on the top right one I also added some little red dots. You can the “before” of that one below:
Next:
How to draw a simple leaf and berry watercolour wreath
For this leaf and berry design you start by painting leaves all around your faint pencil circle, then popping a load of red dots in between your leaves. Again, let it dry completely.
Rub out any pencil lines that you can. This time we are not going over the pencil circle so it may show if you don’t rub it out. The reason you draw your pencil circle as faintly as possible is to make it easier to rub out. Also where the paint has gone over the pencil that pencil mark is now sealed in; it won’t rub out. If you look closely in the photo above you can see the pencil lines crossing some of the leaves.
The drawing on this wreath design is even easier than before. Outline the leaves then outline the red berries - easy as that! They don’t even need to be perfect, in fact and little bit of overlapping paint is perfect.
These 4 variations are all based on the same basic idea. You can space the leaves out, or squish them together, add lots of berries or none at all. Your leaves can be fat and dumpy or longer and thinner.
Have fun play around, see what you like best.
Dotty Christmas watercolour wreath design
The dotty wreath is SO simple it doesn’t even need any step by step photos.
Paint dots in shades of green and red. Leave to dry. Add dots of gold pen to fill in any gaps.
Use colourful fineliner pens to draw a twirl or 2 and maybe a some tiny dots too if you fancy adding some more.
Once the wreaths were cut out I simple glued them to some square blank cards ready to send to our friends and family this year. Big spoiler to any of my friends and family who read the blog but at least you don’t know which of the designs you’ll be getting!
I left this one without doodles just to show you what that would look like with just the simple watercolour.
If you like watercolour painting and are looking for another simple beginners idea then you might like to check out this Christmas Tree Card idea too.
Now let’s take a look at the other craft and decor projects in the Christmas Blog Hop:
Farmhouse Christmas Stocking Holders
Glitter Foam Circles Christmas Tree
Watercolour Christmas Cards - that’s this tutorial!
Chinoiserie Ornaments DIY Designer Knock Off
I’ll be sharing this tutorial at some of these link ups
You might also enjoy some of these Christmas craft ideas:


