How to make a Cross Stitch Christmas Tree Ornament
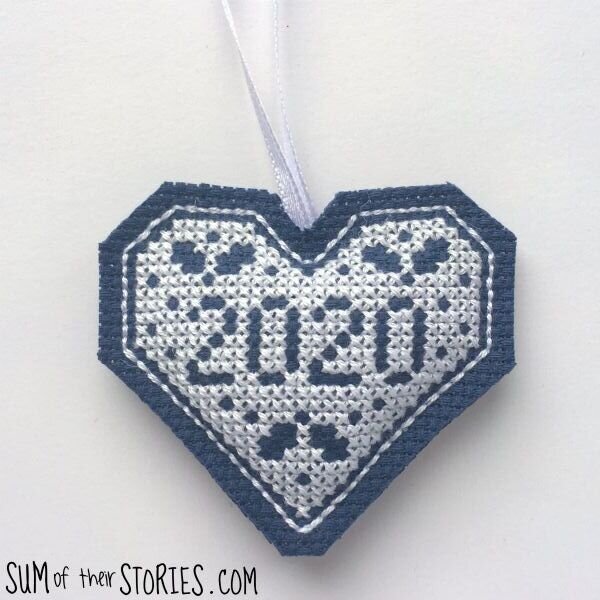
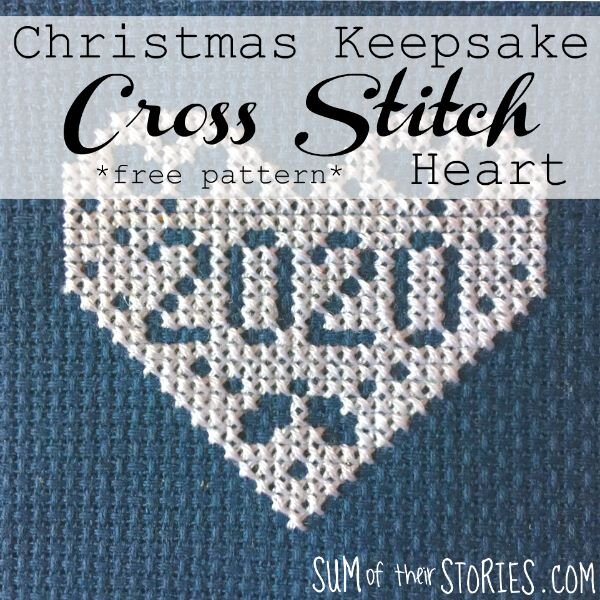
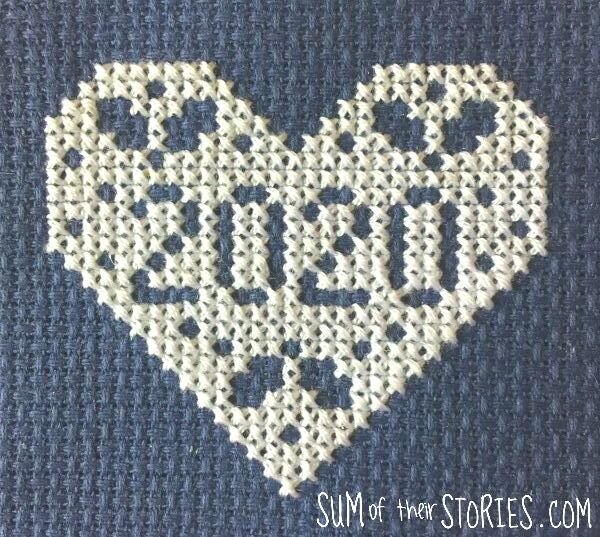
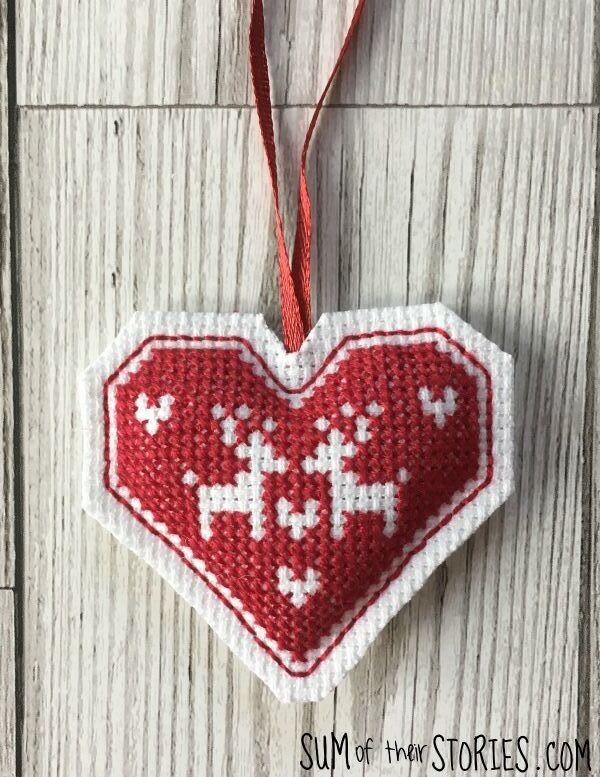
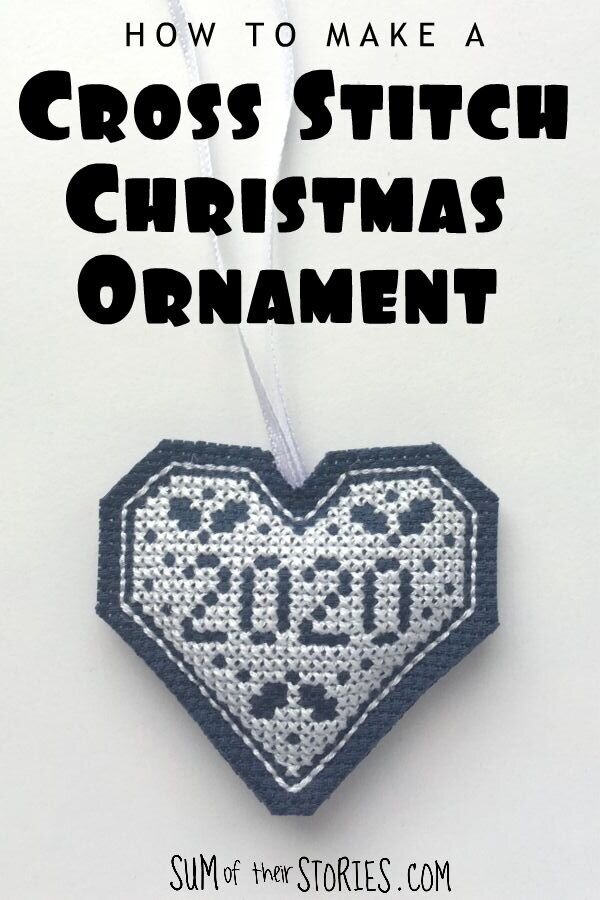
/A couple of weeks ago I shared this heart shaped keepsake cross stitch design and suggested it might make a sweet little Christmas tree decoration.
Update: This design is available for the years 2020, 2021, 2022, 2023 and 2024 now, you can find them all here: Christmas heart cross stitch design.
I’ve got my act together now and turned it into said ornament, here’s how.
To make a Cross Stitch Heart Christmas Tree Ornament you will need:
2 pieces of 14 count Aida approx 4” square
Embroidery thread
A length of ribbon
A tiny bit of fibre fill
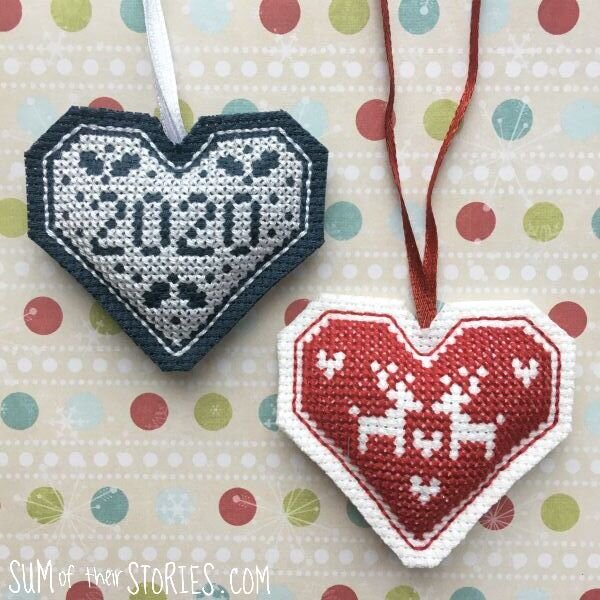
Before I begin I need to explain that I’ve made the red and white one of these and didn’t have enough good photos for a tutorial so I took a few more when I made up the blue and white one. Your eyes do not deceive you, the photos jump between the two!
First you need to pop here to get the pattern for your cross stitch heart and stitch the design centrally onto one of your pieces of Aida.
If you want to stitch the design shown in red then it is available in a set of 18 over in my Etsy shop.
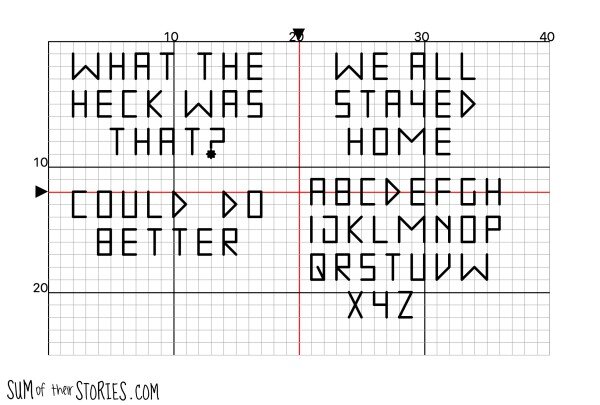
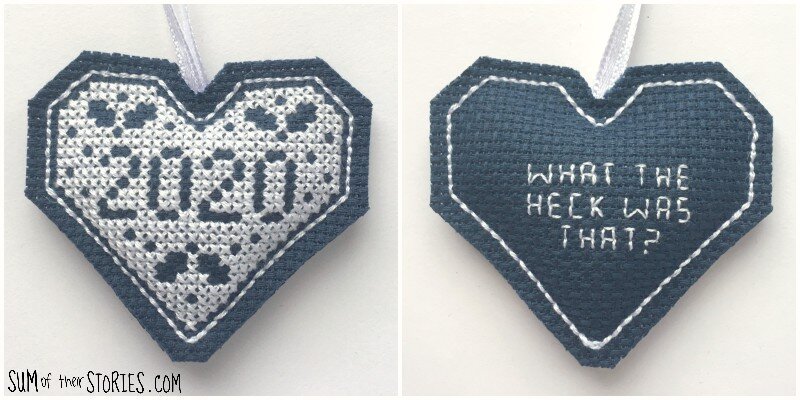
If you want to embroidery anything on the back now is the time to do that. Embroider whatever you like centrally on the other piece of aida fabric. The red and white heart ornament I left plain, but on the blue one I put “What the heck was that?” which was suggested by one of the kids to sum up 2020.
I’ve designed a few different messages which you are welcome to use or just design your own with the simple alphabet I’ve put on this design sheet. Copy and paste the image below or download it here.
It would make a lovely baby’s first Christmas keepsake to add a name to the back of an ornament.
Turning your embroidery into an ornament
Take a long length of embroidery thread, just one strand. Fold it in half and the thread the open ends on your needle.
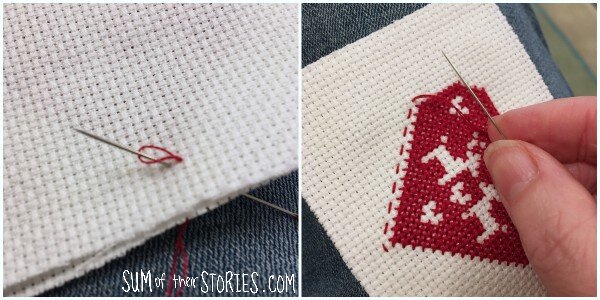
Lay your 2 pieces of aida wrong sides together with any message on the back central to the heart on the front. Just hold it up to the light to see it is positioned correctly. Start a running stitch by coming up from the back through a hole, don’t pull the thread all the way, leave a small loop. Going back through the next hole along and also go through the loop. The picture shows this easily, it’s quite hard to describe in words! It’s just a simple way to secure the thread without needing a knot of any sort.
Work a running stitch all around the heart, lining up the holes on both pieces of aida as you go. This is much easier than it sounds.
When you get close to the top of the heart take the ribbon and tie a knot in the end. Position it between the layers of aida in the middle of the heart and then continue your running stitch. If you can make sure you are stitching through the ribbon with the stitches.
Stop when there is a small gap and then add a little fibre fill, use something pointy to push the fibre fill right into the heart. Then finish stitching right round the heart to close the gap.
Continue round the heart again, in the opposite direction, so you are stitching a double running stitch. When you get back to the beginning cast off and the loose the end somewhere in the middle of the heart and snip the end of the thread. .
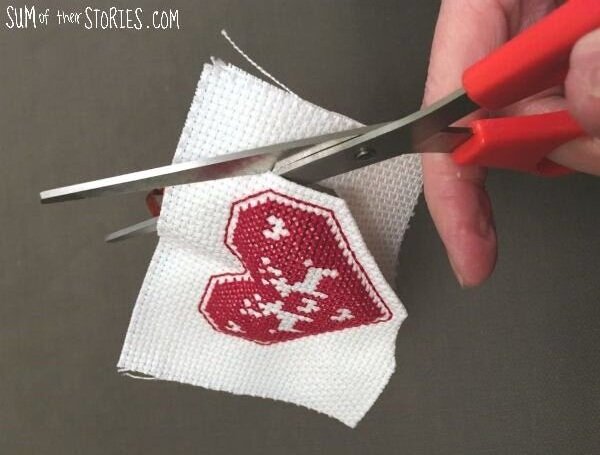
Now you can trim the heart, I did this two squares away from my double running stitch. Be especially careful as you go past the ribbon not to cut it off!
Although it seems a bit odd to stitch first and cut out afterwards I found this is by far the easiest way to keep the heart neat and to stop the aida fabric from fraying. If your fabric is very floppy or loosely woven then you can add a little mod podge or fray stop to the raw edges, on my fabric that didn’t seem necessary though.
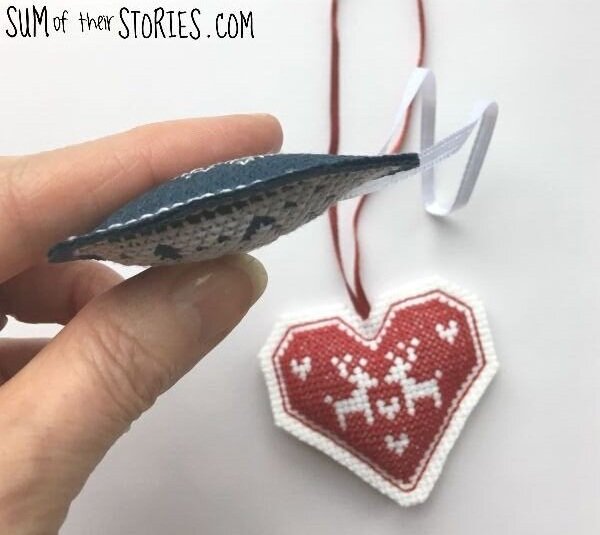
Here’s a side view, so you can see how much fibre fill I used to stuff the ornament and how poofy it is.
You could of course use the design to make an ornament in many other ways, not just this one.
You could back it with a colourful fabric, putting the fabrics right sides together, stitch round on a sewing machine leaving a gap and turn right sides out before stuffing and sewing the gap shut. If your aida is very stiff you might find this quite tricky though.
You could cut out the heart and applique it to another fabric, and then make an ornament that’s a bit bigger.
You could cut out the heart and glue it to a wooden ornament blank, or wood slice. I think something like Mod Podge would work well for that.
You could back the heart with a thick felt and either attach with stitching or a fabric glue.
You could stitch the design on plastic canvas and just cut it out. Maybe back with felt if you don’t like to see the back of your work.
You could do something else that I’ve not thought of!!! Leave your suggestions in the comments below if you like.
Remember click here for the cross stitch design for several years for free, and the red reindeer design is part of a set of 18 designs available from my Etsy shop here.
update:
Enjoy your stitching and please do tag me on social media if you share a photo of your Christmas heart makes, I love to see them.
Julie


