How to make a felt scissor cover
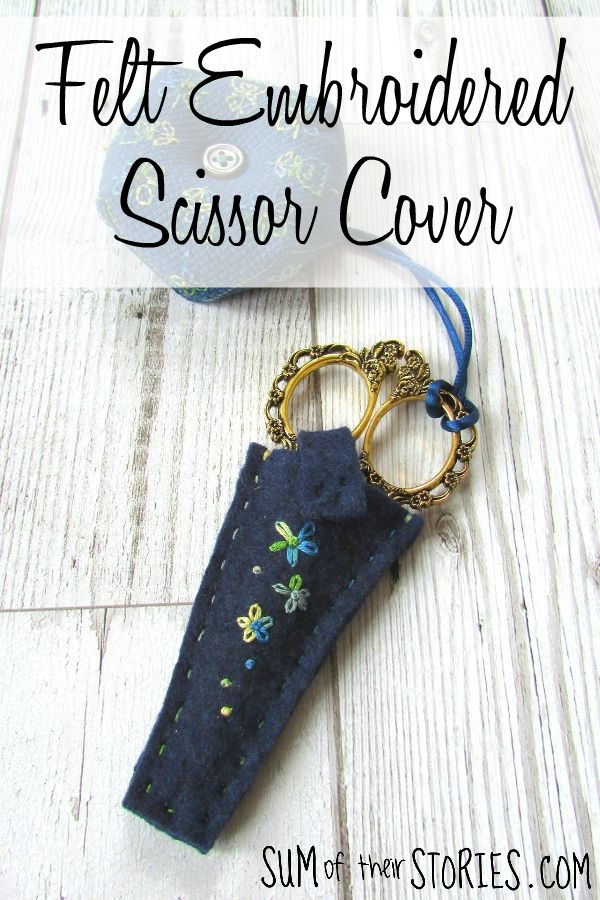
/If you have a pair of particularly sharp, pointed embroidery scissors you might like to make a pretty little felt cover or sheath for them.
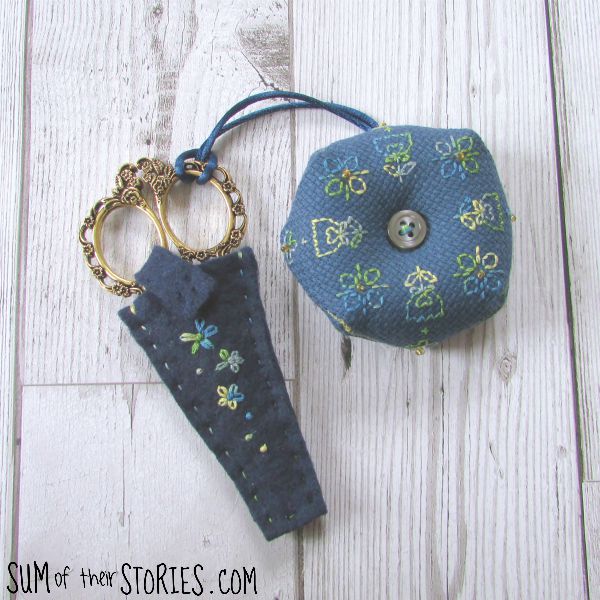
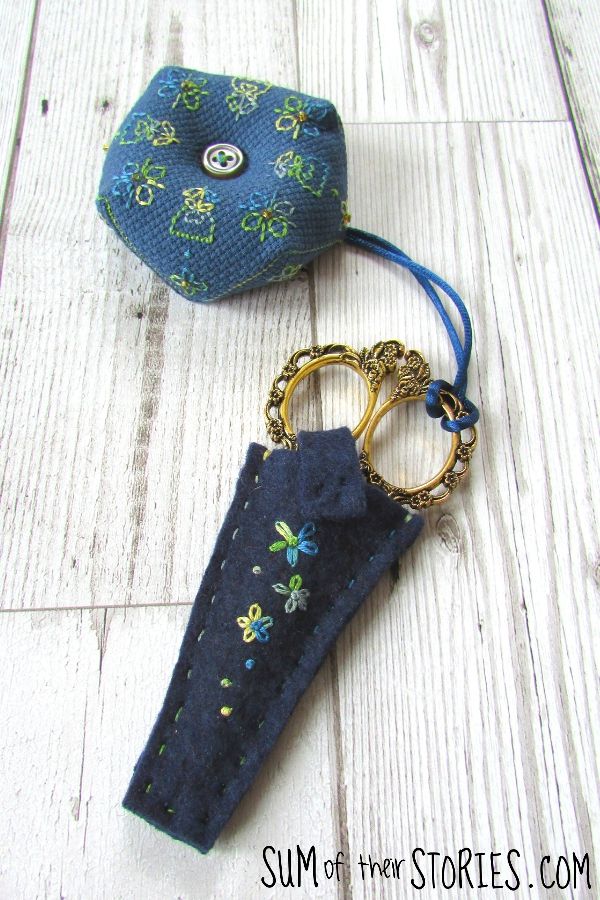
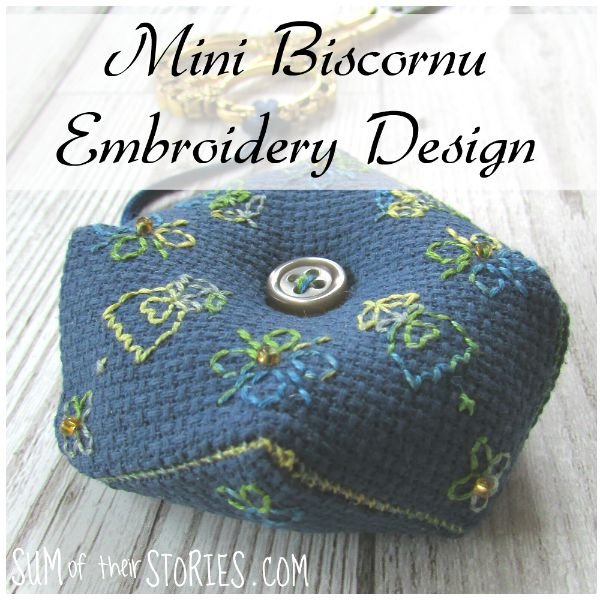
A little scissor cover like this is really easy to make from scraps of felt. I made this one to go with this biscornu that I shared a few weeks ago. The set was a birthday gift for a friend. The pretty little embroidery scissors I’d bought for my friend are super sharp and pointed and a cover seemed like a good idea. Not so much to protect the scissors but to protect things in her craft bag from the scissors!
I used a scrap from an old felted jumper, it was a left over bit from when I made these felt flowers, but you can use shop bought felt if you prefer. Any felt will do, but ideally nothing really think or really thin. You want the Goldilocks zone of felt! I’ve not given any sizes for the pattern pieces as the size will depend on your scissors, but there are photos to show you want to do.
To make a felt scissor cover you will need:
Scraps of felt
Embroidery thread - mine is DMC coloris thread
A snap fastener (you could use hook and eye fastening instead if you prefer)
Matching sewing thread
A sharp needle
Prepare the scissor cover pattern
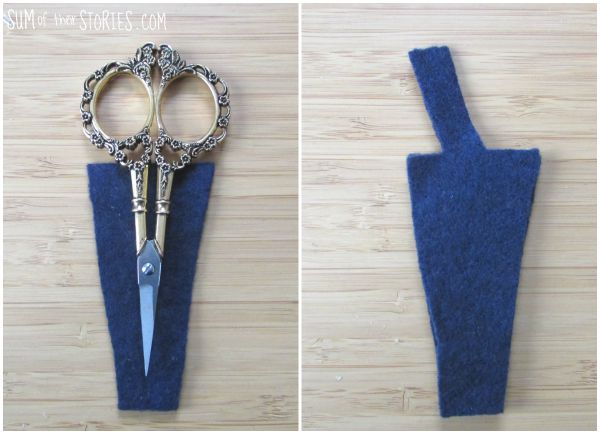
Lay your scissors on a single layer of your felt and cut around them, leaving a 1cm allowance all around the edge. You want the top edge to be just below the finger hole part of the scissors.
Cut a second piece of felt the same as the first but adding a strip sticking up from the centre at an angle. The photo will show you best what I mean. The length of the strip will depend on your scissors and how big they are, but to give you an idea the strip here is 3.5 cm. It needs to be long enough to poke through the hole and overlap onto the front. If you are not sure I’d suggest making the strip a little longer than you think you need, you can always trim any excess off once you are at the final stage. Or you could try making a paper template for your scissors with scrap paper before you cut the felt.
Embroidery decoration
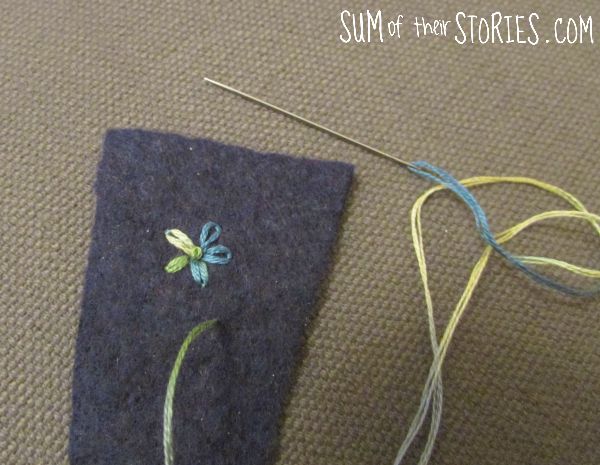
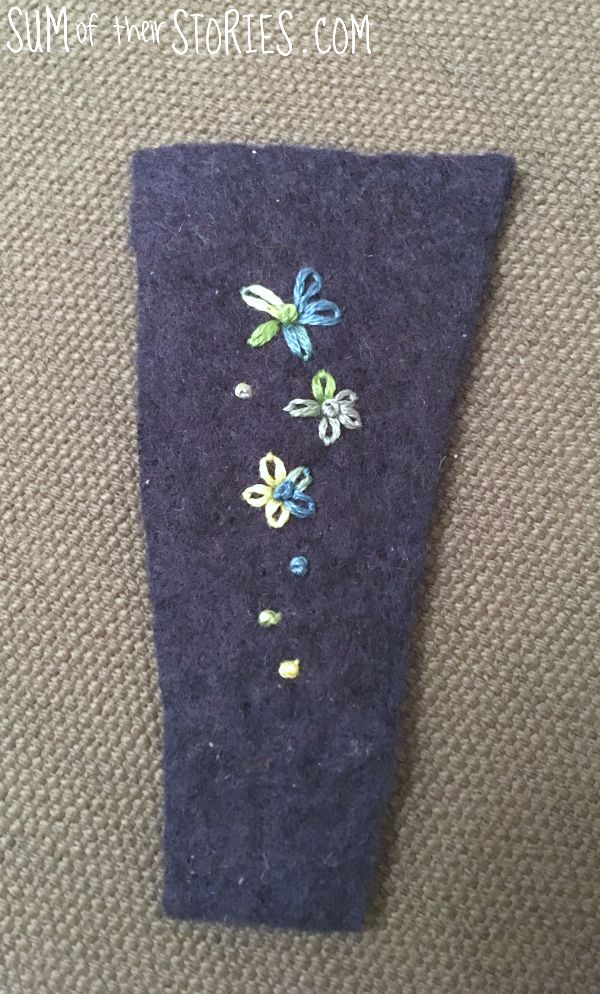
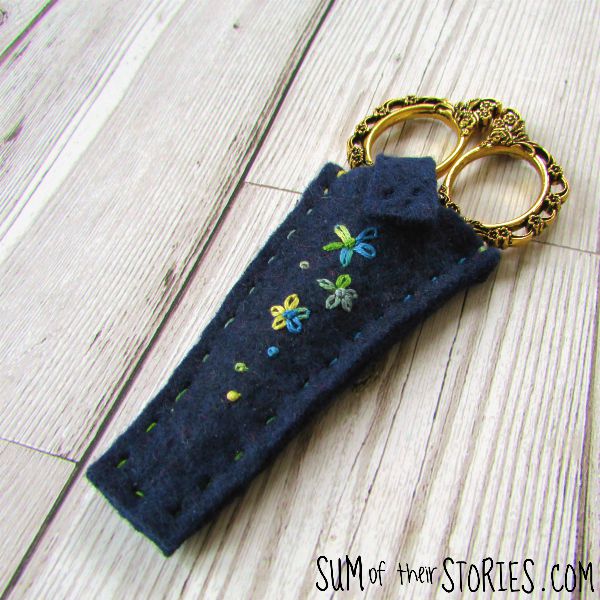
Now your pieces are ready, you want to add some decoration to the front of your scissor cover (that’s the piece without the extra strip) I stitched a few flowers with a lazy daisy stitch and added a few french knots. I used the same DMC coloris variegated thread that I’d used for the matching biscornu. I used 3 strands of the embroidery thread. If you are new to embroidery I have a tutorial for basic embroidery stitches including lazy daisy.
Assemble the scissor cover
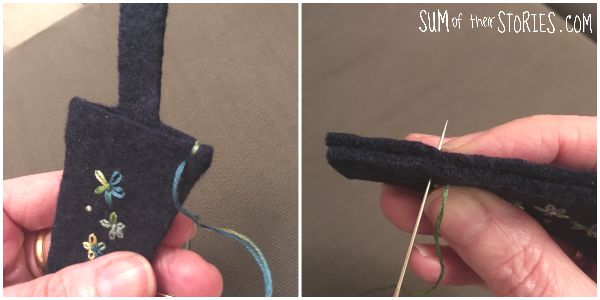
When you are happy with the embroidery you are ready to join the front and back of the scissor cover together. Again using 3 strands of embroidery thread place the front and back pieces wrong sides together and stitch around the 2 longs sides.
To start, make a knot in the end of your thread and bury it between the layers of felt, then work 3 stitches over the top edge to make it really secure before you start the running stitch down the side. You’ll find it easier to stab the stitched right through to the other side rather than a traditional ‘in and out’ running stitch. That way your stitches will be just as visible on the back as the front.
Finish in the same way you started, with a few stitches over the top edge, then cast off securely and bury the end inside the cover.
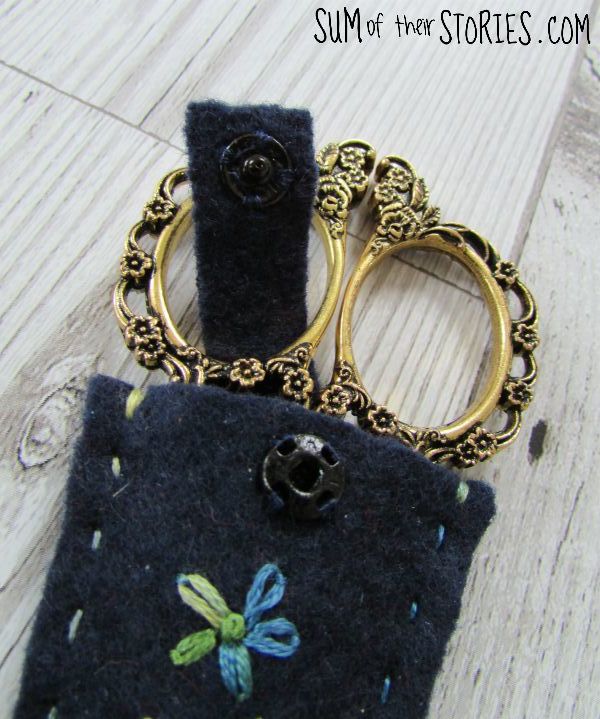
Pop the siccors into the cover and poke the strip through the finger hole. Trim if necessary (see the suggestion earlier) and then, using a sewing thread that matches the felt, sew on a snap fastener.
That’s it, your little felt scissor cover is done. How easy is that!
The embroidered felt scissor cover, scissors and biscornu made a pretty and useful little gift. You can find the pattern for the biscornu here.
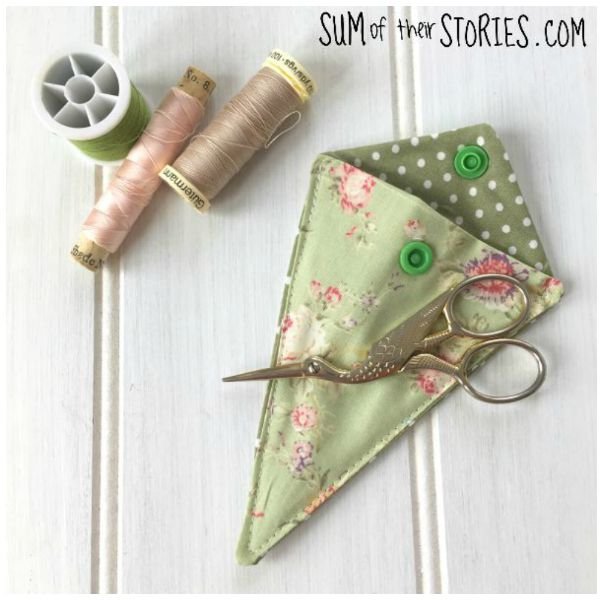
I have another scissor cover idea, made with printed cotton fabric which you might also like to consider making to keep your scissors safe and cosy.
These scissors are available from amazon here.
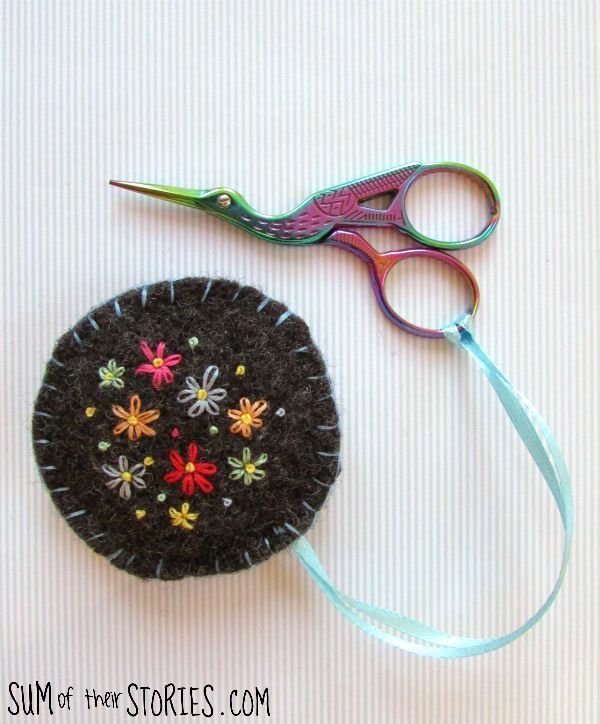
I love pretty scissors, my own favourites are my stork ones and my daughter has some gorgeous unicorn ones. Minerva crafts have a great selection here if you are on the lookout for new embroidery scissors.
Julie
I’ll be sharing this project at some of these link ups.


