Free Pattern, mini crochet doily flower
/Here is a free crochet pattern to make a small simple doily flower. I’ve written this pattern up but it is from a piece of crochet by someone else. If I find out who or where of course I will add links and credit them.
A few months back I shared a crochet story. My mother in law gave me a couple of tiny little doily type motifs that she had made, years before and she had lost the patterns. In a mad moment I thought I might be able to work them out for her and recreate the designs. It turns I was able to recreate the patterns pretty well and my Mother in law has been making them ever since. Success!
The first one was this Diamond Mesh Mandala Doily pattern, here it is worked in several different yarn weights and hook sizes.
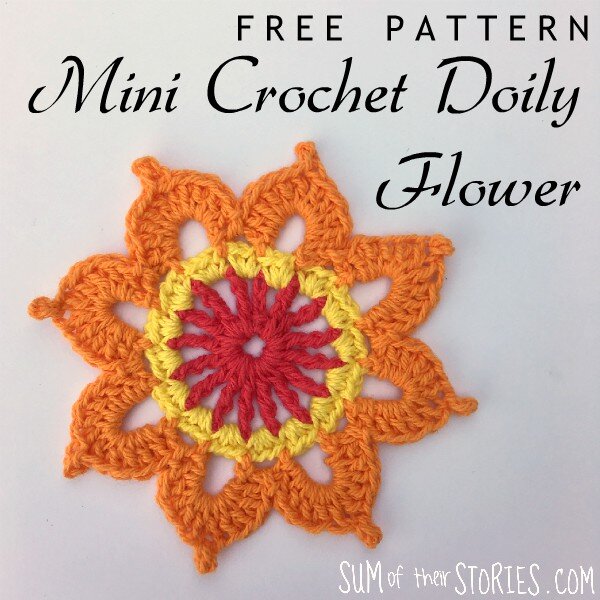
She also gave me this motif which seems like more of a flower in my mind, so I’ve called this one a crochet doily flower.
This original measures about 2.5” or 6-7 cm across. Neither myself or my mother in law have any idea what yarn this was made in or what hook size was used.
This one that I made for these photo tutorial was made with a cotton blend DK and a 3.5mm hook. It turned out 5” in diameter or 12.5cm.
You could make this in any yarn with any hook size, it’s pretty quick so you could experiment easily and see how it turns out.
Mini Crochet Doily Flower Pattern
UK Crochet Terms
sl st – Slip Stitch
dtr – Double treble
dc – double crochet
trbl – treble
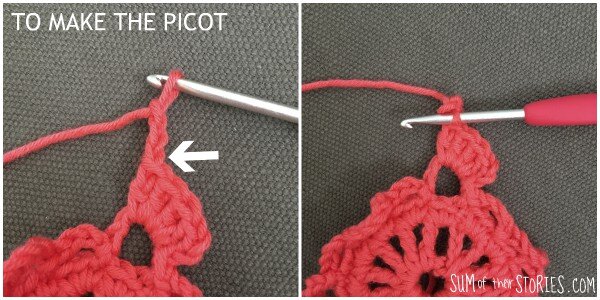
picot – 3 chain, slst into 1st chain
(Remember if you are used to working in US crochet terms simply swap dc for a sc, trbl for a dc and dtr for trbl, the rest should be the same)
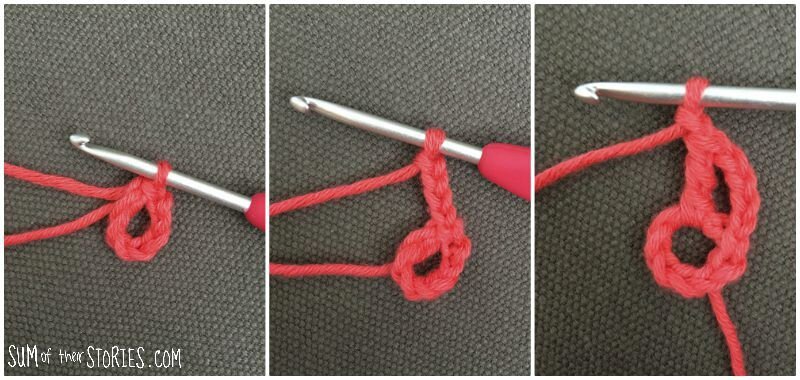
Chain 8, slst into beg of chain to form a loop
Round 1: chain 4, counts as 1 dtr and 1 chain. (dtr into loop, chain 1) 15 times. slst into 3rd chain of the previous 4 chain to join.
You’ll have to pull the stitches across to make room, it’s a pretty tight fit to get all 15 stitches in. You’ll end up with 15 dtr plus the 3 chain so 16 spikes in total.
Round 2: chain 2, work 2 dc into the first chain space between the dtr of round 1. Work 3 dc in each of the remaining 15 chain spaces. Join into the 2nd chain of the chain 2 with a slst to finish.
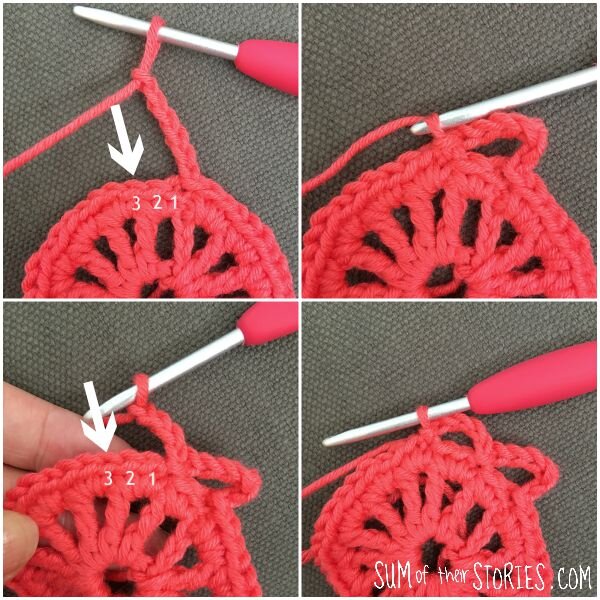
Round 3: *Chain 6, skip 2 stitches from previous round and slst into the 3rd stitch. This should be directly above the dtr of round 1. Chain 4, skip 2 stitches from previous round and slst into the 3rd stitch. again, this should be directly above the dtr from round 1. Repeat from * 7 more times.
Make the final sl st in the bottom of your first 6 chain.
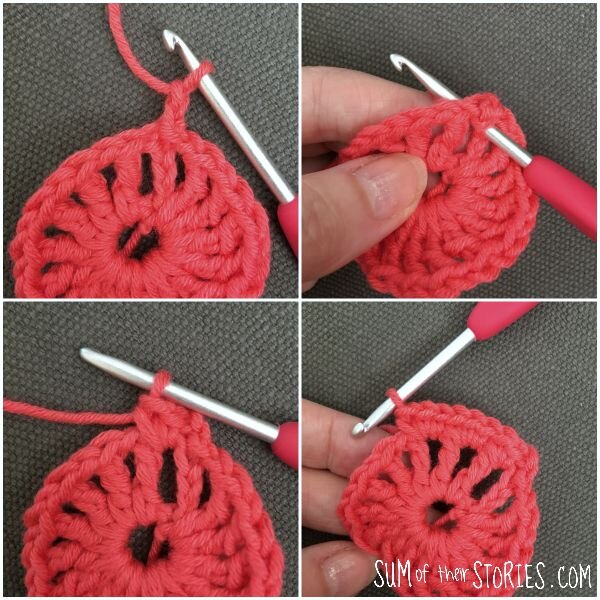
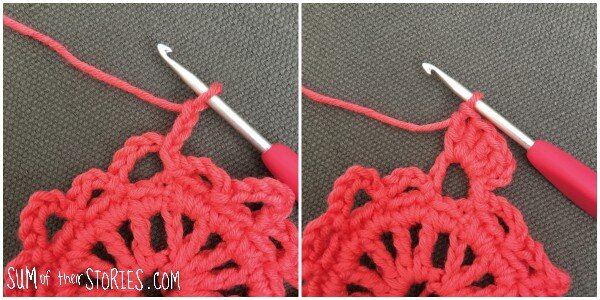
Round 4: Into the first 6 chain space work the following – slst, then chain 3, counts as 1 trbl, 4 x trbl, 1 x picot, 5 x trbl. * dc into the 4 chain space. Into the next 6 chain space work 5 x trbl, 1 x picot, 5 trbl. Repeat from * 7 times. dc into 4 chain space, slst into top of the 3 chain from the beginning of the round to complete.
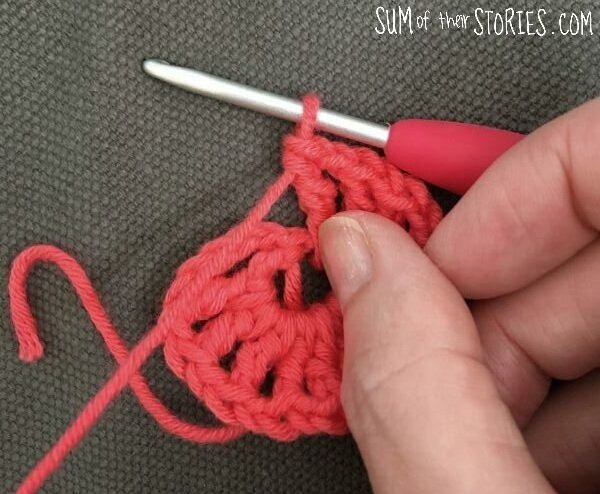
The picots are a bit fiddly, you do have to kind of twist it round and guide the hook through the loops.
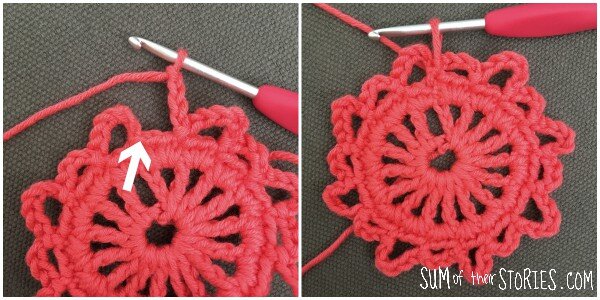
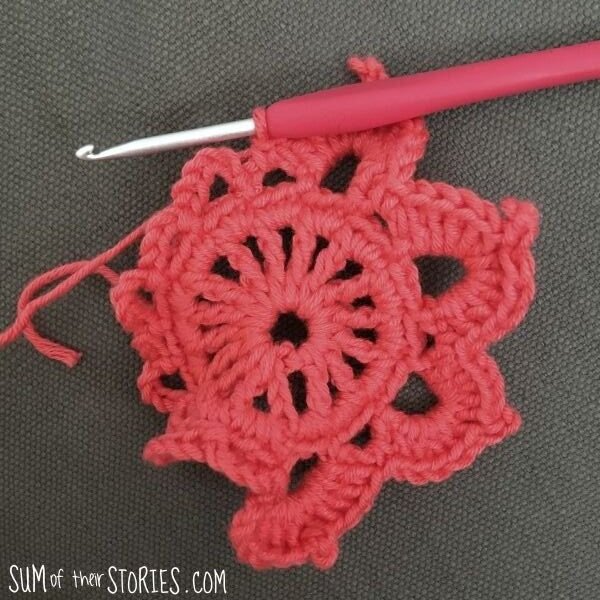
Your work will be pretty wavy at this point. Don’t worry, it will flatten when you block it afterwards.
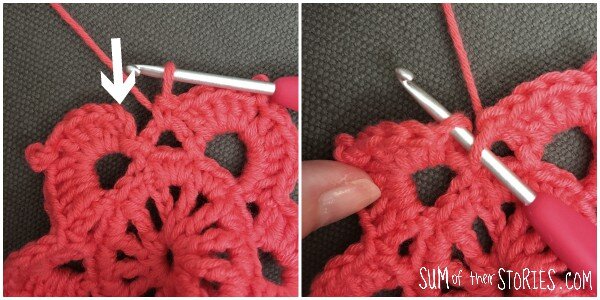
When you get back to the beginning your sl st goes into this stitch at the top of the chain 3.
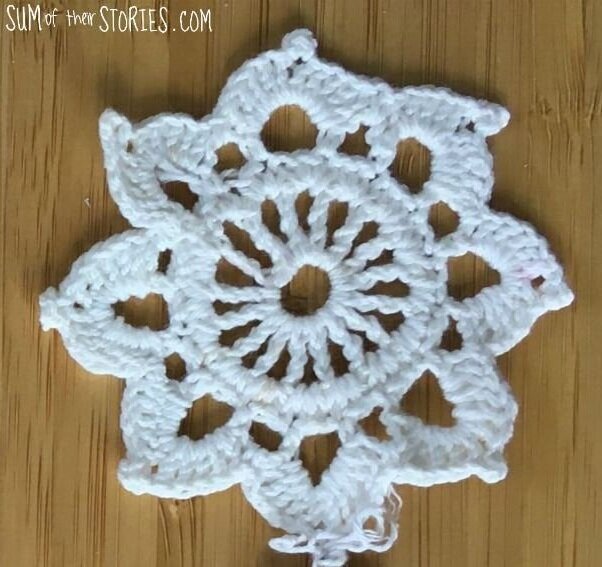
It’ll end up looking something like this hopefully!
This needs blocking of course, to pull those picots out and to even up the spokes in the centre.
Blocking is very simple, dampen the work and then pin it out on a doubled up towel in the shape you want and leave to dry.
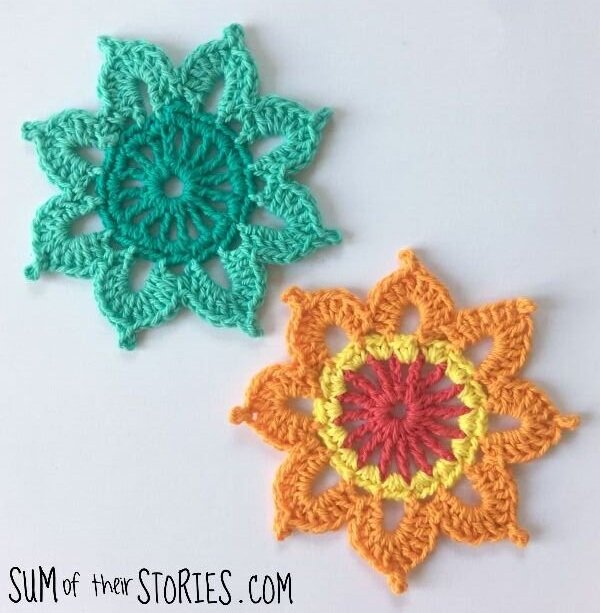
Once I had the pattern sorted I made a couple of new versions with the same cotton yarn from Tiger that I used for the Diamond Mesh Mandala Doily. It doesn’t give details on the band about weight but it’s pretty thin, probably 2 ply and feels like a fingering or sock weight to me. I used a 3mm hook.
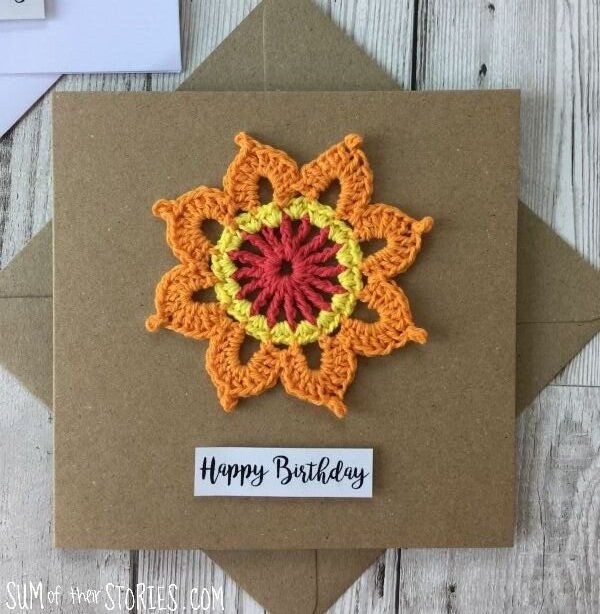
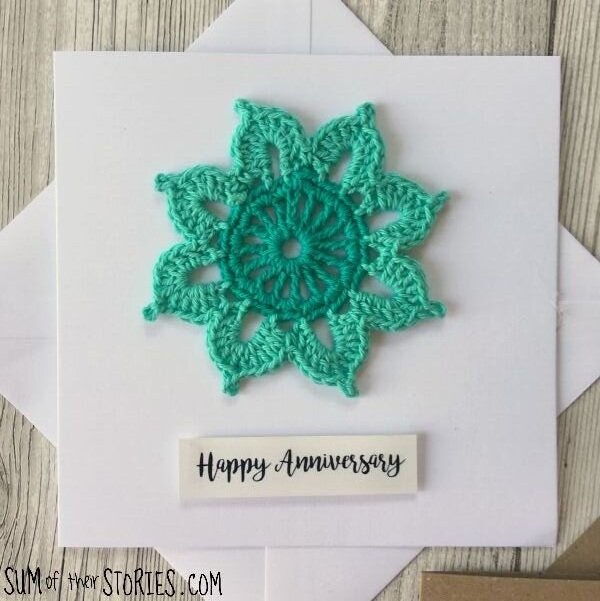
These came out 4” or 10cm all the way across from picot to picot. I played around trying changing colour for the different rounds too, pretty but more ends to sew in!
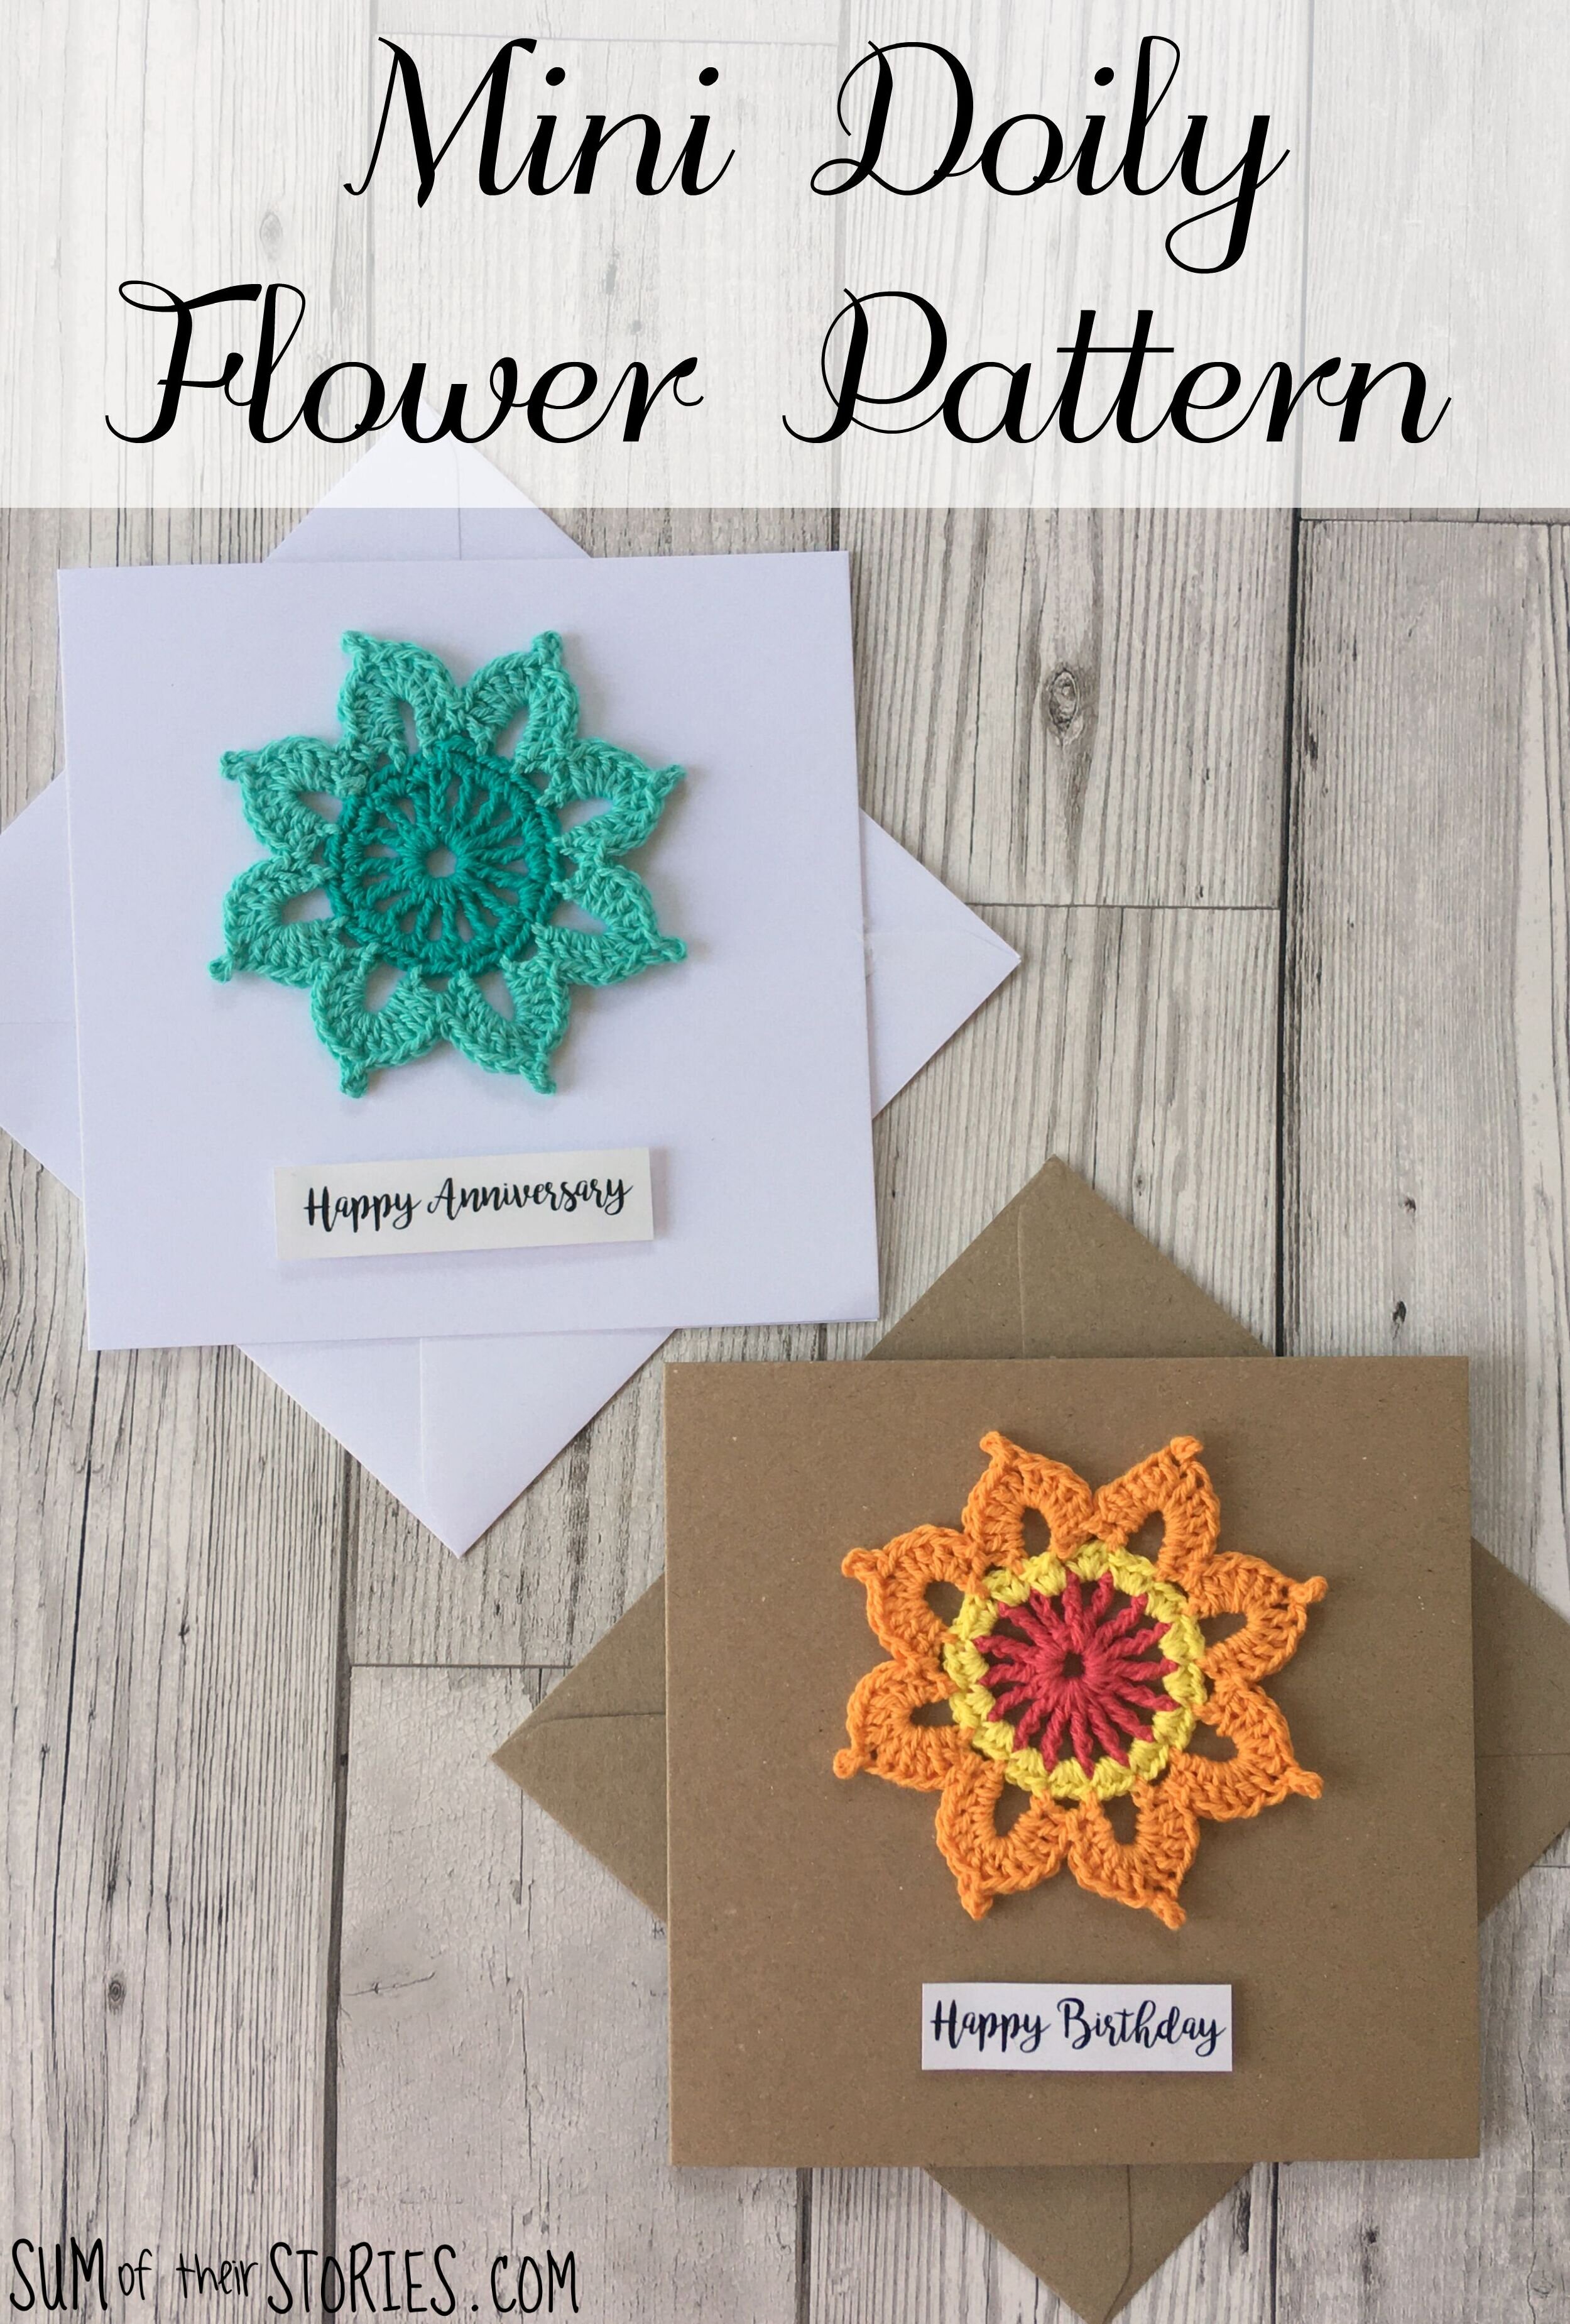
These smaller flowers were perfect to use as card toppers
There will be an inexpensive easy print version of this in my Etsy shop soon, I’ll probably combine it with the diamond mesh one as a bundle of 2. It takes me ages to get these ready to go so do bear with me! Not enough hours in the day sometimes! In the mean time to enjoy this simple little crochet doily/flower pattern.
Julie
I’ll be sharing this project at these link ups


