Citrus Dotty Crochet Baby Blanket
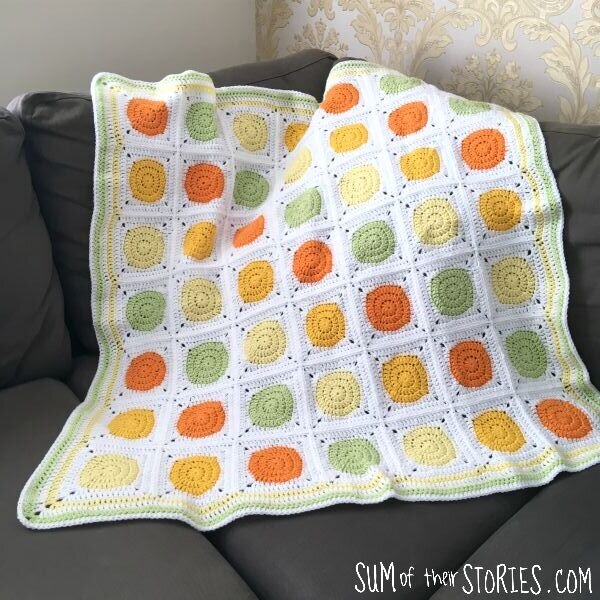
/Anyone who follows on Instagram will have seen me sharing photos of this citrus coloured dotty baby blanket as it was in progress.
I loved making this one, the colours are bright and fresh and the pattern is a variation of a granny square and you all know how much I love granny squares right?
This is not my design or pattern so I’m just sharing with you details like yarn needed for the size, links to the patterns I used and details of how I completed the border.
Baby Blanket Finished Size:
The blanket I made is 39” (99cm) square
Yarn Used:
I bought all new balls of yarn but had quite a bit left over so you might be able to use yarn from your stash.
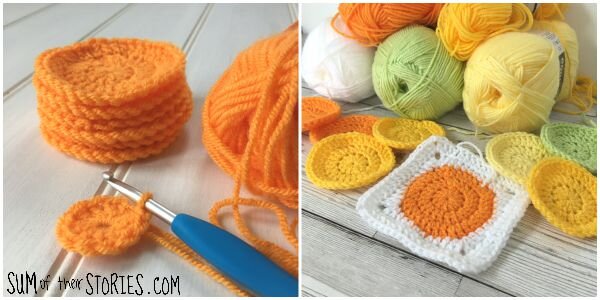
1 x 100g ball of orange DK (I used WI Premium Acrylic from Hobbycraft)
1 x 100g ball of yellow DK (I used WI Premium Acrylic from Hobbycraft)
1 x 100g ball of lemon DK (I used Hayfield Bonus DK Extra Value from Hobbycraft)
1 x 100g ball of pale green DK (I used Hayfield Bonus DK Extra Value from Hobbycraft)
2 x 100g balls of white DK (I used WI Premium Acrylic from Hobbycraft)
I had roughly 45g or half a ball left of the orange, yellow, lemon and pale green. I used all but about 20cm of the white, which is why the final white round of the border is htrbl instead of trb!
I used a 5mm Clover Amour Crochet Hook (the clover amour hooks are my favourite)
Pattern for the Dot Granny Squares:
To make the granny squares I followed this brilliant tutorial from Dream a Little Bigger. Allison has taken a photo of literally every step which makes it really easy. I love a photo heavy tutorial!
* Note that Allison’s pattern is written in US crochet terms so you might need to translate it *
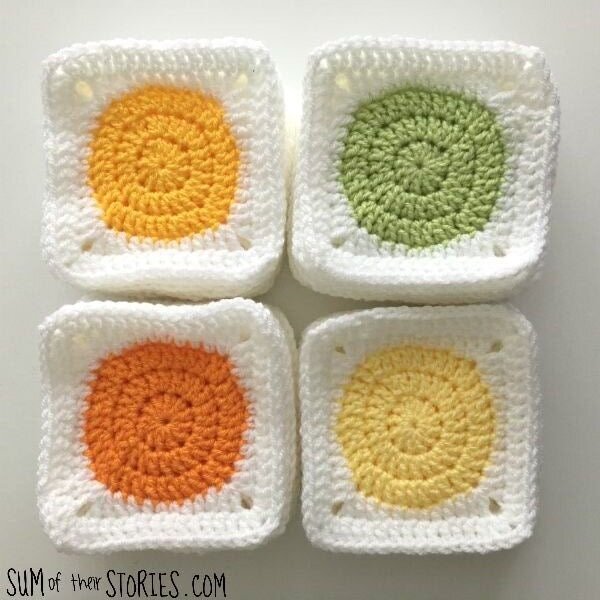
I made a total of 13 orange squares, 12 yellow, 12 lemon and 12 pale green.
I stopped after completing round 5 of the pattern, each square measures 4.5” (11.5cm)
There is something very pleasing about stacks of crocheted squares isn’t there?
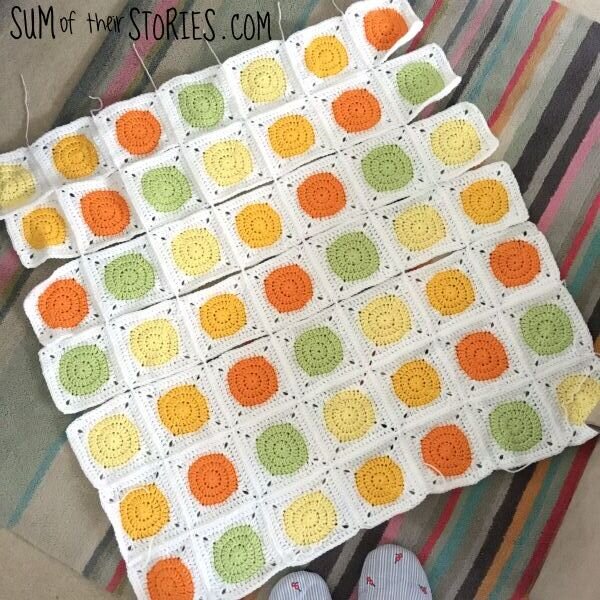
When it came to joining my squares I tried a technique which is new to me, Flat Surface Slip Stitch Join. I followed this You Tube tutorial from Crystals and Crochet.
Using this technique you join all the squares in one direction and go back and join them all in the other direction as step two. It does mean that you have to make all the squares before you can start joining. This was hard for me, I always get impatient and want to start joining halfway through!
The border:
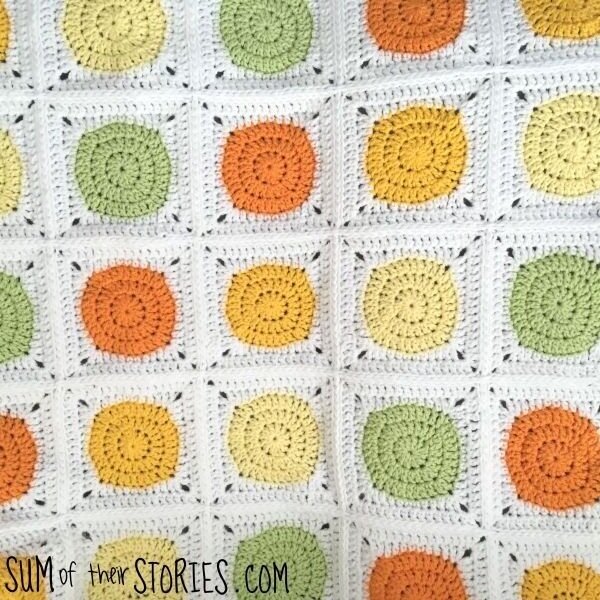
Once all 49 squares were joined I worked a simple border with 3 rounds of treble crochet border (or double crochet if you work in US terms)
The first row of border I worked was the yellow one. I worked 1 treble in each stitch of the granny squares of the row below, including one in each corner space. So 18 trebles along the edge of each granny square.
At the corner of the blanket I worked “2 trebles, 2 chain, 2 trebles” into the corner space.
The first round of the border totalled 128 stitches on each side. - the yellow round. The next round had 130 stitches per side (the white round) and the 3rd round had 132 trebles on each side (the pale green round)
I finished off with a round of htrbs in white.
Here it is, beautiful thing that it is!! I’m so pleased with how it came out.
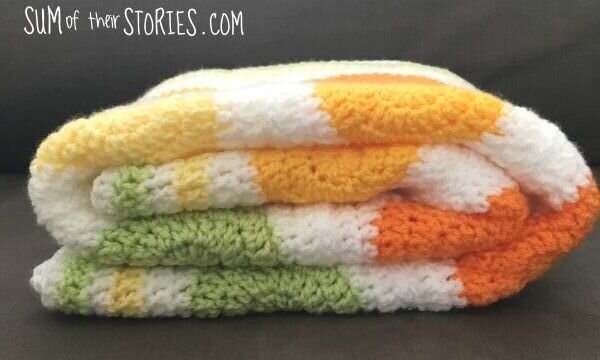
Don’t you just love the look of a folded crochet blanket?
This basic pattern would look great in all sorts of different colour schemes. Various shades of one colour in an ombre style arrangement could be amazing, or a right old mish mash of colours using up all the little bits from your stash would be brilliant too.
If you make a version of this do tag me in any social media shares, I’d love to see what you come up with!
I’ll be sharing this project at these link ups


