Nan's Recipe Kitchen Art
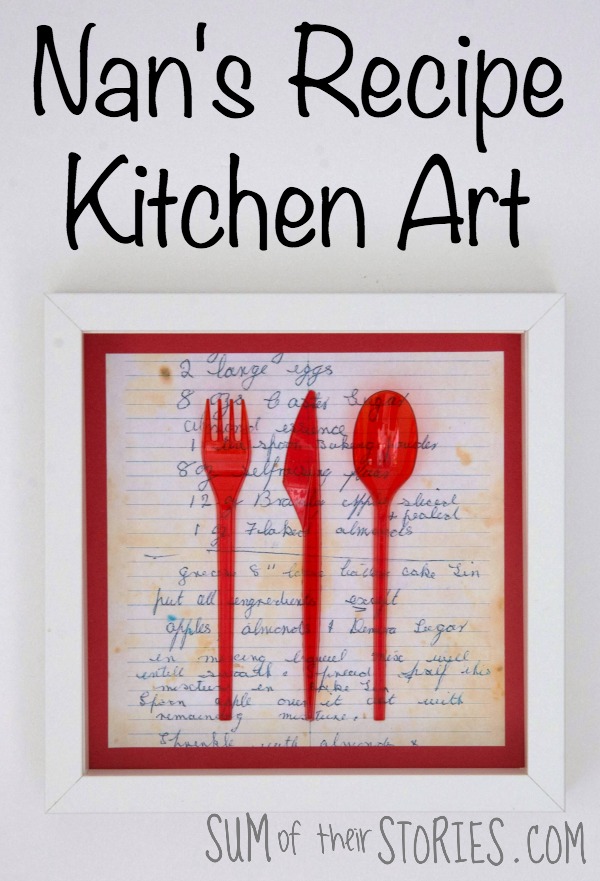
/Make personal art for your kitchen using old handwritten recipes.
My maternal grandma, Pearl was a great cook, she had been a kitchen maid and then a cook in a grand house in her young days - think Daisy and then Mrs Patmore in Downton Abbey. She stopped that work when she married my granddad (as women did in those days) but still loved to cook, always making everything from scratch.
I have a few cookbooks that belonged to my mum and tucked inside I found a few recipes handwritten by my nan.
This one is a recipe for apple cake and I can remember my nan baking this for us. You can find the full apple cake recipe here when I tried it again more recently and I can confirm it is delicious.
I thought it would be nice to preserve this little bit of family history so I turned my nan's recipe into art to go on the wall in our kitchen.
I first shared this idea many years ago on The Pinning Mama when I was a guest contributor there and this art has been on the wall in our kitchen ever since. As I dusted it the other day I thought it was high time I shared it with you all here. It’s very simple, let’s get started.
How to make art for your kitchen featuring an old handwritten family recipe
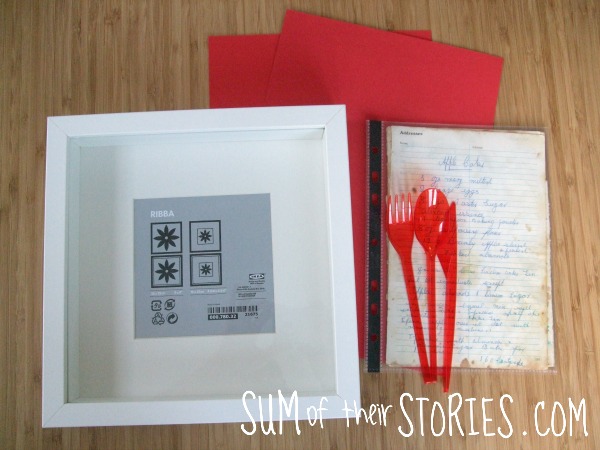
To make a similar piece of art for your kitchen you will need:
A box frame, mine was a 23cm x 23cm Ribba from Ikea
A handwritten recipe (ideally you want one from your own family of course but if you don't have one you are welcome to use my nan's - she would have been delighted! Just right click on the picture of it above and then save it on your computer)
Coloured card
Glue for paper - I used a pritt stick
Strong PVA glue or hot glue gun - I used Anita’s Tacky Glue
Access to a scanner and colour printer (or colour photocopier)
Preparing a copy of your handwritten family recipe
First you want to copy your recipe. We are not cutting up and glueing a precious handwritten bit of family memorabilia! Scan, enlarging if necessary and print your recipe. Or if you don’t have a scanner and printer at home pop to a print centre or photocopy place and photocopy your hand written recipe in colour, enlarging it if you need to.
Assembling the kitchen art
Now trim it to a 20cm x 20cm square.
Cut your coloured card to fit exactly inside your box frame.
Mount the recipe copy onto the coloured card with the paper glue.
Attach the cutlery
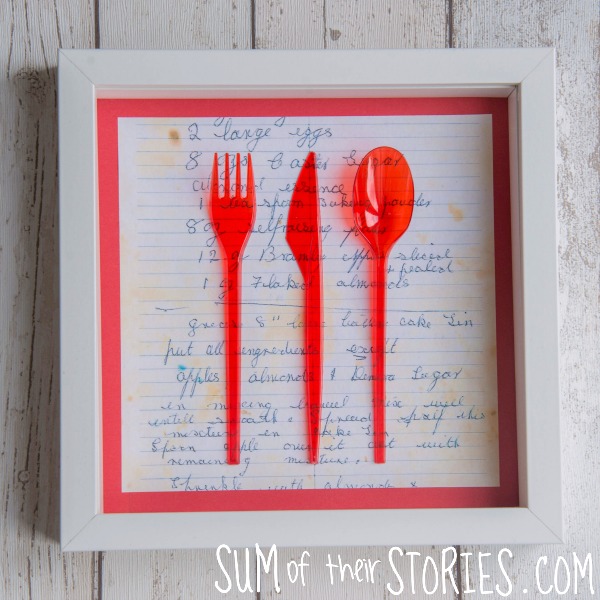
Using the strong pva or hot glue gun, attach the plastic cutlery to the recipe in a pleasing arrangement. I wasn't going to set the world alight with this 'lined up' thing but I like it simple. You can be more adventurous if you want!
I used pva glue and pressed the cutlery in place by putting a book and then some mugs on top on them to weigh them down until the glue set.
Pop the art into the box frame and “Ta-dah!” you are finished. It's ready to hang.
More kitchen art ideas
I chose this red plastic cutlery for my recipe kitchen art for 3 reasons.
1) Red is the accents colour in our kitchen.
2) It is really lightweight and so was easy to glue in my art with no danger of it falling down in the middle of the night and ripping the printed recipe paper.
3) I already had it!
You could use something else in your recipe kitchen art. I’ve seen gold covered plastic cutlery that is super shiny and looks like real metal that would work really well.
You could use wooden or bamboo cutlery, either just as it is or painted any colour to suit your decor. Or how about old cookie cutters? Bright colourful plastic ones or old metals ones that have gone a bit rusty depending on your aesthetic. Maybe you have a tiny whisk that came with a hot chocolate mix and mug gift set one Christmas lurking at the back of a kitchen drawer?
If you don’t have any suitable cutlery or utensils how about cutting silhouette paper shapes of kitchen utensils from black card?
You just don’t want anything too heavy in case it falls off and the paper rips. If you really wanted to display some heavy old kitchen utensils you could attach your recipe to a piece of board and drill small holes in it, that way you could firmly attach the utensils with wire.
A sweet and personal piece of art for your kitchen, or dining room, or any other space you like to eat I guess.
Update: I first made this art in 2015 and now in 2023 it is still on the wall in our kitchen. The glue has held, the cutlery is still red, nothing has perished or faded. It’s on a wall that gets a little direct sun late in the day. It might be different if it was in full sun all day of course but I’m happy to report it is holding up well.
Julie
I’ll be sharing this project at these link ups


