Family Memory Game Cards
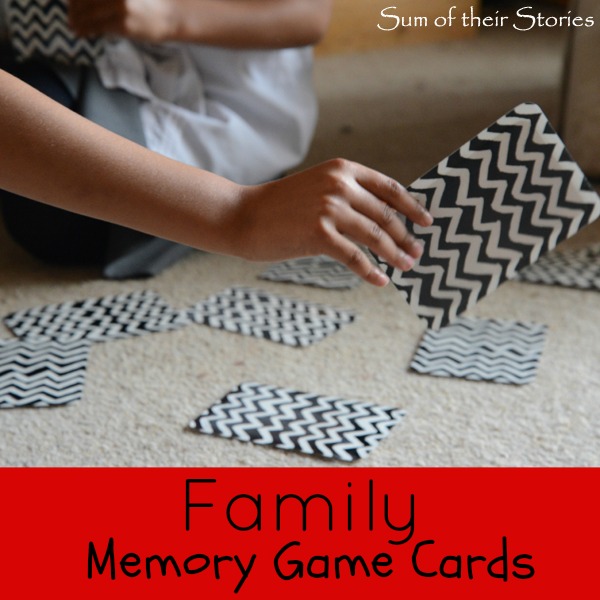
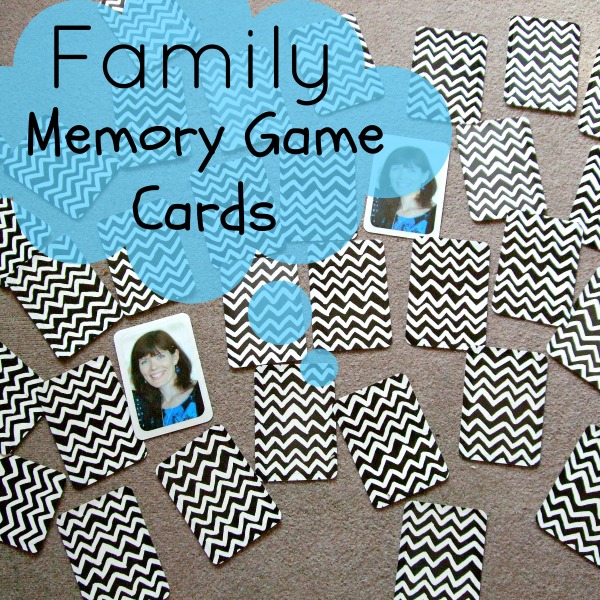
/My gorgeous little nephew just turned 2 and I wanted to make something for him as part of his present. He's just starting to say a lot more, trying to get our names right and coming up to the age for learning to sit and play a simple game so I thought I could make him some memory game cards from family photos.
It came out kind of cool (if I do say so myself) so here's what I did if you want to have a go.
Let me warn you know there now follows a weird mix of metric and imperial measurement - sorry, I am a UK child of the 70's, what can I say!
How to make a personalised family memory game pack of cards
You’ll need:
A photo of each family member
A4 laminating pouches you want some that are on the thicker side, so they are nice and hardwearing
Wrapping paper
Scissors or a guillotine
Corner punch (optional)
First prepare your family photos for printing
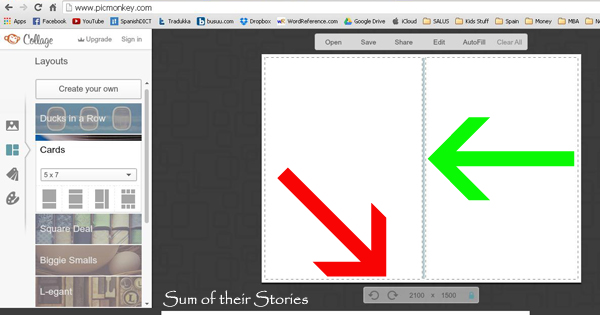
You need to get your family photos ready to print. You want all the photos to be the same size. You could just print each photo 4 times but that would increase the costs quite a bit. Instead I used a photo editing site so I could print large size photos with 2 images on each photo, thus halving the cost. I used Picmonkey to get my photos ready. Update: you now have to pay for Picmonkey so I mostly use iPiccy to edit my photos but you could use canva or another similar site. These instructions show how I made my images in Picmonkey ones below but something like Ipiccy works in a very similar way.
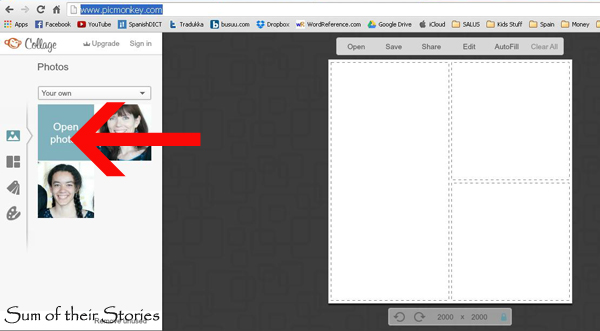
Open Picmonkey (or your choice of photo editing sites) and select Collage
Upload two of the photos you want to use
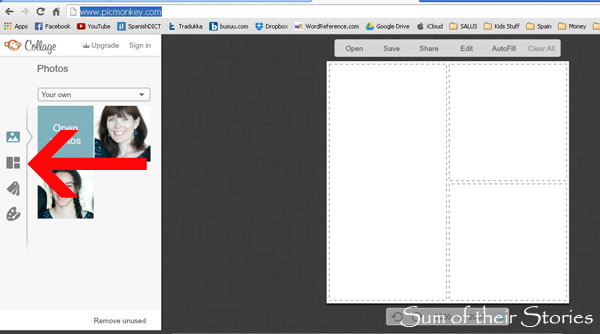
Change the type of collage by clicking the little symbol on the right
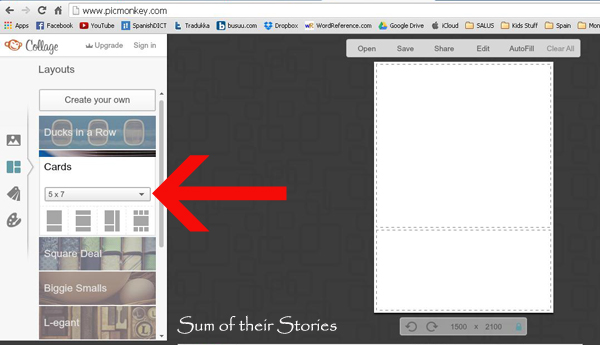
Select "Cards" 5x7 and the one with just 2 photos
Rotate the canvas (red arrow) and pull the dividing line to the centre (green arrow)
Then you can just drag and drop your two photos, one in each rectangle. Save and then repeat for the next pair of photos.
Print photos
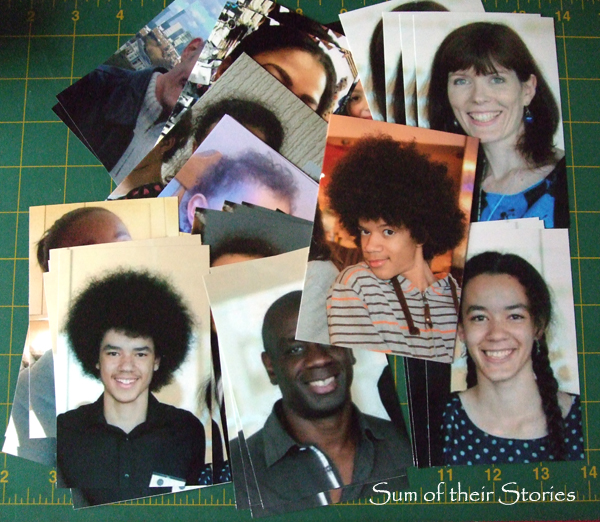
I had 4 of each of my collaged photos printed at a photo place. (I thought it would use too much printer ink at home) They ended up with a white border, not sure why but the photo is 5"x7" so each individual picture is 5"x3.5". As long as your photos are all the same size it doesn’t matter too much.
I cut them out with the guillotine, trimming them so they were all exactly 82mm x 122mm
Laminate the cards
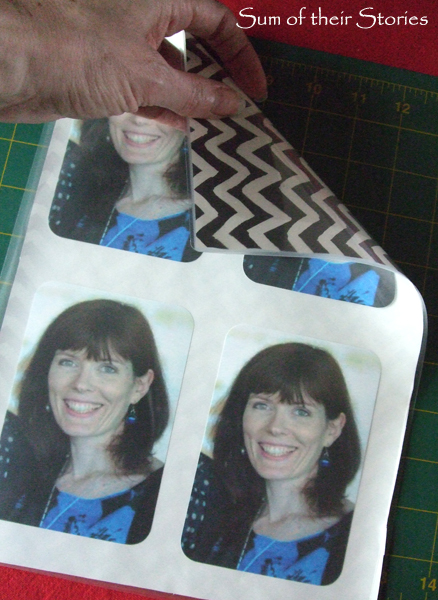
I rounded the corners of the photos with my corner punch.
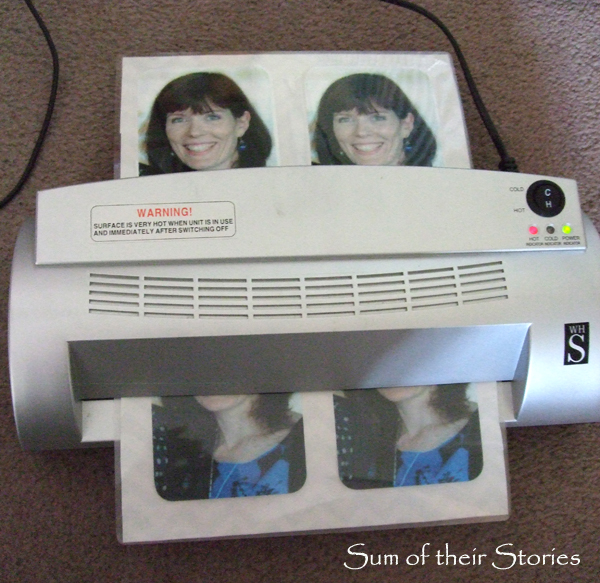
Next I cut the wrapping paper into A4 pieces and glued 4 photos onto each spaced out evenly. This photo/paper sandwich was then placed into the laminating pouches and rolled through the laminator.
I cut out the cards allowing an even border round the photos then rounded the corner again.
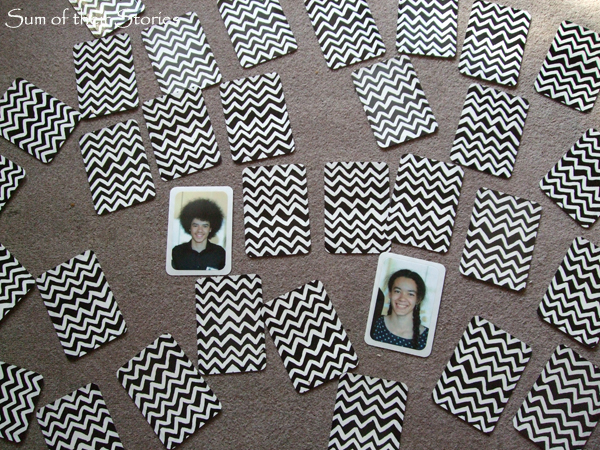
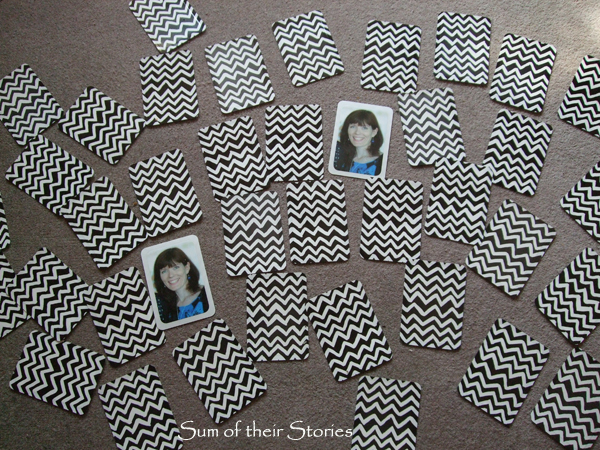
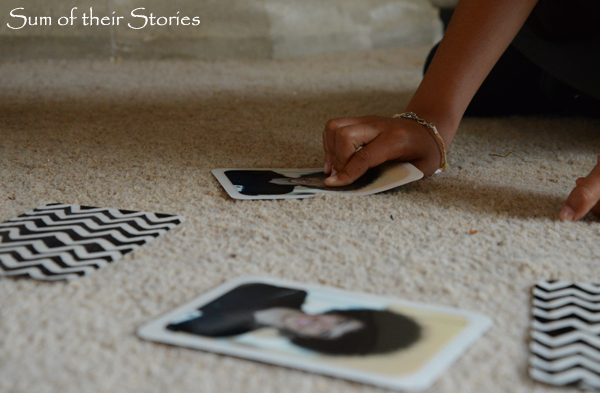
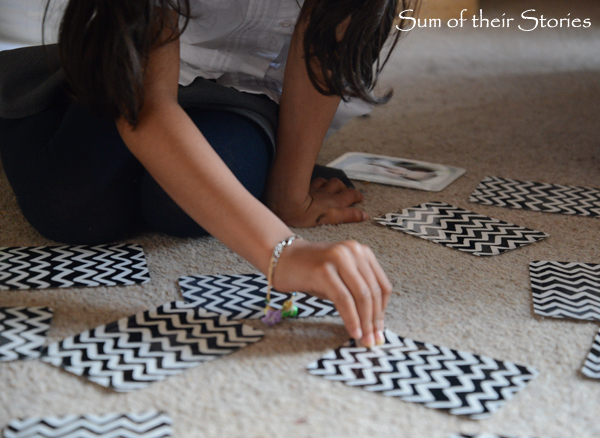
Then we had a quick play, a classic pairs memory game, just to make sure it worked.
Wooo, a pair! Whoop whoop!
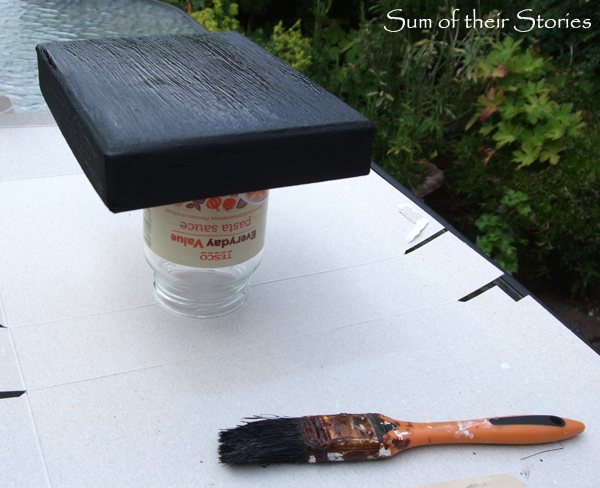
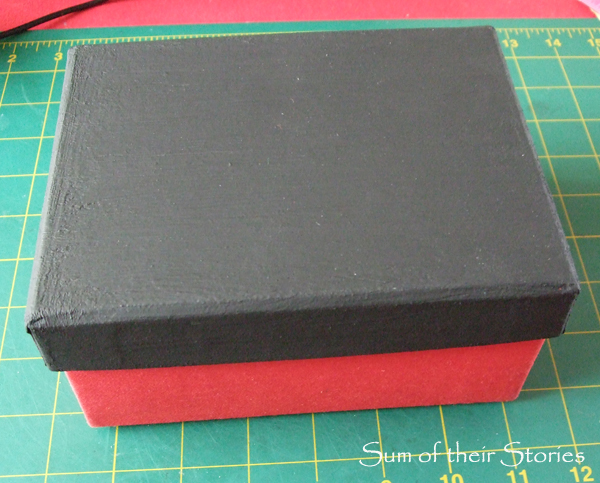
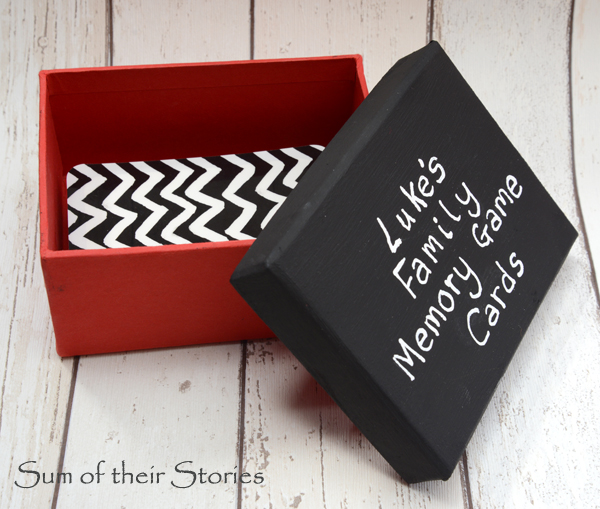
Now I just needed a cute box for him to keep them in. I had a sturdy little box from Ikea, the smallest of a nesting set with a twirly design on the lid. (no before photo sorry, don't know what happened there)
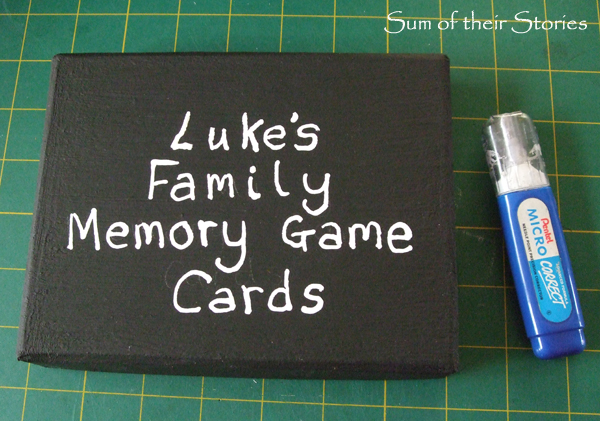
I painted the lid with black paint
Then added some writing with a tipex pen
Deciding how many cards you want to make for your game
There are 9 in Luke's family and 5 of us so that's 14 people, and I made 4 cards with each person’s photo. 56 cards is plenty. I thought only 2 cards of each family member might make the game too hard to play and the most important thing about a game is that it’s fun, right? If you have less people in the family you could include grandparents, aunts & uncles, cousins, friends etc. I would think you need at least 10 different people as a minimum and maybe 15 or 16 as a maximum.
Don't try to use coloured or patterned card instead of wrapping paper for the backs of the cards. The thinness of the wrapping paper makes it ideal. If the sandwich is too thick you end up with an air gap all round the photos when they are laminated which will make them less sturdy and more likely to come apart.
Playing with the cards
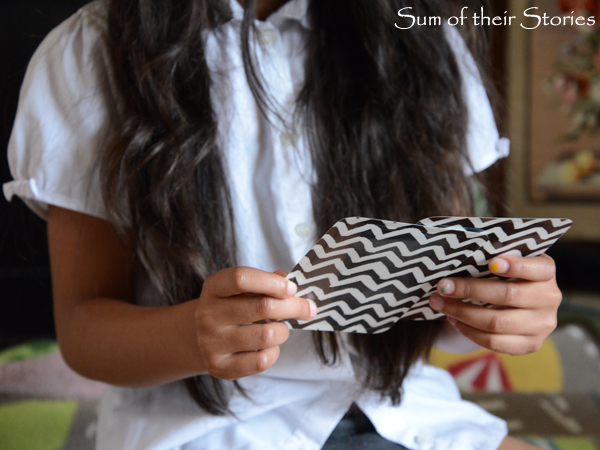
Luke's big sisters have had lots of fun playing with the cards and promise to teach him to play the memory game once he is a little bit older.
These cards can also be used for simple matching up and grouping games. You could ask a little one to "Find Auntie Julie" for example or use them for something like snap.
If you had a family with 6 people you could make a set of Domino Cards which could be fun.
This post is part of a Blog Hop/Series with some other amazing Bloggers all sharing lovely gift ideas that you can make yourself. The collection has all sorts of ideas suitable for all sorts of potential recipients so have a little browse though and see if you are inspired to make a gift or two this year.
Just click on the links below to see tutorials on how to make these other gift ideas.
Handmade Rustic Coaster - Making It To The Mountains
DIY Key Holder - Hawthorne and Main
Texture Infinity Scarf - Persia Lou
Bow Earwarmers - The Cwafty Blog
Burberry Bag - Delineate Your Dwelling
DIY Miniature Wall Hangings - TheGathered Home
Leather Accented Cutting Boards - Sisters, What!
Hand Painted Recipe Box - Anderson and Grant
Bah Humbug Disclaimer: Normally I would be bemoaning that fact it is far too early for anything Christmas related but if you want to make gifts you probably do need to start thinking about it, gathering supplies, making a start - sorry!
Julie
I'll be linking up this project at some of these link parties


