Evening Cardigan Makeover
/This is the second of my cardigan makeovers, You can find the first one here.
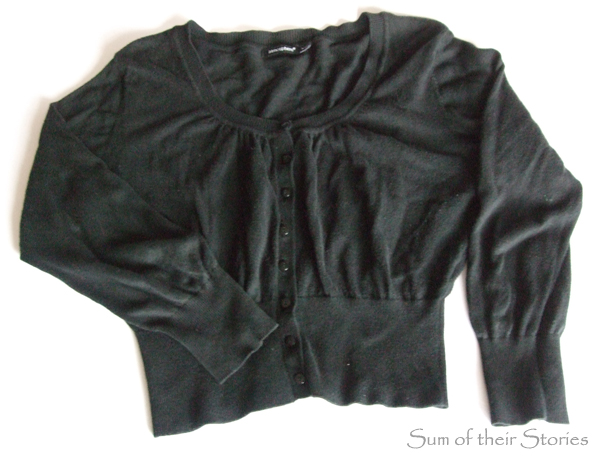
I had this plain little black cardie with a round neckline and 3/4 sleeves.
I'm not a big fan of 3/4 sleeves, I figure either it's cold enough to need sleeves or not, however I do have a few things with them and sometimes I do push up long sleeves. I digress.
It felt suitable for a dressy "going out" makeover. Sometimes on a night out you need a cardie to go over a silly little party dress, what if the place you are going is a bit chilly?
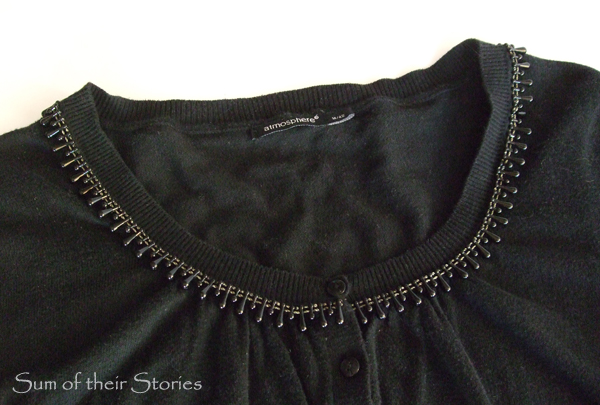
I found this trim in Hobbycraft at 90p per metre. How much you need will depend on the style of your cardigan. I bought 2 metres and have a bit left over.
This was very easy, I just took some regular sewing thread and stitched the trim around the bottom of the neck edging.
I learnt as I went along that you want your needle to go in the direction shown in the photo, downwards, not upwards. It was just sooo much easier that way and I didn't keep getting the thread stuck on the beads.
I stopped every 5 of so beads and did a little casting off stitch, that way if I ever catch this trim on something it won't all come undone.
I worked quite slowly making sure the knit fabric was laid out on my knee without being bunched up or stretched out so it will lie flat when finished.
Don't use a long length of thread, be prepared to cast off and start again with a new length several times. A long thread will only wrap round and catch on the beads and end up taking longer.
That's it, easy as that.
The buttons were already nice little shiny round buttons which went really well with the trim so I didn't even need to change them.
And finally, just to give you all a laugh, a selfie!
How on earth are you supposed to do these? Where do you look? How do you not end up with the camera in the way?
This was actually the best of about 6 selfies I took - enough said I think, back to photos taken by our youngest out in the garden!
Julie
I'll be linking up at these great link parties.


