Upcycled Book Christmas Gift Tags and Cards
/Today I’m joining in the Craft Room De-Stash Challenge with some of my creative blogger friends. We are all pulling something out from the bottom of a drawer or cupboard in our craft space, something that’s been hanging around for a while ideally, and actually putting it to good use.
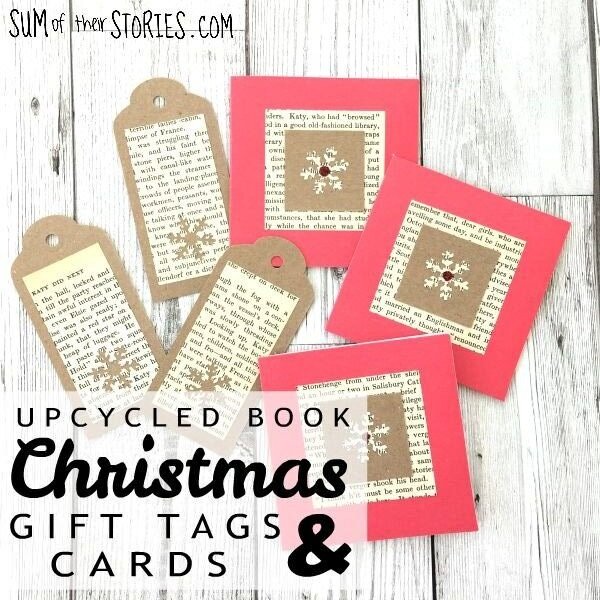
I found a little heap of scraps of kraft card and an old damaged book and so with Christmas a-coming I thought it was a great time to turn them into simple Christmas gift tags and cards. The scraps of card were off cuts from a few years ago when I made my cousins wedding invitations, so I have quite a lot of them!
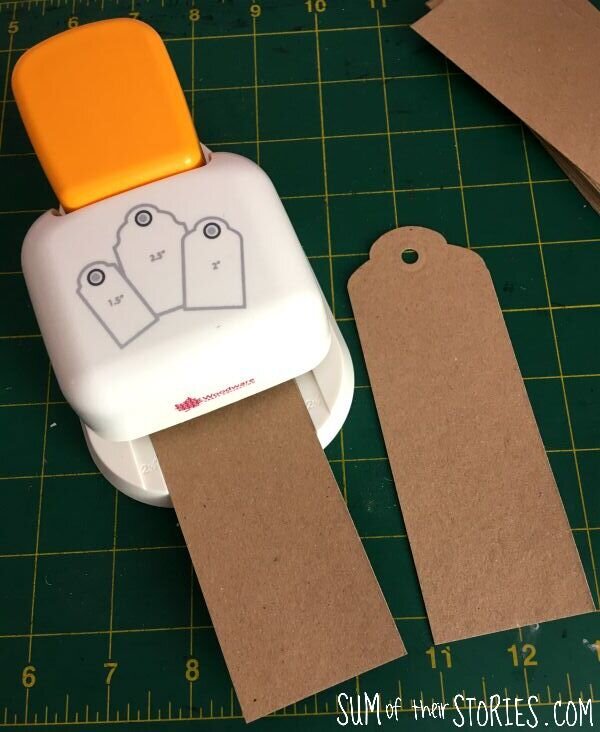
I started by turning the scraps of card into gift tags using my gift tag punch. The punch I have will punch 3 different widths of tags so it’s really versatile. I can’t find the actual one I have online anymore but this one on Amazon is similar. My card scraps were 5cm (2”) wide and about 16cm (6.25”) long. Once the tag end was punched I trimmed them all to 11cm (4.25”) in length.
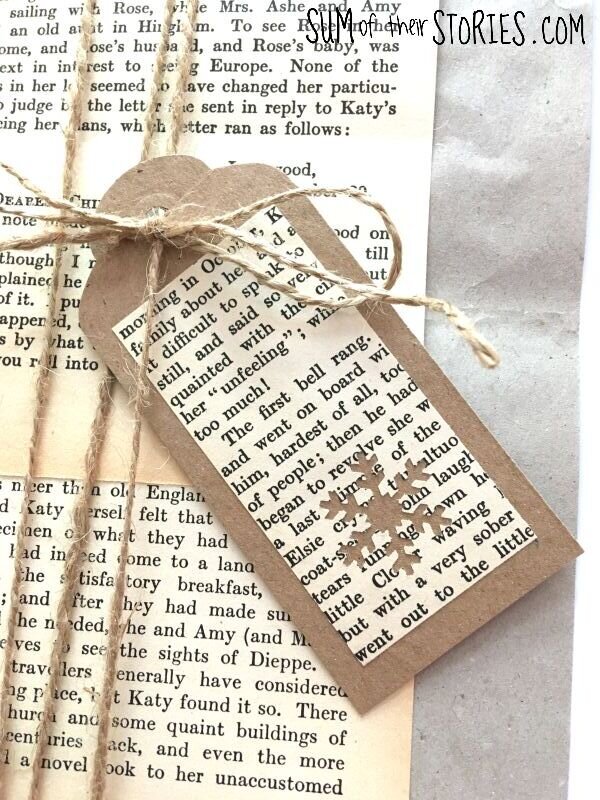
To decorate the tags I trimmed the book pages to 4cm x 8cm (1.5” x 3”) rectangles and then punched a snowflake from one end. Make sure you line the punch up centrally if you do this, look straight down from above to check it’s right in the middle. My snowflake punch is a 1” snowflake.
Once the snowflakes are punched just glue the rectangles centrally to the tags. Something like a glue stick paper glue is perfect, just remember to dab carefully around the delicate snowflake ‘arms’.
Easy peasy right? I think a bit of twine goes just right with these rustic looking gift tags. (Here is the recycling book gift wrap idea to match these gift tags which you can see in this photo below)
I had intended to leave it there, easy little gift tags to make from scraps of card, all done! But then I looked at my pile of leftovers, the strips of kraft card where I had trimmed the length of the tags plus the snowflakes I’d just punched from the book pages. Hummm, can’t waste that can I?
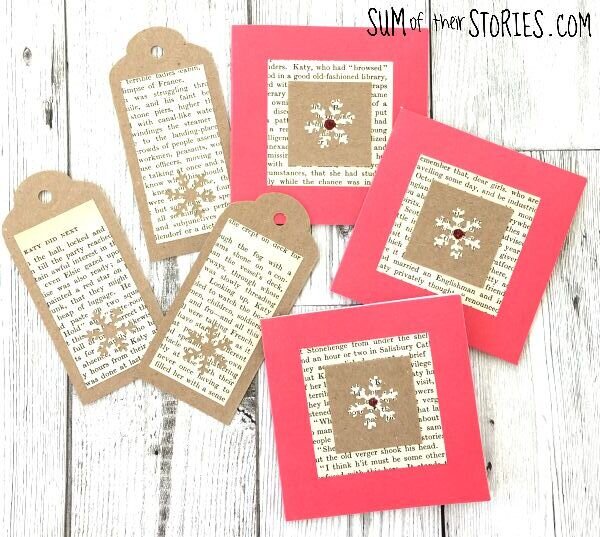
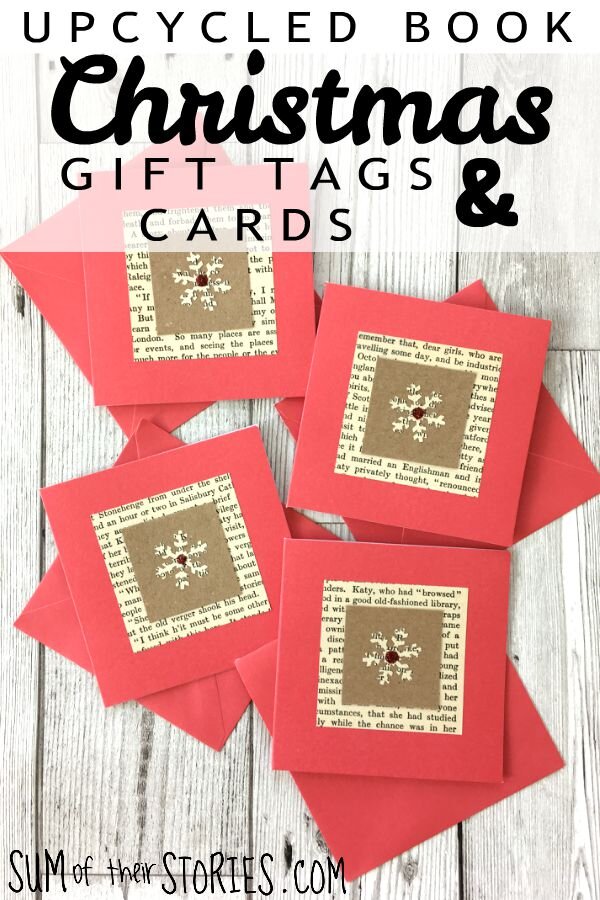
I trimmed the scraps of card to 4cm (1.5”) squares, and glued the snowflakes on. Then I trimmed a little more of the book pages to 6cm (2.5’) squares and layered them on top.
These little card toppers fitted nicely on some sweet little 9.5cm (3.75”) square red cards that were also knocking about in my craft stash. They looked ok but something was missing.
I decided to add a little glitter to the centre. I am in 2 minds about glitter. I know it’s pretty terrible for the environment but I already have it. I won’t be buying any more but what I have already exists so even if I throw it away it’s environmental impact is going to be the same isn’t it? I’m not sure on that so don’t quote me, but as I have no idea how I could safely dispose of it I figure I may as well use it.
Add a dab of pva glue to the centre of the snowflake, sprinkle a heap of glitter on top, shake it off over scrap paper. Give it a good tap on the back, a flick with your finger is best and then use a dry paintbrush to remove any loose bits. You can tip any excess glitter back into the pot, just pinch the paper into a valley shape.
It’s hard to catch it in a photo but the glitter really does add a special something.
The good news is I’ve made a whole heap of Christmas cards and gift tags, the bad news is I’ve only made a tiny dent in my craft stash! Still, every little helps and I didn’t have to buy a thing to make these so that’s a win.
If you love the gift tags but don’t have the supplies to make your own I do have them for sale in my Etsy shop.
Julie
I’ll be sharing these ideas at these link ups.
If you like crafting with old books, you might also like some of these ideas:
Now it’s time to check out what my craft blog friends have made from their craft room de-stash.
Across the Boulevard - Santa’s belt sign
Chas’ Crazy Creations - Welcome Sign
Purple Hues and Me - Festive Gnome Treat Jar
Sew Crafty Crochet - Crochet Christmas Baubles
Stone Cottage Adventures - Fall Sign
Simply Crafty Life - Thanksgiving sign
Slices of Life - Gift Card Holders
Sum of their Stories - Upcycled Book Christmas cards and gift tags - that’s this tutorial!


