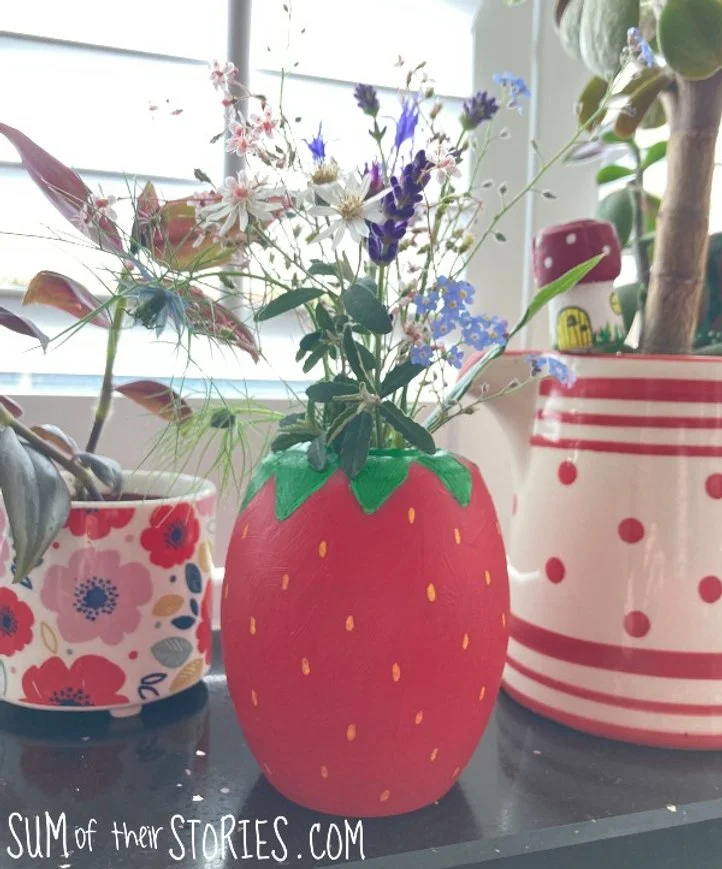
How to make an Upcycled Strawberry Vase
/How to make an upcycled strawberry vase
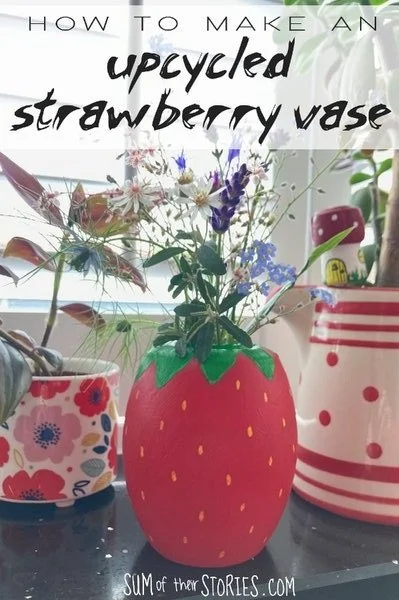
Let me show you how to take something you would normally just throw away as trash and turn it into treasure. A fabric dye plastic tub transformed into a fun strawberry vase.
I think this upcycling project is a good example of serendipity. 3 things in my life just came together unexpectedly but worked out just right.
It’s time for the Sustainable Craft Challenge and the theme is TRASH TO TREASURE
I’ve always loved china dishes and plates shaped like fruit and vegetables. It’s a niche fandom and not for everyone I know but I’ve always thought they were a lot of fun. Cabbage bowls, lemon dishes, that sort of thing. I’ve seen vases shaped like strawberries appearing in the shops and on Instagram recently and thought they are super cute.
My husband had some shorts and jeans that were looking a bit faded (but not in a good, cool trendy way) so I bought some dye pods that go in the washing machine to give them a new lease of life.
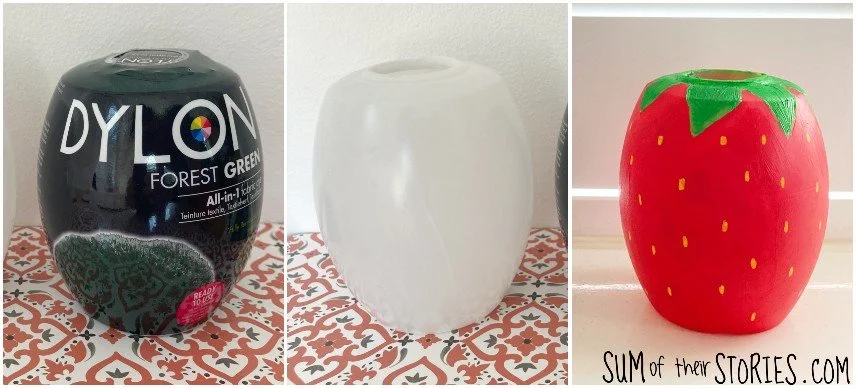
The dye pods are quite sturdy plastic so after I’d used them as intended I thought they might be good for an upcycling project. Plus they are a nice shape, almost a strawberry shape….. Boom! It all came together nicely. Now I know that I say this a lot, but this is one of my favourite craft ideas ever, the end result is every bit as cute as I hoped. Maybe, dare I say it, even better!
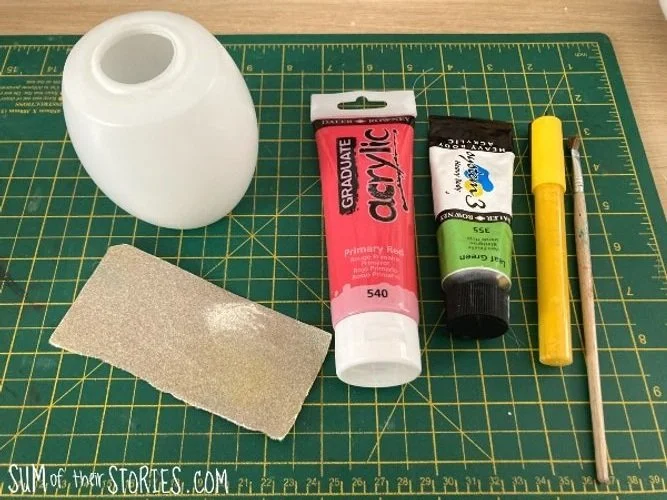
What you need to make an upcycled strawberry vase
An oval shaped plastic container *
Acrylic paint - red and green
A yellow paint pen
sandpaper
a pencil and paintbrush
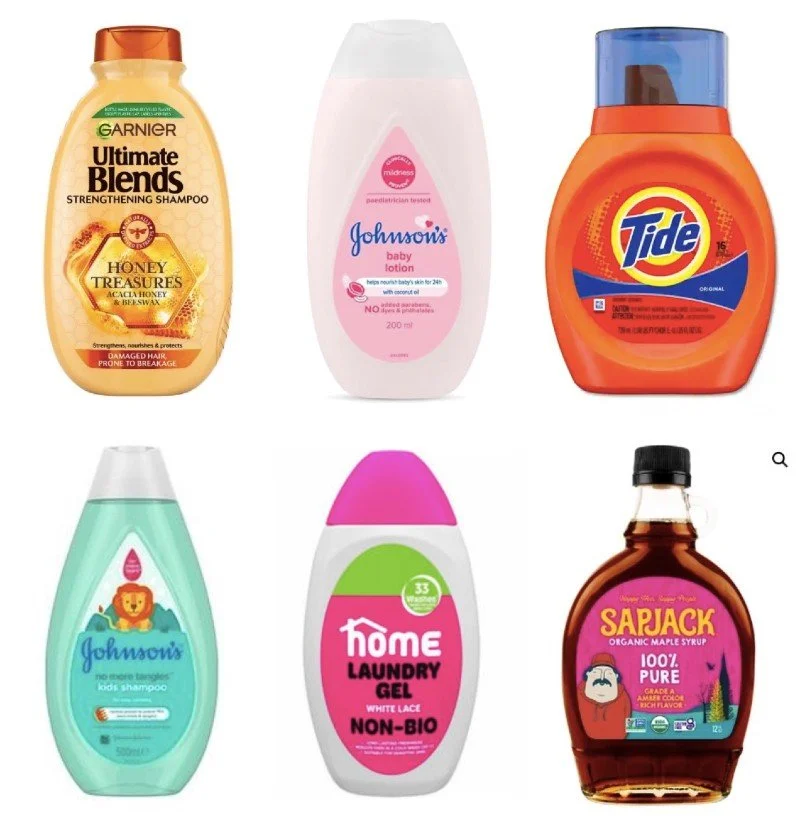
* my oval shaped tub was obviously ideal to turn into a strawberry vase. I’m not sure if the Dylon brand of fabric dye is available everywhere. Packaging is so different in different countries, even the same product can be in a different shape or size bottle in different countries.
I had a quick look and found a few products all with bottle shapes that, although not quite as perfect as the Dylon tubs, might work for a version of a strawberry vase. You might need to slice the top off to get an opening big enough for flowers but it could work. Or maybe those dosing balls for putting liquid detergent in the washing machines that were all the rage a while back? Do they even still make those? If you have one knocking around at the back of a cupboard it might be just perfect to make into a slightly shorter and fatter mini strawberry vase. Or maybe where you live there is a different product that I’ve not even thought of that has an oval shaped container.
Prepare the plastic for painting
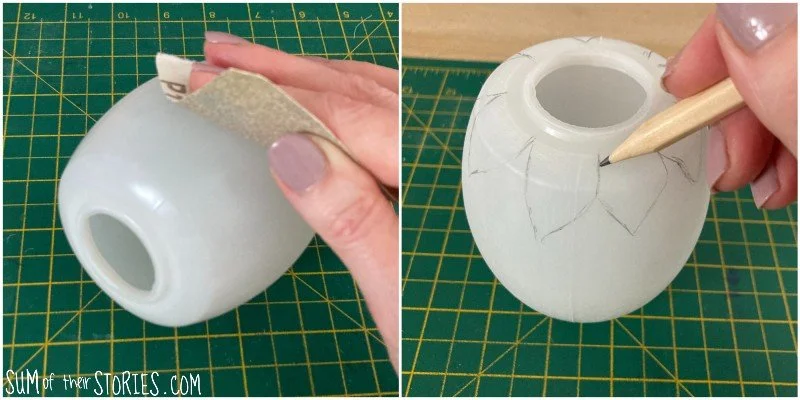
Start by preparing the plastic bottle or tub for painting by giving it a quick rub all over with sandpaper. This will rough up the surface a little and allow the paint to stick better. Then wash and dry the container thoroughly.
Creating the strawberry design
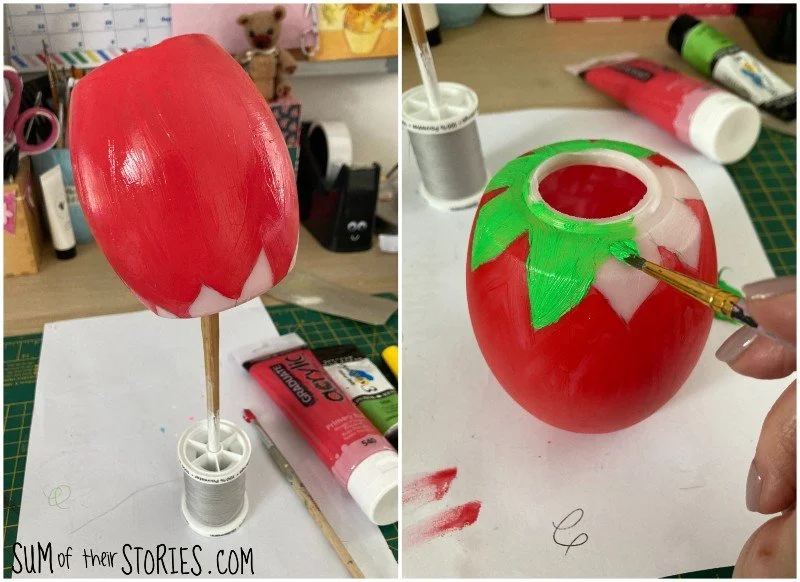
Draw some simple leaf shapes around the very top of the container with a pencil and then start painting. Paint the red first and then leave that to dry completely before painting in the green leaves. I left it to dry upside down on an old chopstick stuck in a cotton reel, just because I didn’t want the bottom to stick to my scrap paper.
Paint the green leaves in once the red paint is dry. You might need 2 coats of each of the colours, depending on the paint, the colour of your plastic tub or bottle etc.
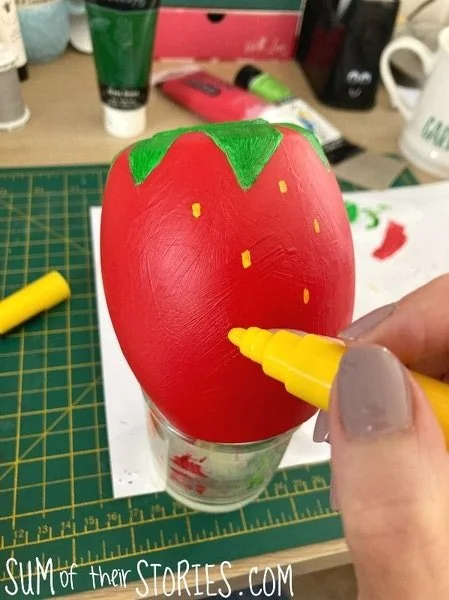
Once everything is completely dry add in your pips using a paint pen. If you don’t have any paint pens then a tiny brush and acrylic paint will work but honestly if you can afford them I’d recommend getting a nice pack of paint pens. I’ve used mine SO much since I’ve had them, they really are a lot of fun for decorating so many surfaces and they make it easy to add small details. Maybe add them to your birthday or Christmas list?
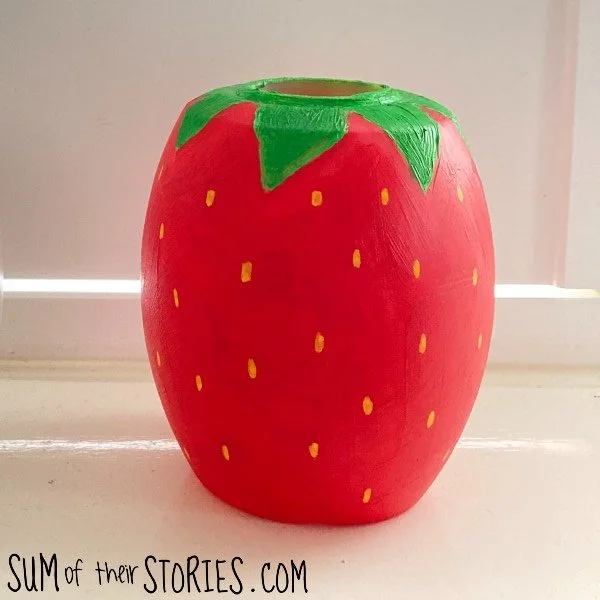
I added yellow pips as you can see, just tiny little short lines randomly all over the strawberry vase. You could do your pips in black, brown or white if you prefer. If you look at cartoon drawings of strawberries the pips really do vary a lot, we are going for overall impression here not botanical realism. Of course if botanical realism is your thing then you should totally go for it!
That’s it! Simple as that. Leave you new strawberry vase to dry and then it’s ready to enjoy.
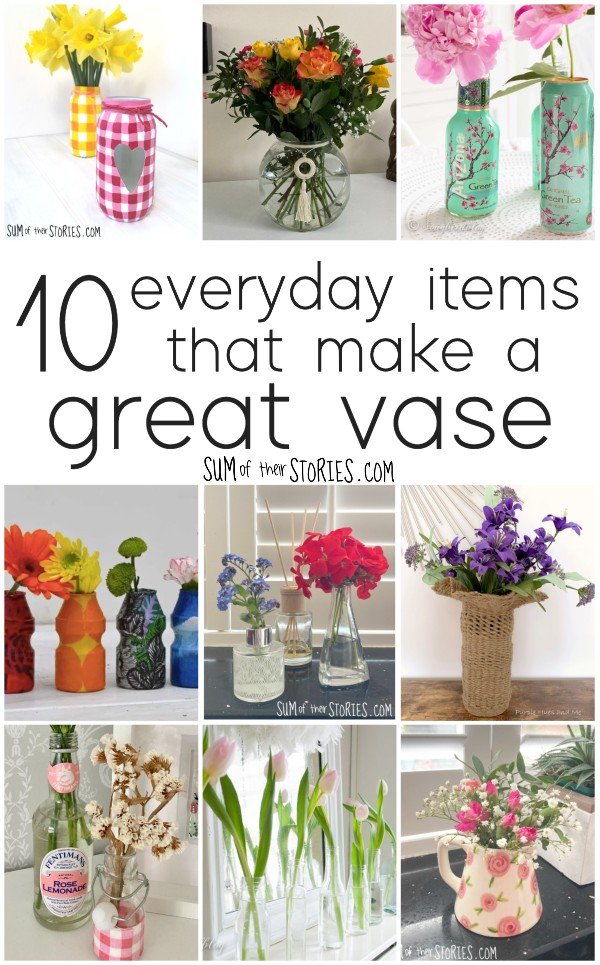
You might like to check out all these other ideas to make a vase from items you might have around your home.
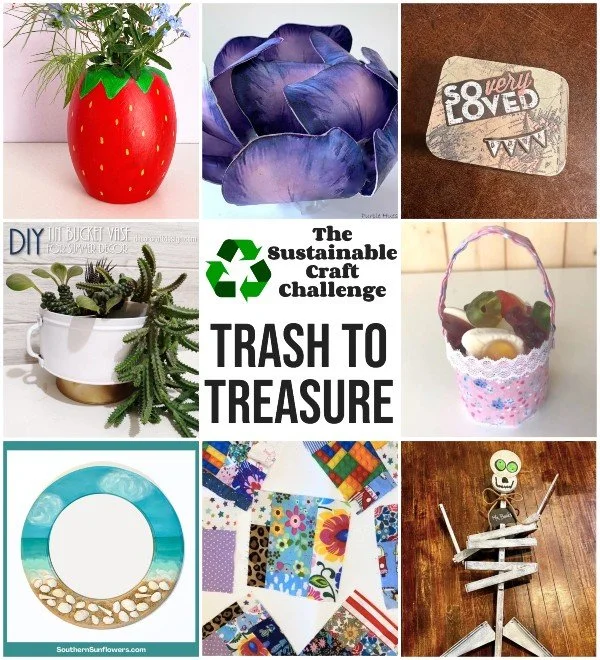
Now let’s take a look at the other ideas in this month’s Sustainable Craft Challenge where our theme is TRASH TO TREASURE.
Purple Hues and Me: Plastic Soda Bottle Floral Candleholder
Our Good Life: Recycled Altoid Tin for the Perfect Father's Day Gift
Decor Craft Design: DIY Raised Pot for Summer Decor
Christine’s Crafts: Create a Cute Basket from an Aerosol Lid
Southern Sunflowers: DIY Shell Mirror for Coastal Decor
A Rose Tinted World: How to Make A Crumb Quilt - Make a Scrappy Quilt Block
Mimi - A Great Name for Grandma: DIY Upcycled Yarn Skeleton


