How to make a paper doily envelope birthday card
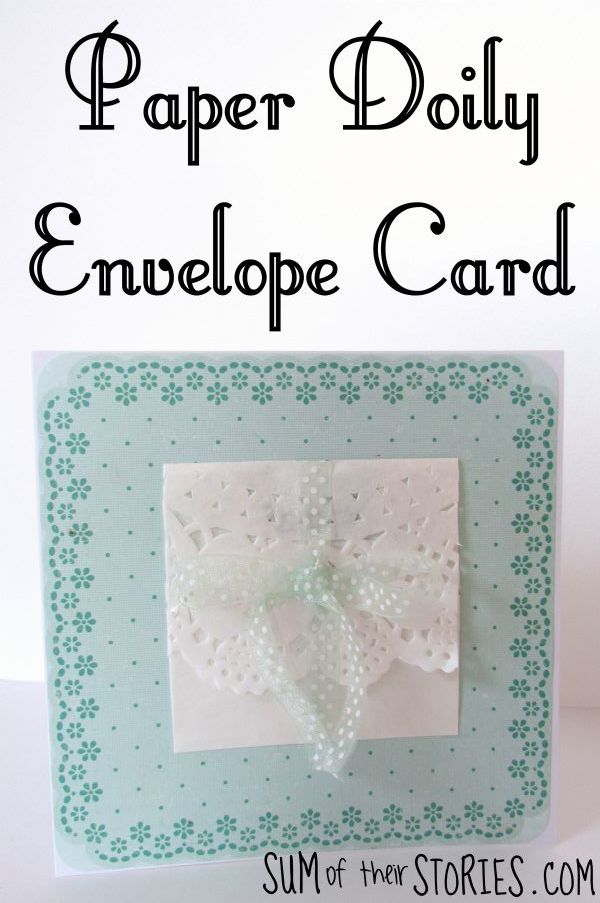
/I love making special cards for family & friends, because it’s what I do people have come to expect it. I could never let them down with a shop bought card now! For a couple of birthdays coming up soon I’ve made some pretty cards using paper doilies.
Today is Pinterest Challenge day! The pinterest challenge is a group of creative bloggers to all get together, rummage through their pinterest boards and find a gem from the archives that they’ve always wanted to try out.
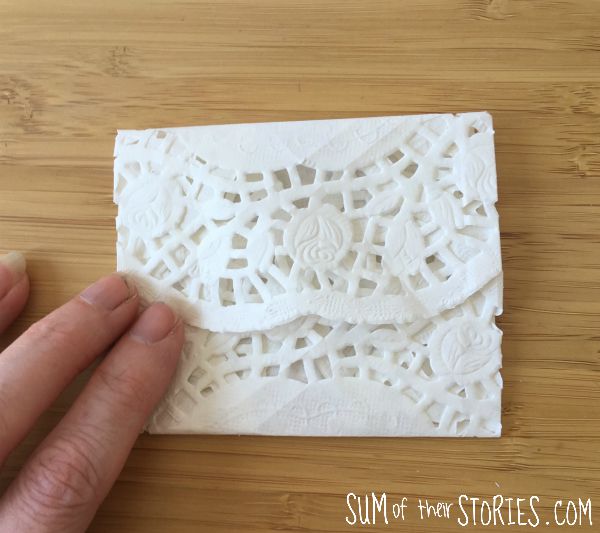
This month I’ve been inspired by this pin to make envelopes from paper doilies.
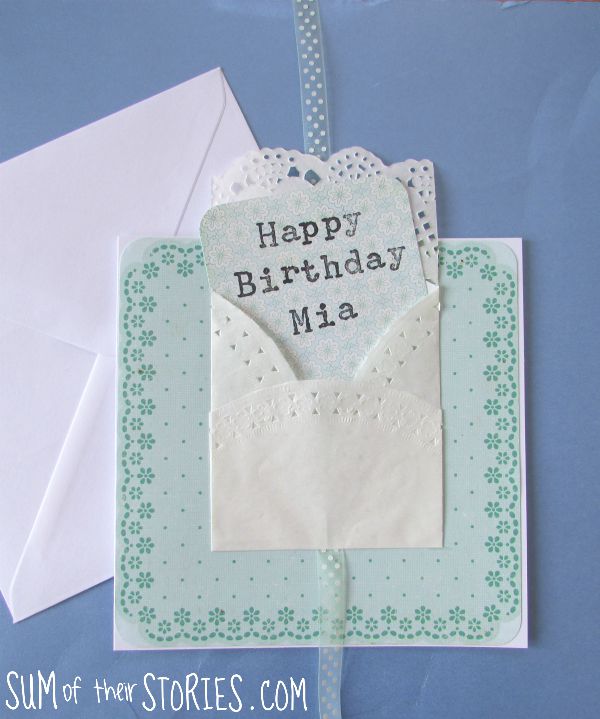
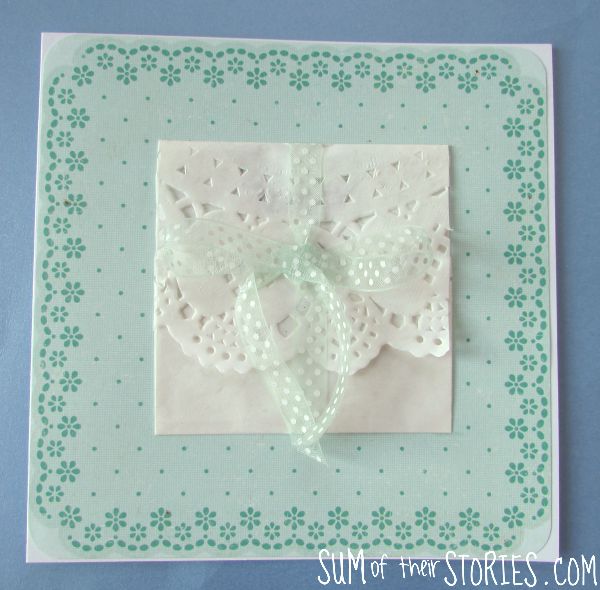
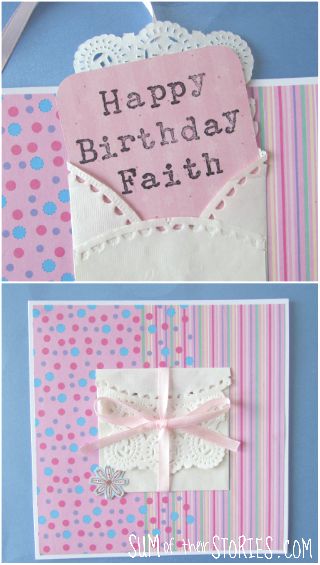
I used my doily envelopes a little bit differently, as toppers for birthday cards for 2 special people whose birthdays are coming up soon.
To start I tried folding envelopes as per the instructions from the original pinspiration from Celebrating Everyday Life but my envelopes just didn’t look quite right. There was too much laciness going on somehow, the prettiness of the lace design was lost somehow with all the layers.
I found some slightly larger doilies and tried a different method.
Exactly how you do this will depend on the pattern on your doilies but I’ll explain what I did with mine.
How to make a doily envelope
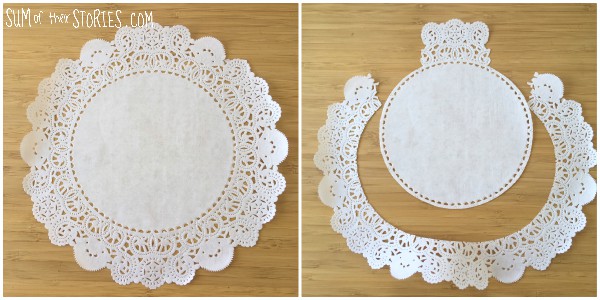
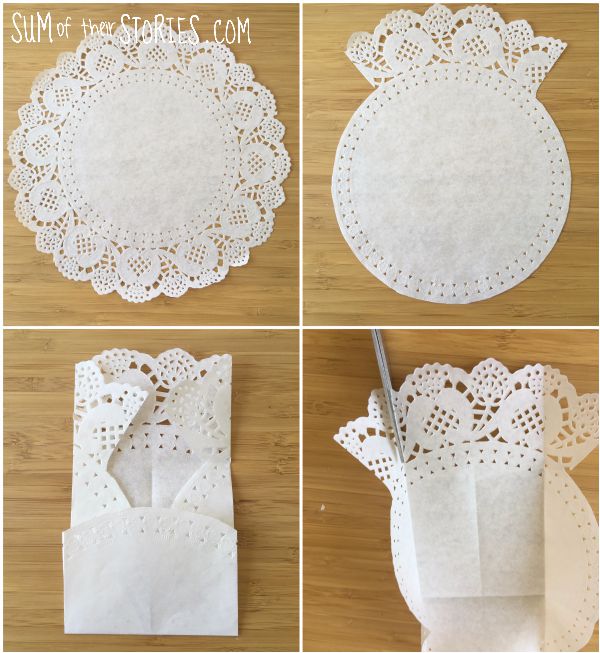
Cut the outside lace portion off the doily leaving about 1/3 of the diameter of the doily. On this doily I was able to cut round the pattern repeat quite nicely.
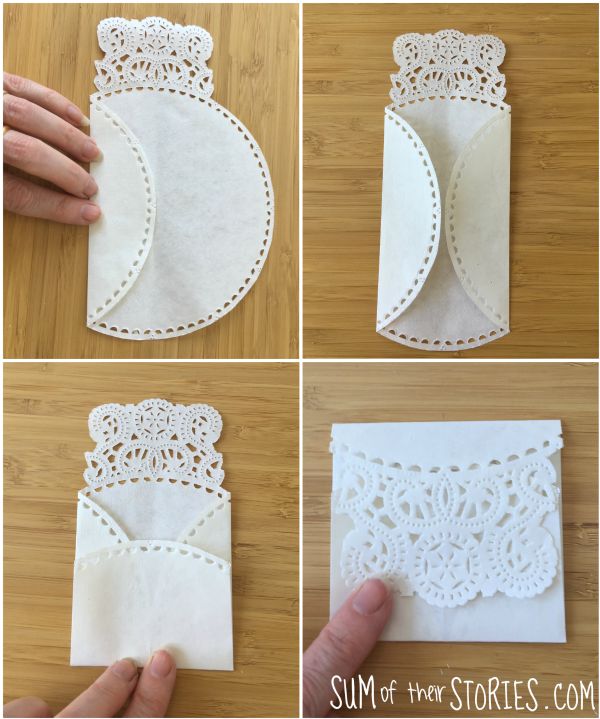
Fold in half and just lightly crease the very middle point, there’s no need to make a crease all the way along.
Now fold the 2 sides in to that middle point, and the bottom up about 2/3 and the top down to form a little envelope.
You can apply a little glue where the bottom flap overlaps the sides if you wish but it’s not essential.
On this doily the design fitted nicely, you can see how I cut round it.
For a doily with a less defined pattern or one that doesn’t fit nicely to the envelope size then just do the same but leave a little more of the lace when you cut the circle initially.
Then once all the folds are in place you can trim it more precisely.
Now you’ve made your doily envelopes you can turn them into card toppers.
To make a paper doily envelope greeting card
You’ll need:
A card blank & envelope
Pretty patterned paper
A doily envelope (see above)
Pretty card cut a fraction smaller than your doily envelope
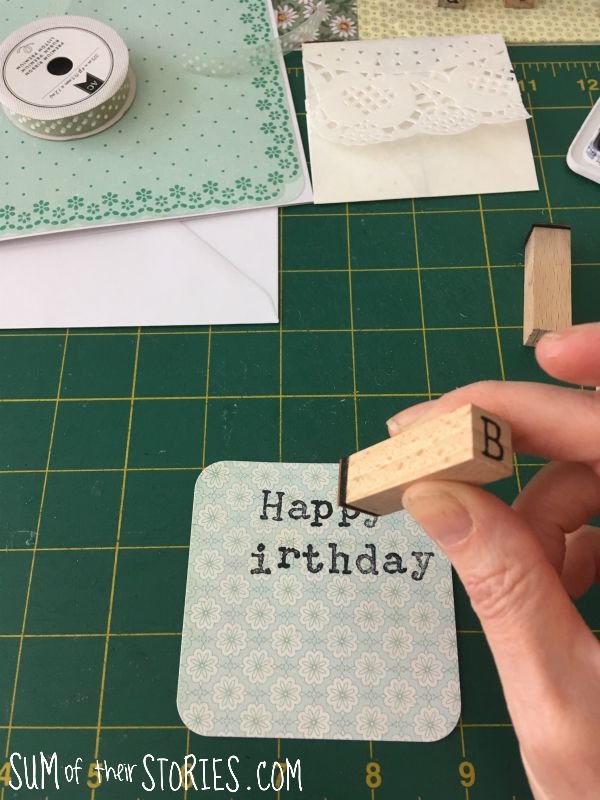
Alphabet stamps, ink or some other greeting
A length of ribbon
Paper Glue - I use Pritt Stick
A corner punch (optional)
Trim the patterned paper to size, rounding the corners if you want to and then glue to the card blank.
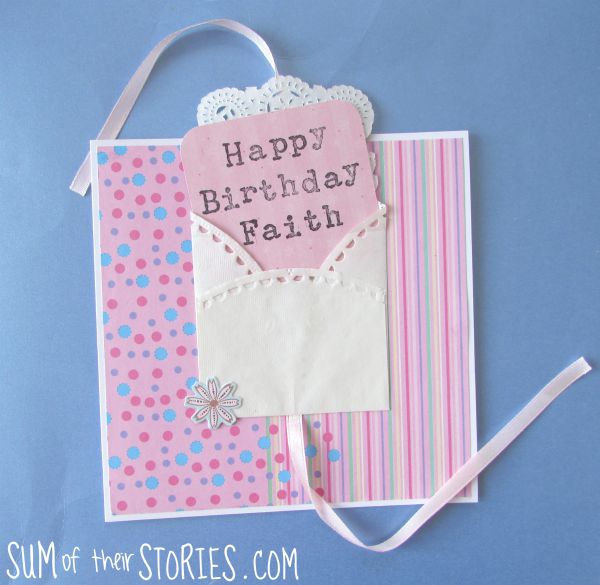
Cut the patterned card to fit inside the doily envelope and then round the corners.
Stamp a greeting onto the card. If you use individual letters like this always start with the middle letter and then work out from there if you want it central.
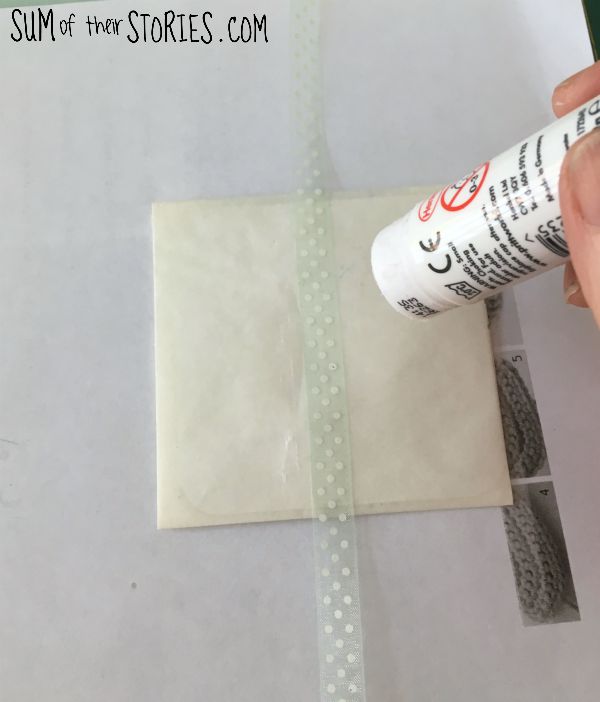
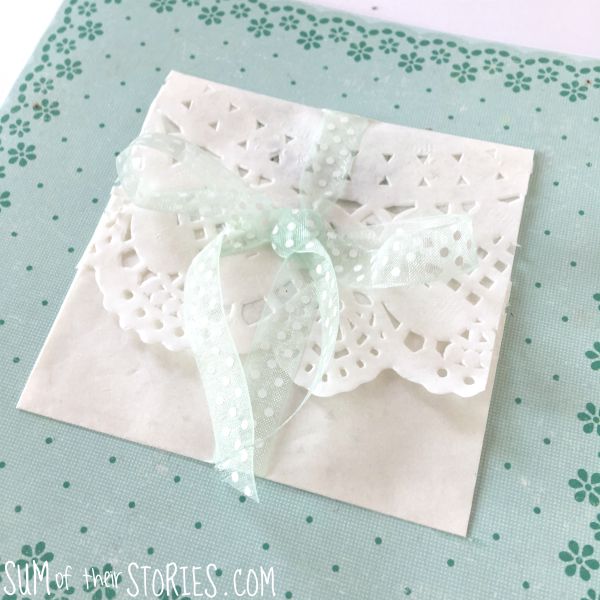
Glue the ribbon centrally, top to bottom, to the doily envelope. Then glue the whole of the back of the envelope and stick it down on the front of the card centrally. Go carefully with the glue on the doily, they are pretty flimsy paper and will rip easily.
Tie the ribbon with a bow to secure the greeting in the doily envelope.
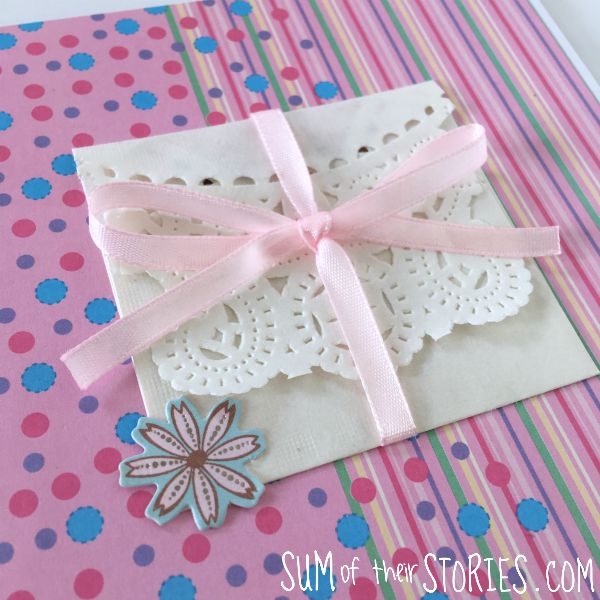
I tried out another card with pink paper and the first doily envelope that I’d made.
Julie
I’ll be sharing this idea at these link ups
For more Pinterest inspired projects from this month’s Pinterest Challenge hosts, check out the links below:
If you like making cards you might like to check out some of my other easy and unusual card making ideas:


