Halloween Gift Bag Toppers Tutorial
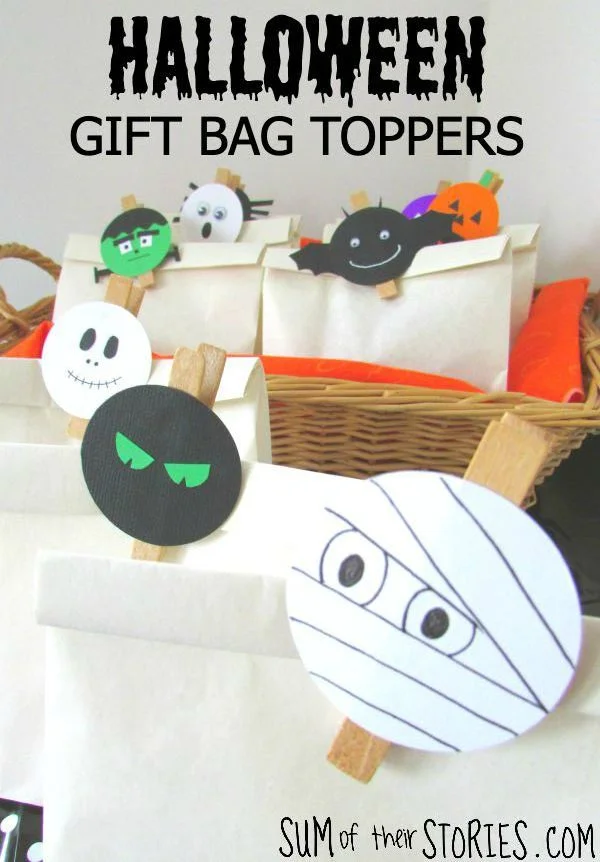
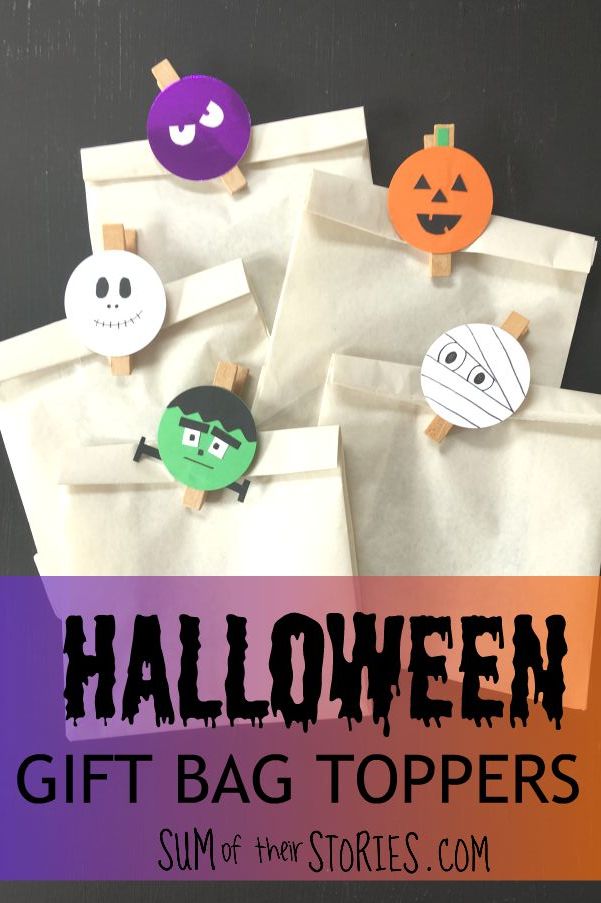
/Make fun little toppers for Halloween gift bags, perfect for goody bags if you’re hosting a halloween party.
This is a paid post for Bostik. Bostik also provided me with the Blu Stick and PVA glue I used for this project.
I’ve had loads of fun making these little toppers for Halloween party bags.
Halloween never used to be much of a thing here in the UK when I was growing up. It’s more popular now so we get a lot more Trick or Treaters coming round now.
I made these little toppers with party bags in mind, for people hosting a Halloween party but if you were wanting to make something special for the trick or treaters in your area or if you wanted to give out little bags with something other than sweets then they are quick enough to make to work for that too.
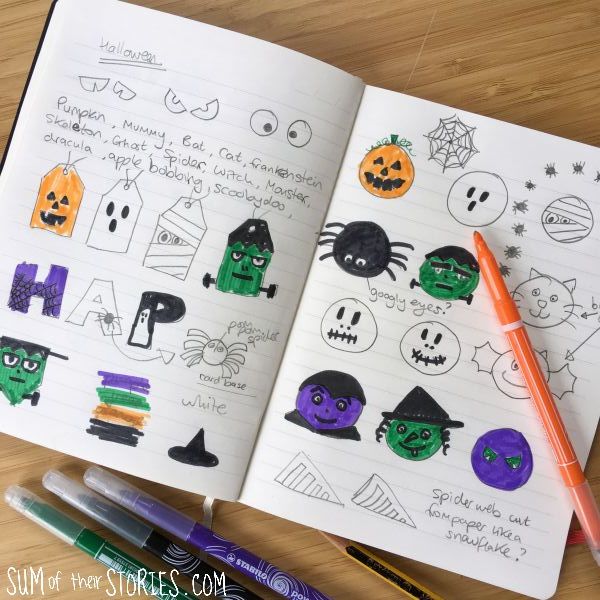
I started with some Halloween brainstorming ideas in my notebook.
Once I had settled on a card circle theme I was ready to get started.
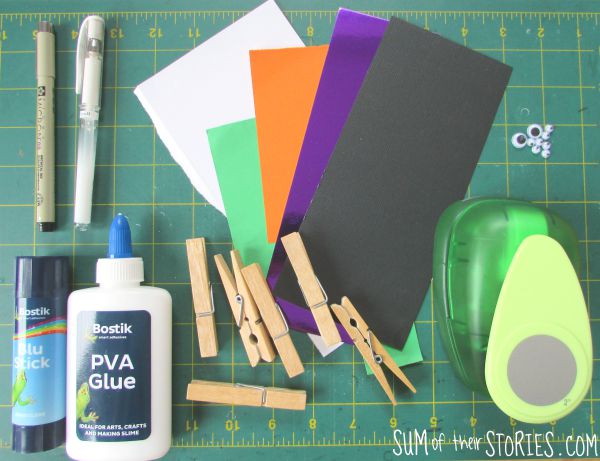
To make Halloween gift bag toppers you will need:
Scraps of card in green, orange, black, white and purple
A 2’ circle punch (you could draw round something that’s a suitable size and cut them out, it’ll just take a little longer)
Paper Glue - I used Blu Stick from Bostik
PVA - I used Bostik PVA glue
Wooden clothes pegs
A black pen & a white pen - this one is my absolute favourite
Scissors
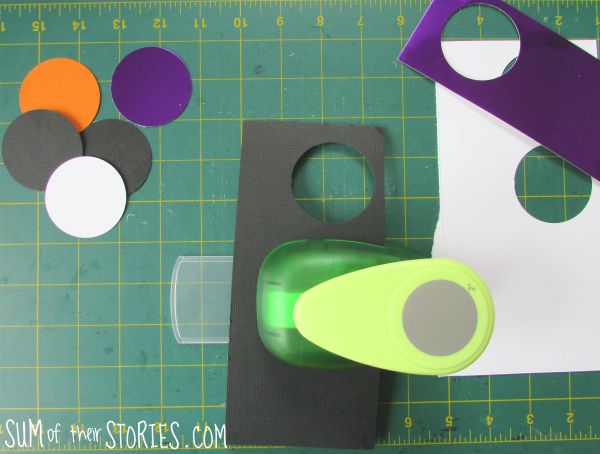
First punch some circles of card with the circle punch, then you are ready to decorate them.
Ghost:
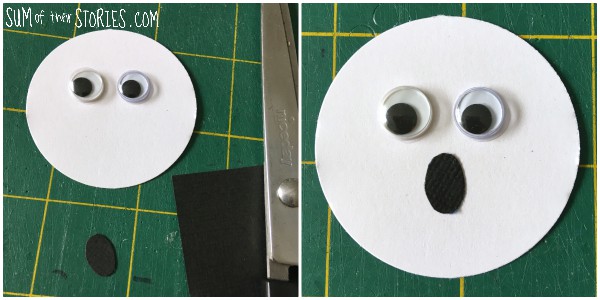
Take a white card circle, use PVA glue to attach 2 googly eyes. Cut an oval from black card and glue it on with the blu stick.
Frankenstein:
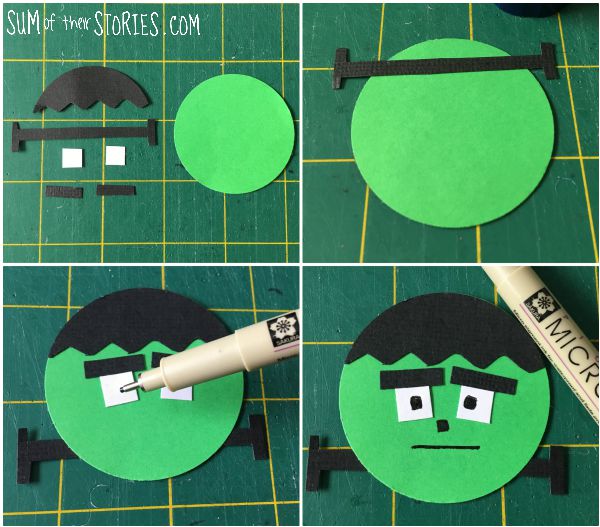
Take a green card circle and half a black card circle. Cut a zig zag hairline on the black circle. Cut a long ‘bolt’ shape and use the off cuts to make a couple of eyebrows. Cut 2 tiny squares in white for eyes.
Glue the little pieces on as shown in the photos using the blu stick. Add eyeballs, a nose and mouth with a black pen.
Spider:
Take a black card circle and a rectangle of black card that is wider than the circle. Cut the rectangle into 8 legs as shown below. Glue the legs to the back of the circle. Add 2 googly eyes near the bottom of the circle using pva glue.
Pumpkin:
Take an orange circle of card, and the off cuts from the spider. Cut 3 triangles, for the eyes and nose. Cut a smile shape and remove a couple of tiny teeth. Glue them all in place with the glue stick. Add a little green stem (not in this photo but you can see it in the finished pictures.)
Mummy:
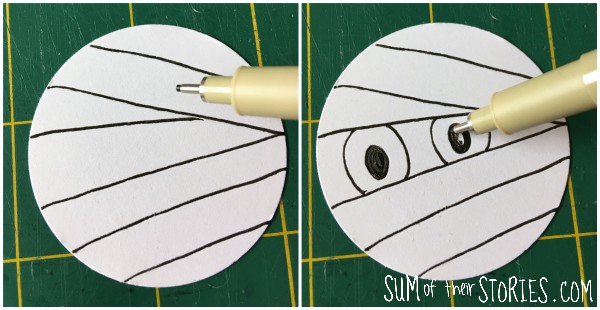
Take a white card circle and the black pen. Draw on some straight lines in a v shape. Add some eyes.
Skeleton:
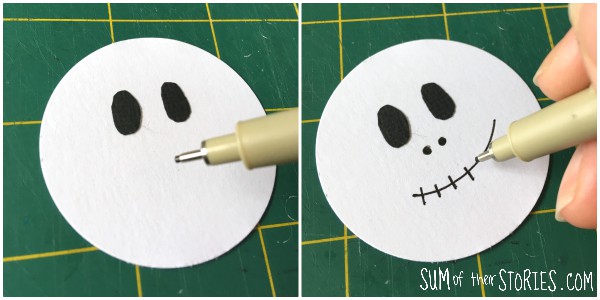
Take a white card circle, cut 2 tiny black ovals and glue them on as eyes. Use the pen to draw 2 dots for the nose and a crossed curved line for the mouth.
Monster:
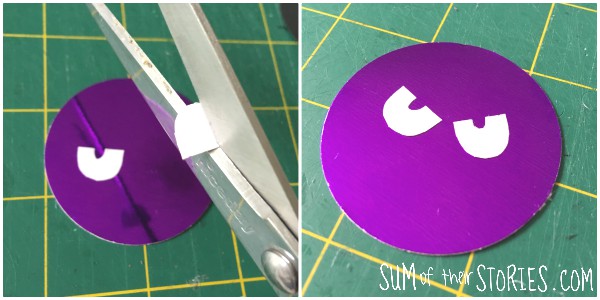
Take a purple circle and 2 tiny half circles in white. Cut out some u shapes as pupils and then glue them in place.
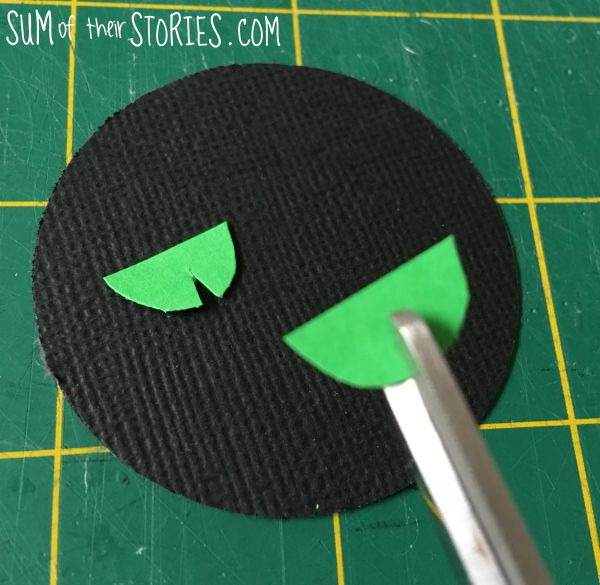
I made another similar monster with a black circle and green eyes.
Bat:
Take a black circle, a couple of scraps of black card, 2 more of the triangle off cuts from the spider, googly eyes and a white gel pen.
Cut 2 wing shapes from the scraps of black card and glue them to the back of the circle along with the triangles for ears. Add the googly eyes with PVA and draw on a smile with the white pen.
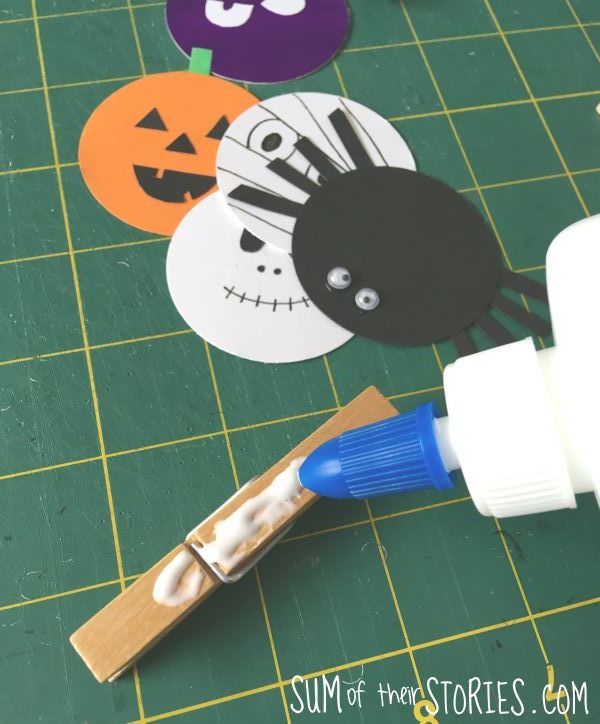
Once all the toppers are made you just need to attach them to wooden clothes pegs with a little PVA glue.
Leave them to dry completely, this will take a few hours.
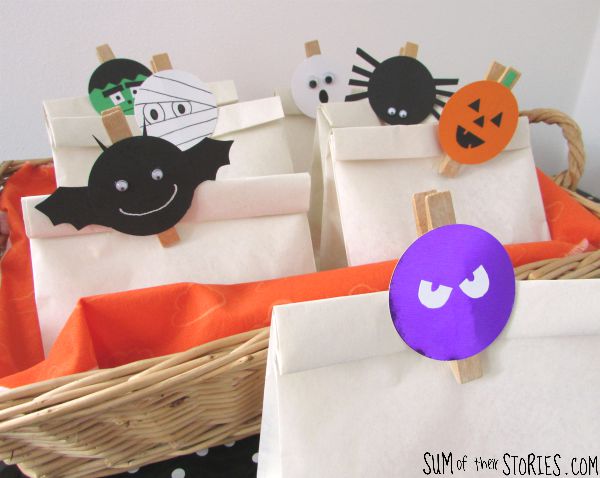
Now your toppers are ready to pop on the top of your filled paper party gift bags.
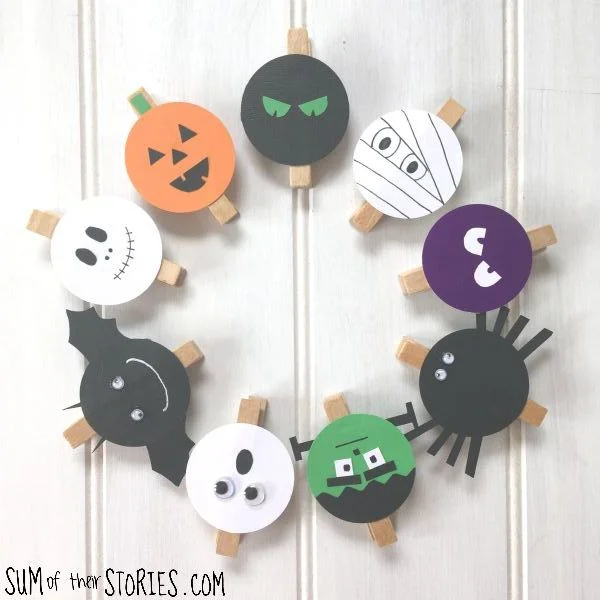
After taking the photo above I started thinking these little peg toppers could make a nice Halloween wreath too so I rustled up a quick and easy wreath idea to use them in a different way - it’s always nice to have options! Click through for more details of the Halloween wreath and how to make it..
These Halloween peg toppers were so much fun to make. I do like my Halloween decorations to be more cute than scary so these fit the bill. I think my favourite thing is the googly eyes, googly eyes just make everything cute and funny don’t they?
I’ll be sharing this idea at these link ups


