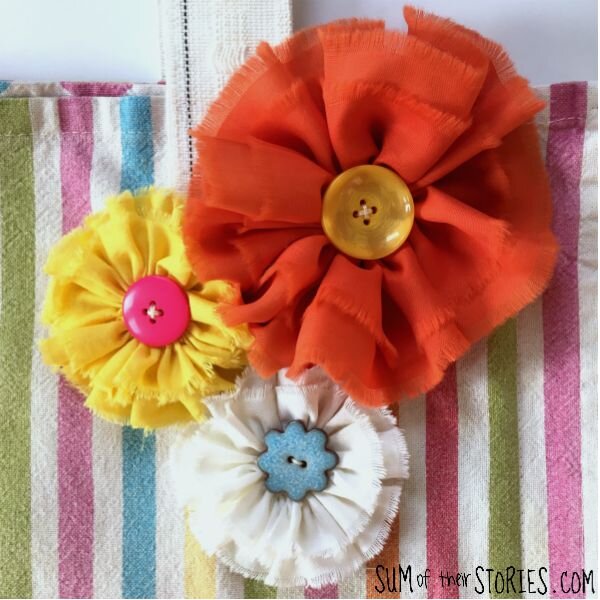
Easy to sew organza flowers
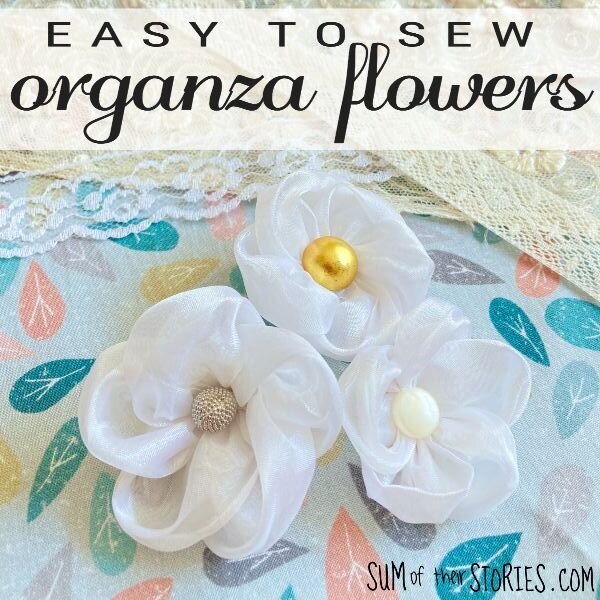
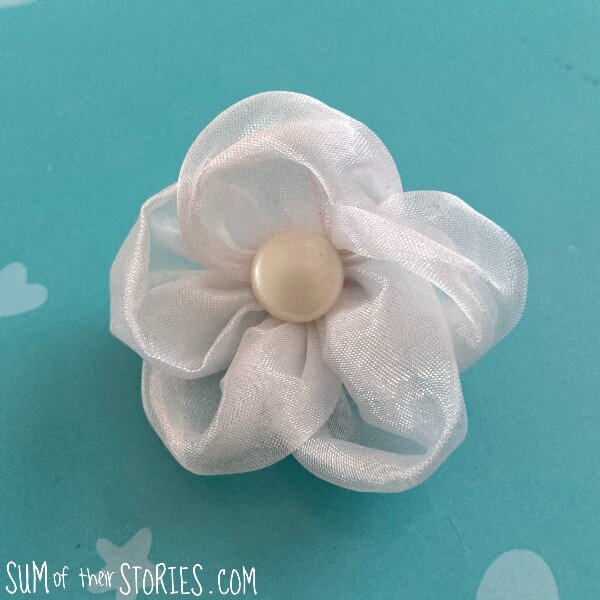
/I’ve been making organza flowers again. See my first attempts here. This method is really easy and just requires some really basic sewing, nothing complicated at all I promise!
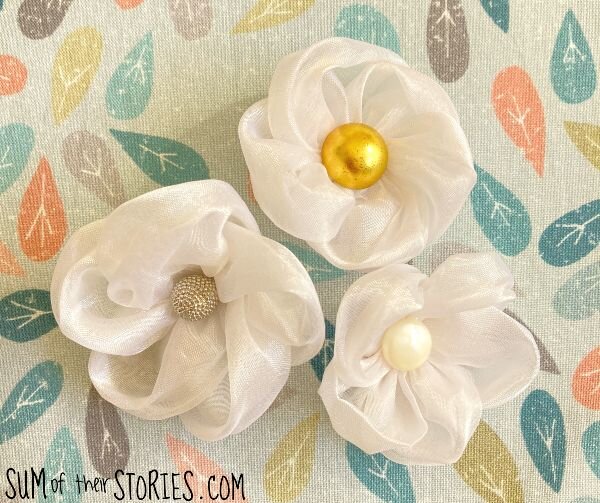
I’ve used polyester organza here and also tried this method on some satin just to see what different looks you can achieve.
This is a lovely way to make fabric flowers that can be attached to hair clips or hair elastics, sewn onto bags or turned into brooches. You could attach them to a card or gift tag or just hot glue them to a wrapped gift to make it extra special.
All you need is:
A small piece of organza fabric
Matching thread
A needle
Something to cover the centre - a button, bead, old earring etc
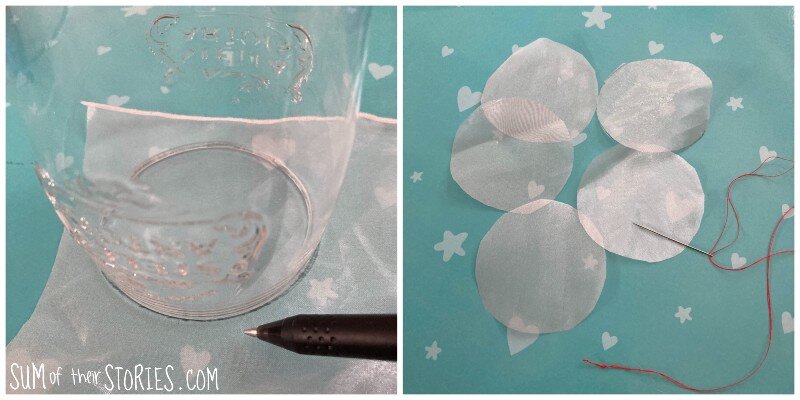
First cut 5 circles of fabric, they can be any size. Mine are about 3” (8cm) in diameter and the finished flowers is about 2” (5cm) in diameter . I drew around a glass, if you want to make bigger flowers maybe draw around a side plate.
They don’t have to be perfect circles but fairly close to round will make it easier!
Take a long length of thread and fold it double. Knot one end and thread the needle. I use double thread just to make it stronger. I’ve used a bright coloured thread so you can see it but of course you’ll use a matching thread.
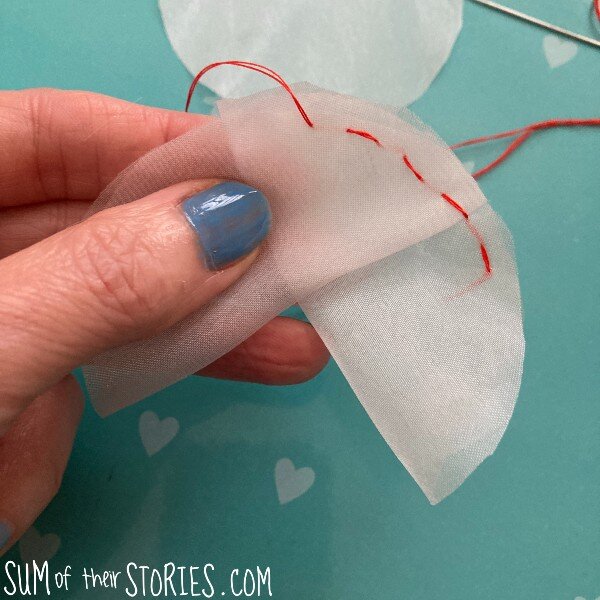
Fold one circle in half and start stitching with a simple running stitch just to the right of the centre point around the curved edge. Just do a couple of stitches.
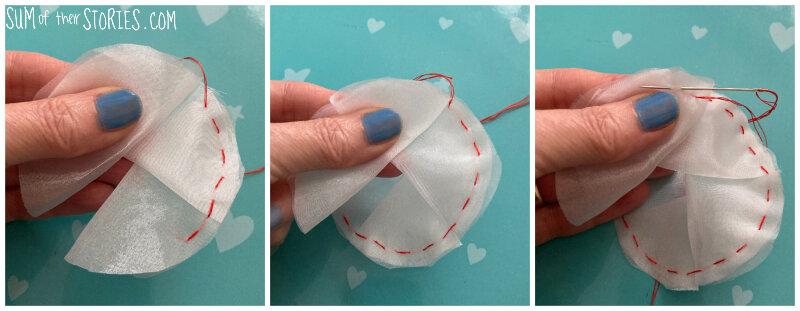
Fold the second circle in half and overlapping it with the first continue the running stitch through all 4 layers.
Continue folding and layering the circles, overlapping and stitching them around the curved edge.
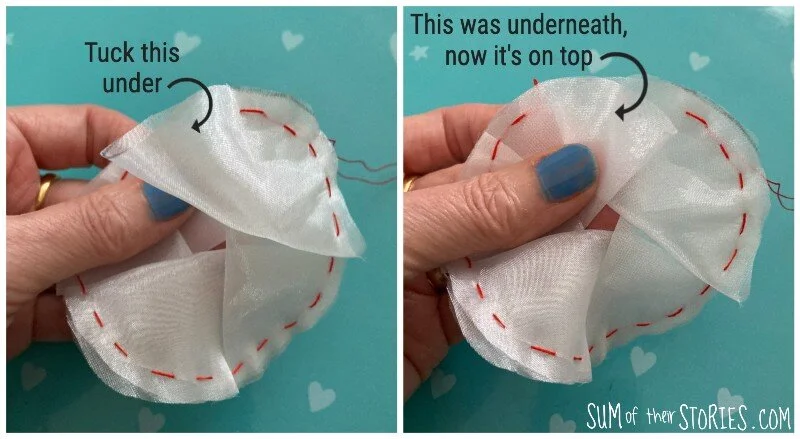
When you get to the last circle, tuck it under the first one to finish the circle. All the overlapping will be in the same direction.
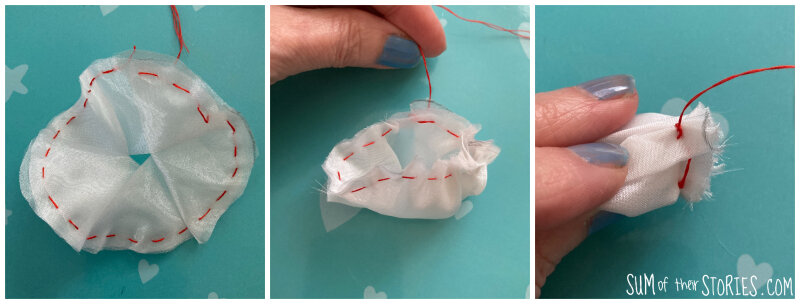
Pull the thread up tight and stitch a few casting off stitches to secure it. Don’t snip off your long thread yet.
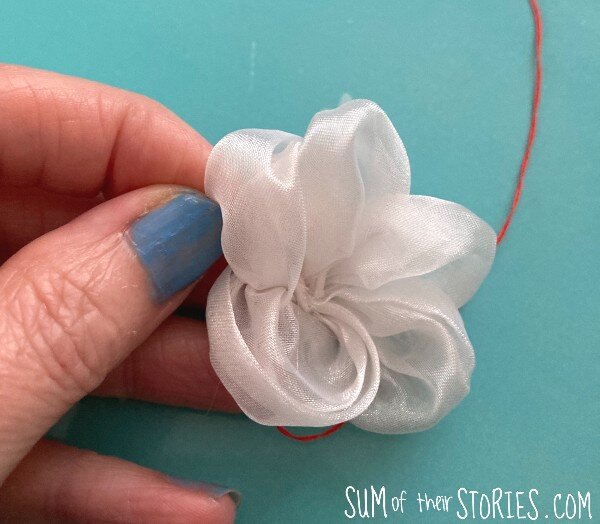
Flatten your flower a bit and then flip it over and look at the other side. Depending on the fabric sometimes I find these flowers look better if they are one way up and sometimes the other. You can easily push all the gathers through to the other side if needed. If they are squashed you can seperate the layers of organza a little, poof it up a bit until you are happy.
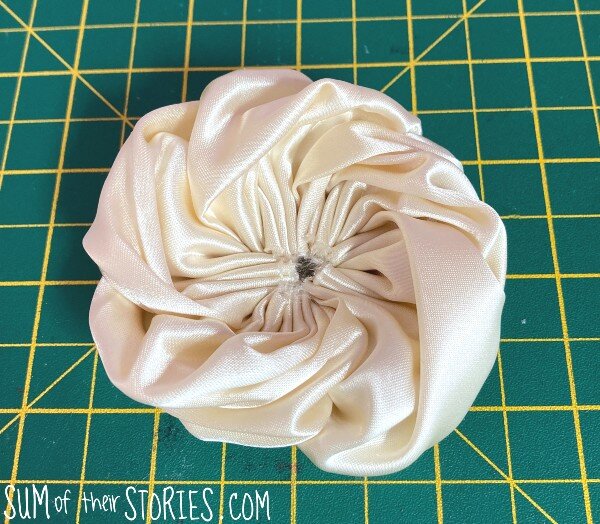
Now your flower needs something to cover the messy middle.
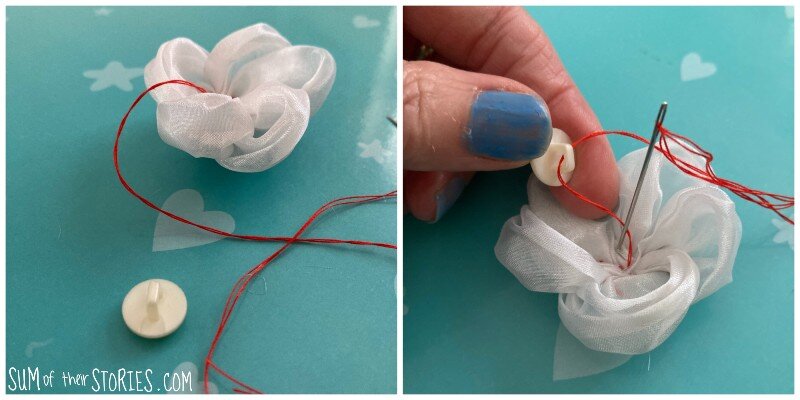
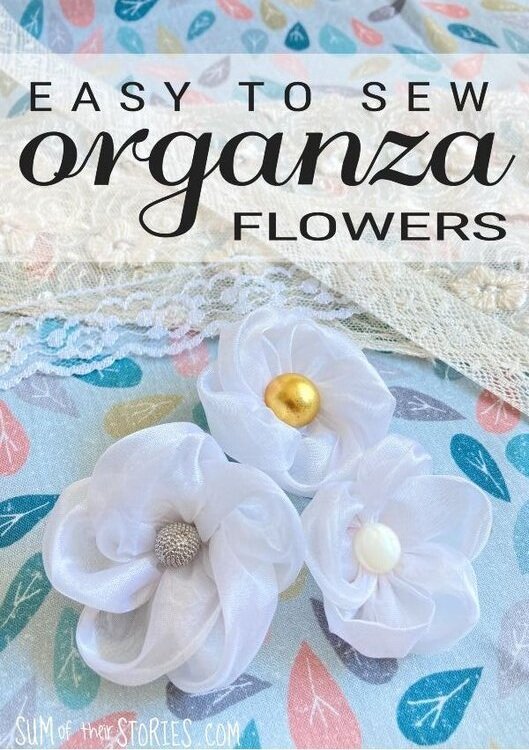
Sew on whatever you like in the middle. A button, a bead, a piece of broken jewellery, a collection of little beads, whatever you have that takes your fancy. If you left the gathering thread attached you can use that to sew on the button or bead. You can glue something to the centre if you prefer, if you are using a flat backed bead or a bit of broken jewellery that might be easier. Hot glue would be ideal for this.
Ta Dah! Cute eh?
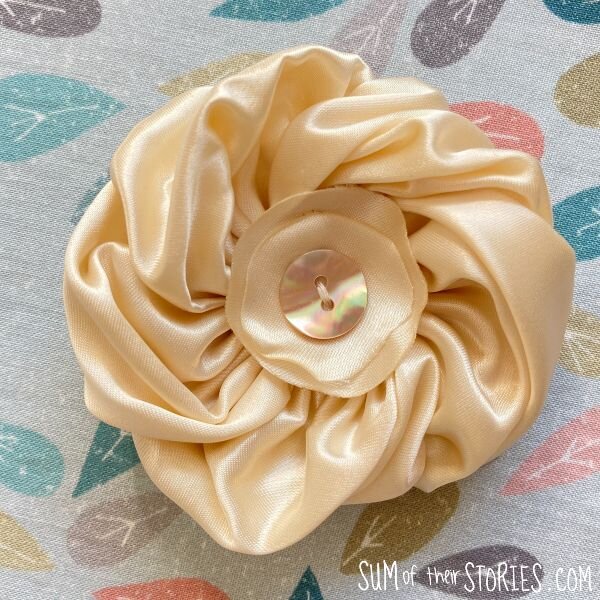
I tried these flowers in a thicker satin fabric too. It does work but you have to spend a bit longer adjusting the petals at the end, pulling them apart and ‘poofing’ them out a bit. I found it best not to pull the gathers so tight with a thicker fabric too, so the flower sits flatter.
I made this satin flower a little larger than the organza ones, the circles were 4” (10cm) and the finished flower 3” (8cm) . To cover the larger messy middle I cut 2 small circles of satin and sealed the edges in the same way as for the organza flowers I’ve made previously. A little pearly button finished it off nicely.
I’ve not done it yet but I’m thinking I’ll hot glue a circle of felt on the back and turn this into a brooch.
These organza flowers are so quick to make, less than 10 minutes start to finish!
I’ll take some photos later and add them here of the flowers in use, to give some ideas of ways to use them.
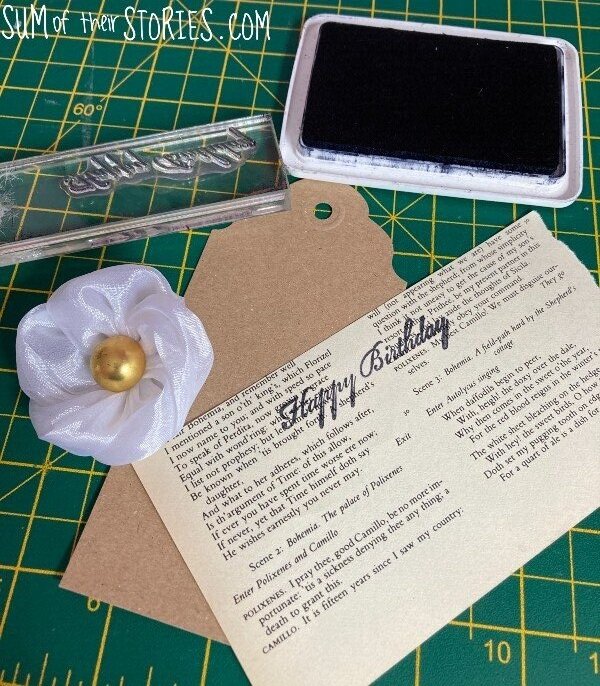
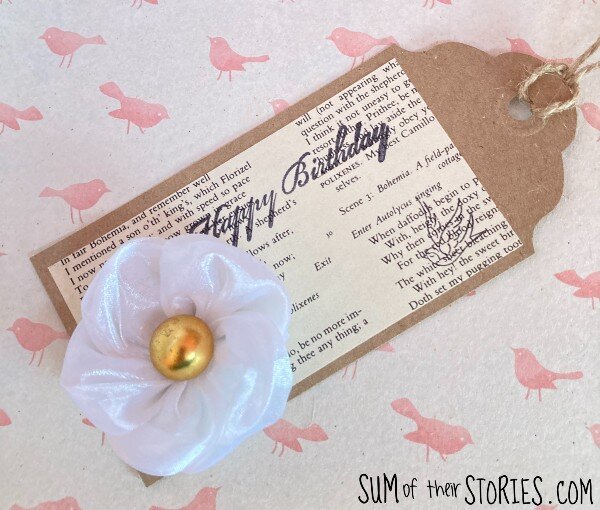
UPDATE: I made a sweet little gift tag using a kraft card luggage label, a bit of old book page and a Happy Birthday stamp.
If making flowers from fabric is something you are interested in you might like these fabric flower ideas that I’ve made in the past:
I’ll be sharing this tutorial at some of these link ups


