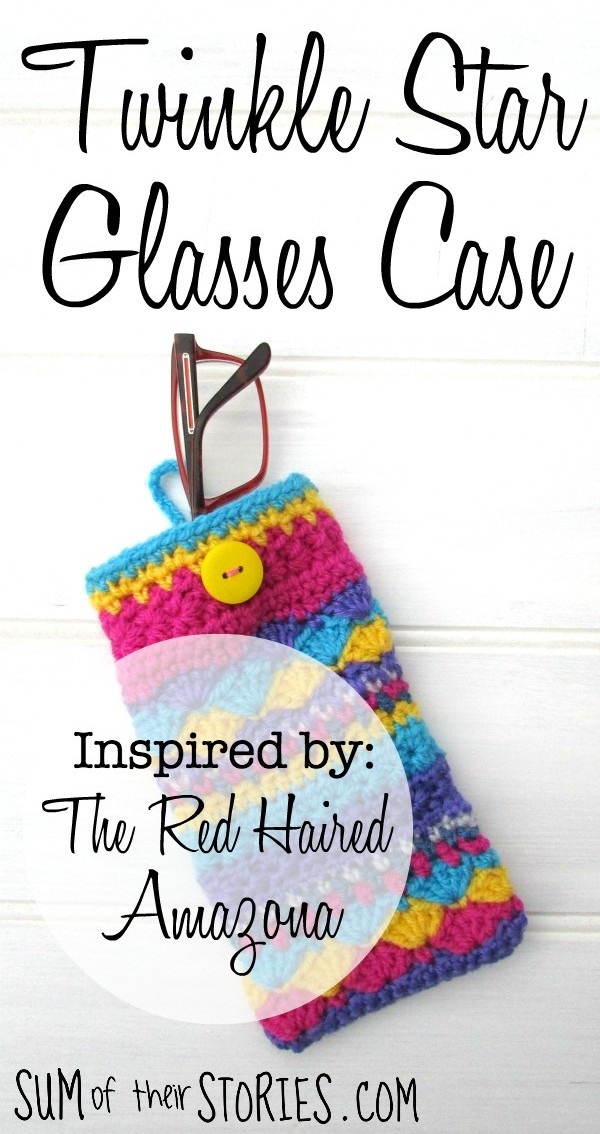
Inspired by - Twinkle Star Glasses Case
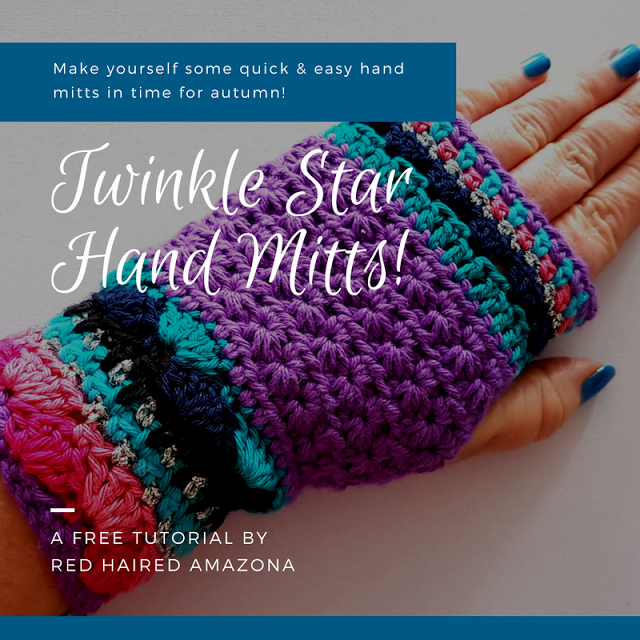
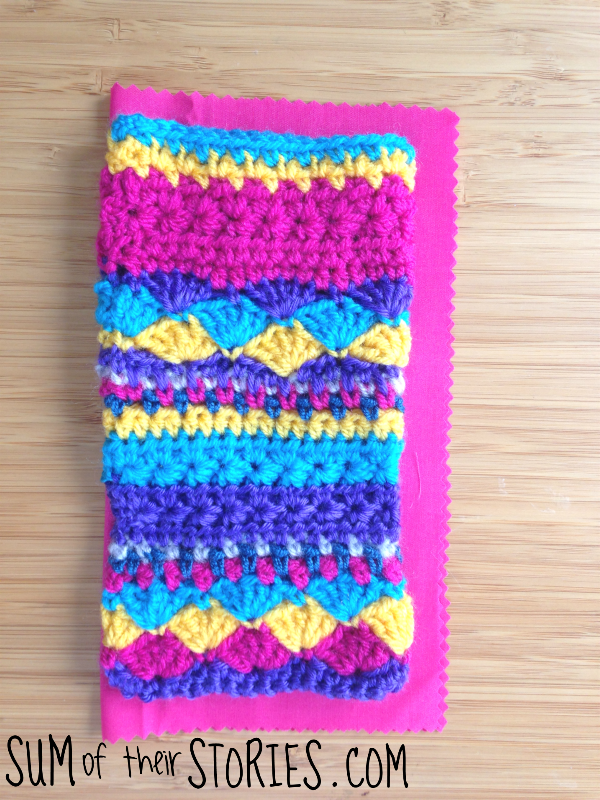
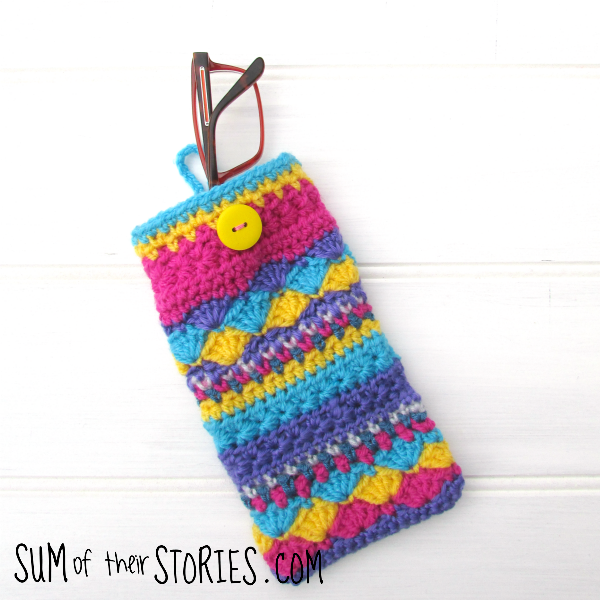
/Today I have another project for you, inspired by another amazing blogger. This time it's a super colourful glasses case totally inspired by the amazing Red Haired Amazona and her fabulous Twinkle Star Hand Mitts pattern.
Let me tell you the story..... Back in July some very pretty colourful crochet appeared on Instagram feed of Louise, The Red Haired Amazona (well, I say appeared, her whole feed is pretty and colourful, but this was especially so!) and 'huzzah!' in August Louise publish the free pattern for the most beautiful hand mitts she named Twinkle Star.
I promptly made a pair (which I love and have given to our daughter as she loved them too) and as I was sewing it all up it struck me that they would be a great size for a glasses case.
To make one you will need:
Yarn - about 2oz in total of as many different colours as you like. I used 6 (pink, blue, purple, yellow, dark blue and grey)
Fabric for lining 8.5" x 8" (22cm x 20cm)
Matching thread
A button
If you are looking to treat yourself these Clover Amour hooks are my hook of choice! I’m gradually collecting a full set, adding one or two each birthday and Christmas.
I'm not going to go into great detail about how to make the basic rectangle of crochet as you can find all that over on The Red Haired Amazona. Pop over here and follow the wonderful and VERY detailed how too (honestly I thought I did a lot of photos for a tutorial but I'm a photo lightweight in comparison!)
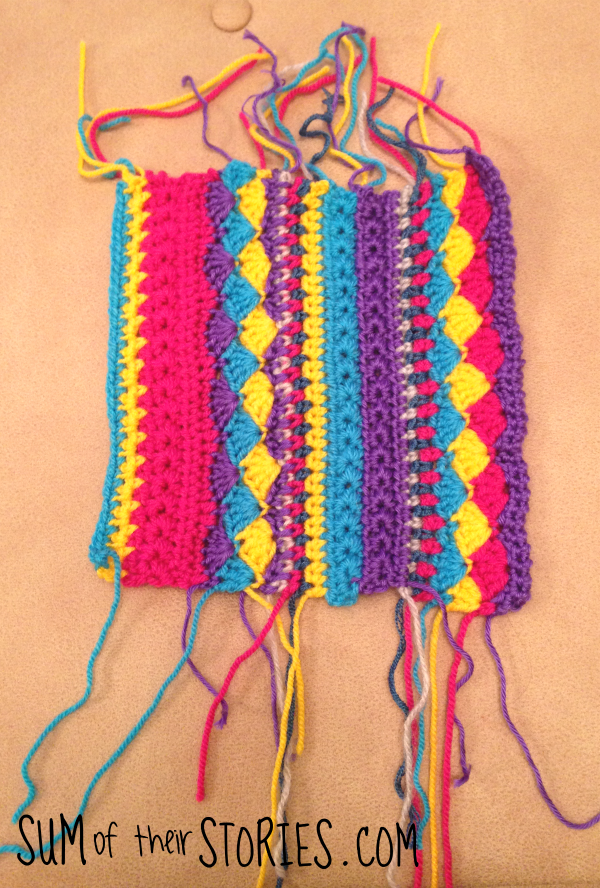
You can see I mixed the pattern lines up a little for the glasses case. I only did stitches and pattern rows from the original hand mitts pattern, I just mixed them up and did whatever took my fancy in whatever colour came to hand.
This is the most brilliant stash buster project!
Once my piece of crochet was approx 7" or 18cm I stopped. (it was 8" or 20cm wide)
Please excuse these next few terrible photos, it was evening and I was excited to get this finished!
Ahhhh, look at all those ends to sew in!!!
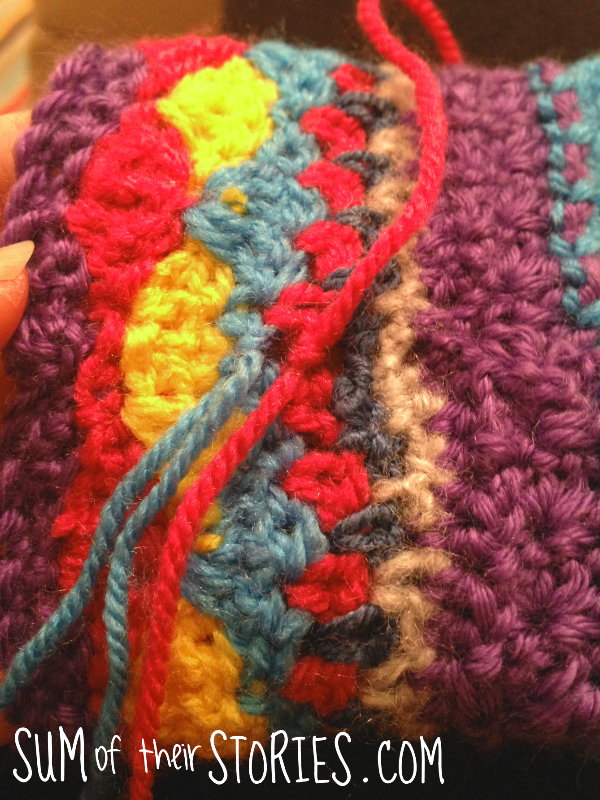
I used all the ends to sew the side seam of the case up so I was sewing them in (aka tidying them up) at the same time. I found it easiest to do the larger bits first, the places where a few rows are the same colour.
Then where there was just one thin row I simple tied the ends and sewed them in, like this:
Sew the bottom up too.
Cut a piece of fabric just a little larger than you crochet has ended up.
Now stitch the side and along the bottom. I used a thread the same colour so I've drawn in some comedy sized stitches to show you where.
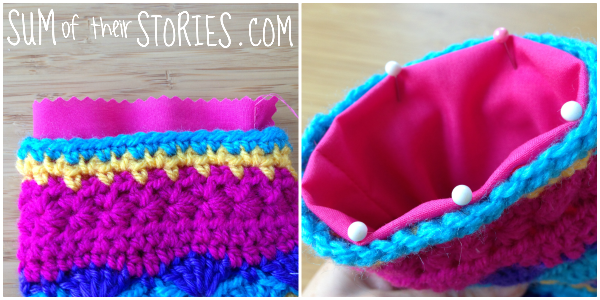
Trim the corner seam allowance as shown then slide the lining into the crocheted case.
Fold the top over neatly, tucking the raw edge inside and pin.
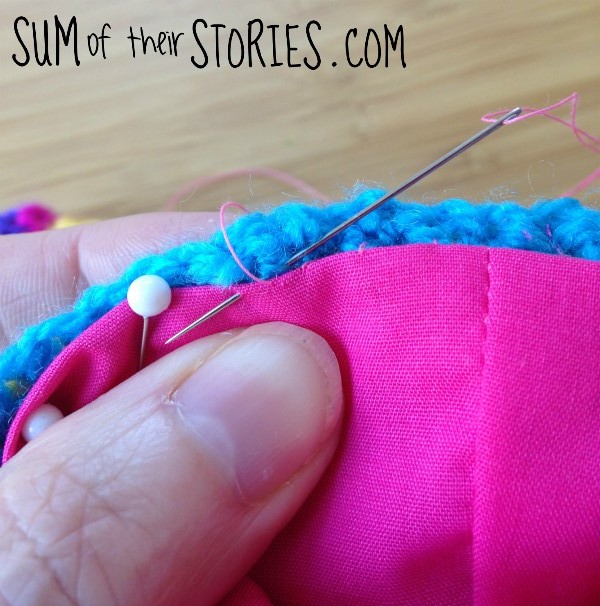
Then slip stitch all around the top to attach the lining to the crochet.
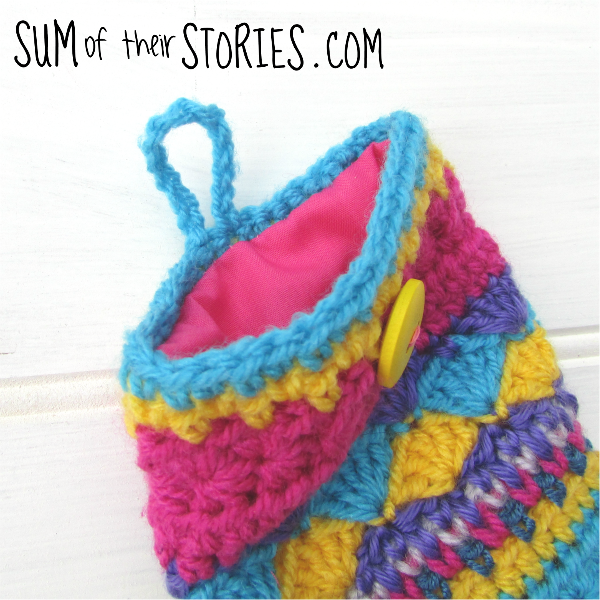
Sew a button on the front in the centre and then make a chain loop on the centre of the back. Join the yarn to the centre stitch, chain enough to go round the button fairly tightly (I did 10 chain) and then slip stitch back into the centre stitch. Sew the ends in.
Ta dah! Finished. I think this is one of my favourite makes ever (and yes, I know I say that a lot!)
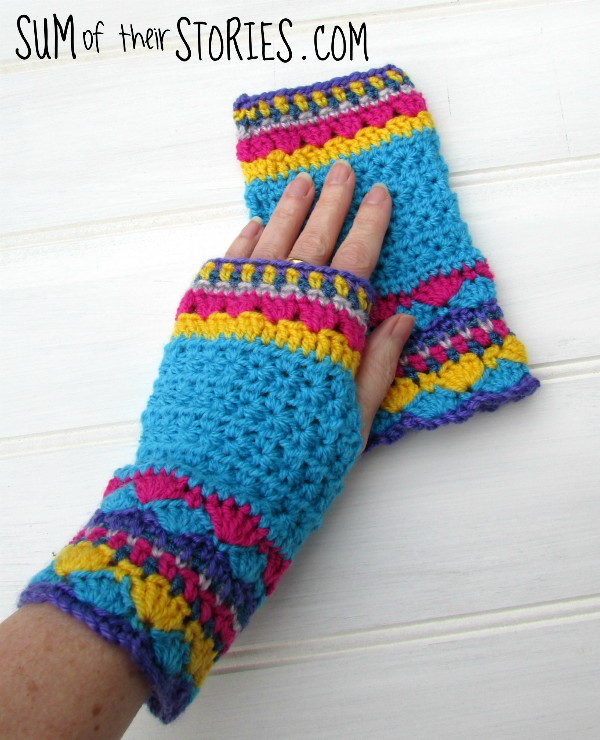
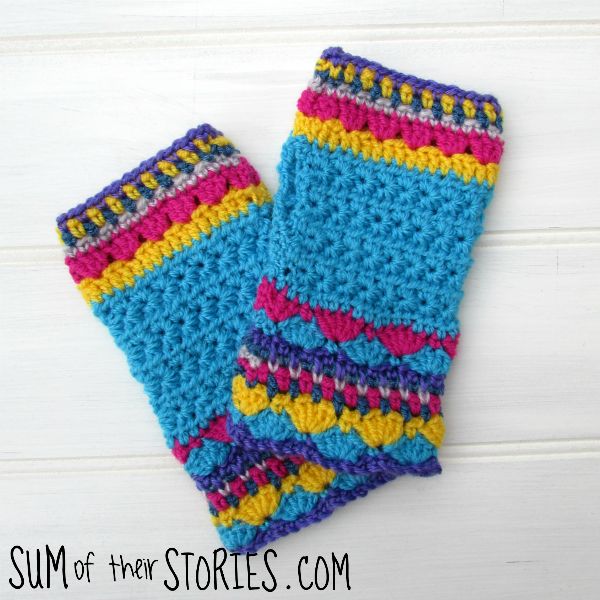
Out of interest, here are some photos of the Hand mitts that I made first, following the pattern from the Red Haired Amazona properly.
Aren't they pretty?
I made these mostly out of the leftovers from the Rainbow Heart Bunting and Carnival Cushion I made ages ago with just a few other little left over bits thrown in.
Do you think you'll try The Red Haired Amazona's gorgeous pattern and make pretty hand mitts for someone this Christmas? Or adapt the idea and make a glasses case? OR you could do a smaller version as a phone case or a bigger one for an ipad .... or wouldn't it make the most lovely little purse, handbag, coaster, cushion...


