Scrapbusting Fabric Twine Bracelet
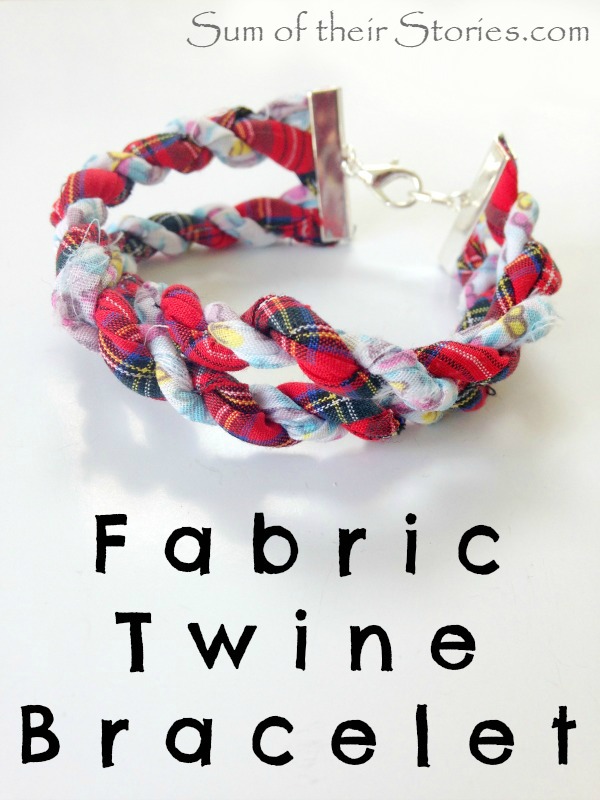
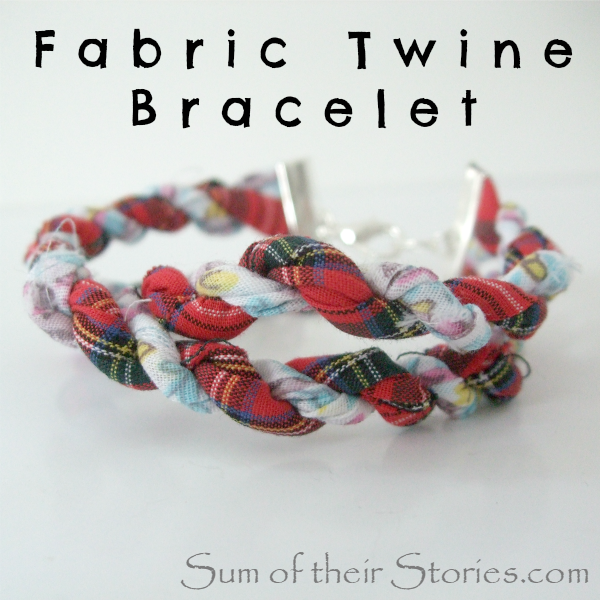
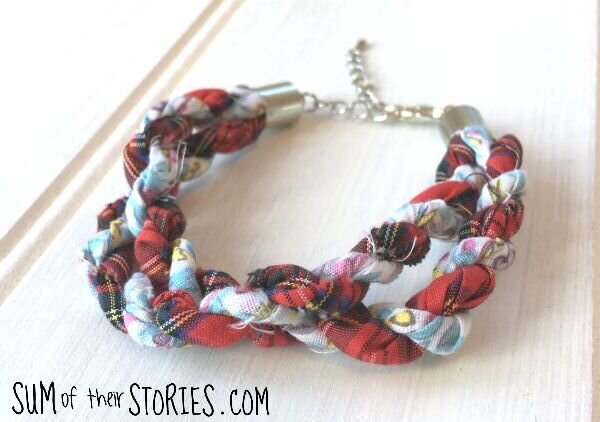
/For the Pinterest Challenge this month I've made a bracelet from fabric scraps.
Some of the products I used to make this bracelet were provided by Pandahall.
There is an update to this tutorial at the bottom, I’ve found a new and, I think, improved method to make these bracelets.
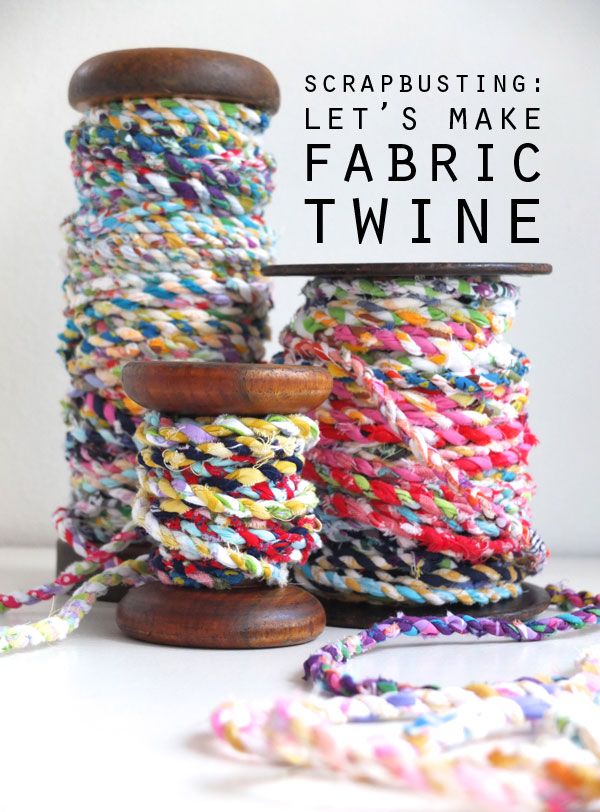
Quite some time ago I pinned this idea to make twine by twisting fabric scraps from My Poppet Makes.
Cintia from My Poppet Makes also has some fun ideas of what to do with your twine once you've made it, she's made a mat for the floor but also suggests wrapping presents, making coasters, tablemats and more.
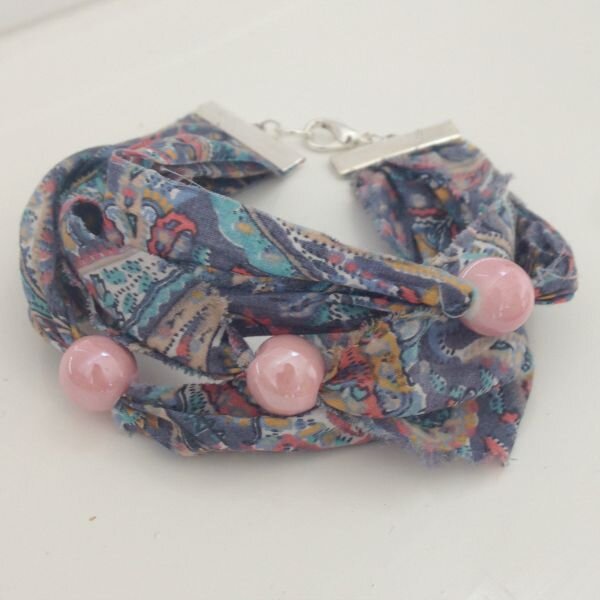
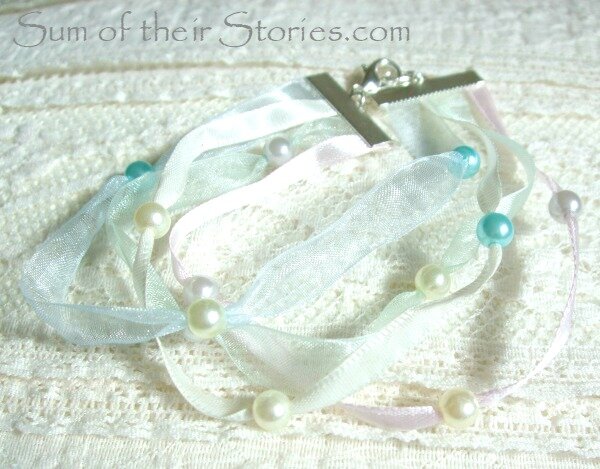
I made a bag full - just because - and then put it to one side, moved house and forgot all about it (like you do...) Then a few weeks ago when I made these ribbon and fabric bracelets: (Click through the photos to see the tutorials to make them)
Using these ribbon end jewellery findings, I thought of my bag of fabric scrap twine and dug it out.
So if you would like to have a go at making your own fabric twine bracelet you will need:
scraps of fabric - longish strips are best
a Selection of Jewellery Finding:
2 Ribbon Ends (mine are these silver colour 6mm ones from Pandahall)
2 small round jump rings (mine are these 4mm from Pandahall)
1 larger jump ring (mine is a 7mm oval, from my stash)
1 lobster clasp (mine is this one from Pandahall)
strong glue (I used Superglue)
jewellery making or small pliers
and
to go to My Poppet to find out how to make your twine
Once you have a length of twine, make the bracelet in exactly the same way as the Ribbon and Bead bracelet. I used 2 strands of my twine but you could include more if your twine comes out thinner or if your ribbon ends are bigger. You just don't need to add any beads, and I found I didn't need to use the tape to hold everything together either.
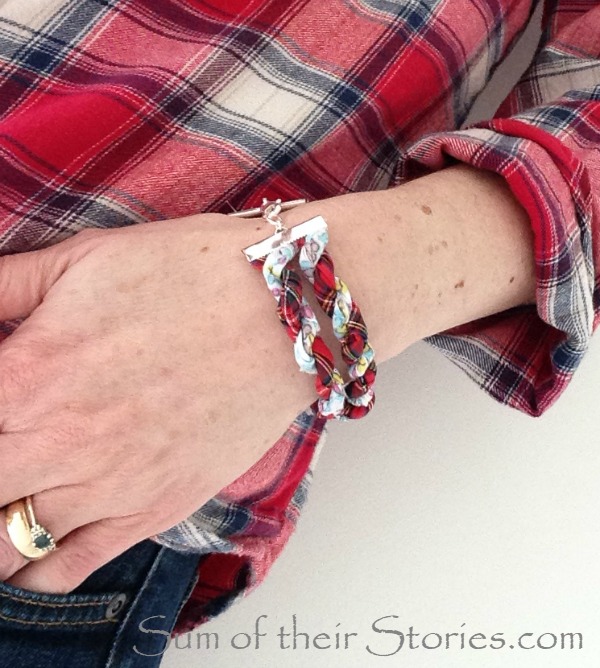
I find bracelets very hard to photograph, here is an awkward selfie just so you can see how it looks on (I took loads of these and this is the best - not my greatest photographic achievement!)
When I wear this bracelet I've found I like it best if I twist it before doing up the fastening, the two strands slightly twist together naturally and it lies nice and flat on my wrist.
Update Fabric Twine Bracelet
I’ve given this idea a new and improved update. It’s made in the same way but with different jewellery finding at the ends.
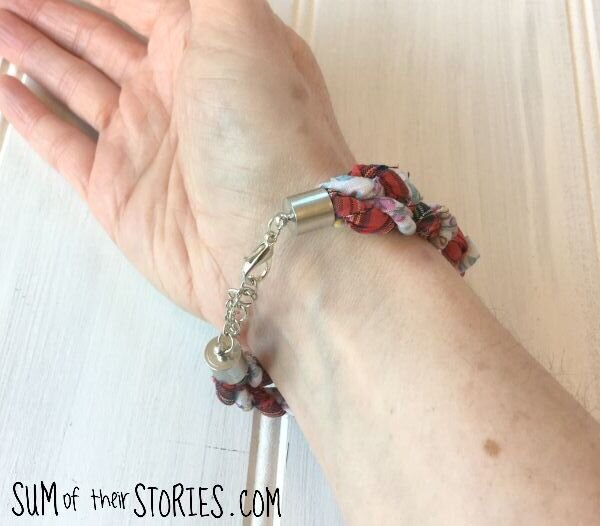
I got myself some round Barrel ends which I have to say I much prefer.
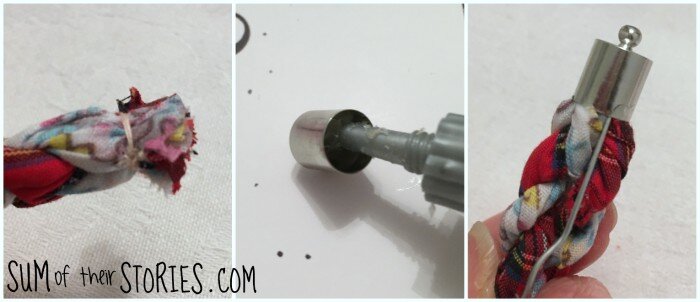
You make the cord in the same way and then pinch 2 pieces together and wrap with strong sewing thread and secure.
Choose a barrel end that is a snug fit and then pop some strong glue into the end. My absolute favourite glue for this sort of job now is Bostik Power repair. Something like E6000 or super glue would work well too.
Now shove (technical term!) the cord inside. I found an opened up paper clip was a great little poker to get all the ends of the cord right in there.
I added a length of chain which makes the bracelet nice and adjustable too. The barrel ending makes it a little more comfy to wear too.
My favourite thing about this project is how each and every bracelet made this way will be unique, it all depends of the combination fabric used.
I also love that it uses up scraps, so good for those last precious fragments of a favourite print AND if it gets a bit grubby you can just gently handwash it and it will be good as new.
It would be lovely to make a bracelet to match a dress, skirt or shorts that you've made with the little leftover fabric scraps.
Here are the other great Pinterest Inspired projects in this month's Pinterest Challenge.
Scrapbusting Fabric Twine Bracelets || Sum of Their Stories
DIY Strawberry Planter ||Refresh Living
DIY No Sew Faux Roman Shades || Dwelling in Happiness
Wood Pineapple Bowl Revived || Sisters, What!
Mike Wazowski Pinata || Tastefully Frugal
Julie
I'll be linking up at these great link parties


