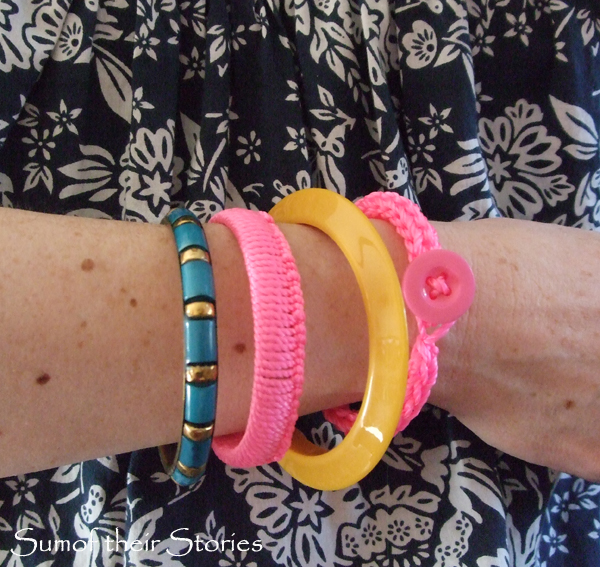
3 Pink Bracelets
/Ever since my nice bright pink bracelet broke and I made it into a necklace, I have been short a bright pink bracelet. So I've been experimenting and tried out a few DIY bracelet ideas.
I found this lovely bright pink cord in B&Q (the hardware shop)
I love this cord, it's really strong and the colour is amazing. The ends unravel like mad though so I popped a dab of nail varnish on the cut ends to help seal them whilst I was working with it. It helped a bit, you'll see in the photos below.
Update June 2014: I used this cord again for my Chain & Thread Bracelet and melted the end of the cord (just carefully in the gas flame of the cooker hob) It worked SO much better than nail varnish
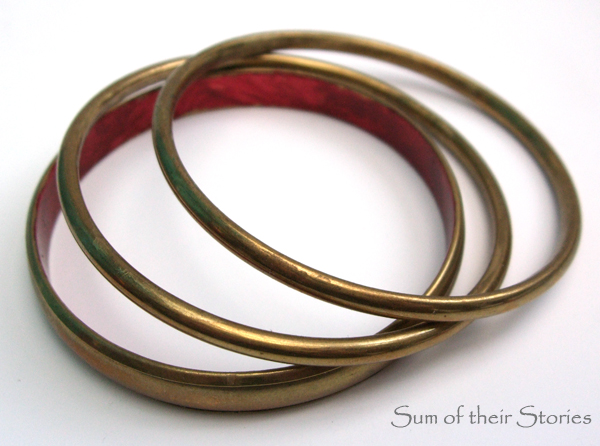
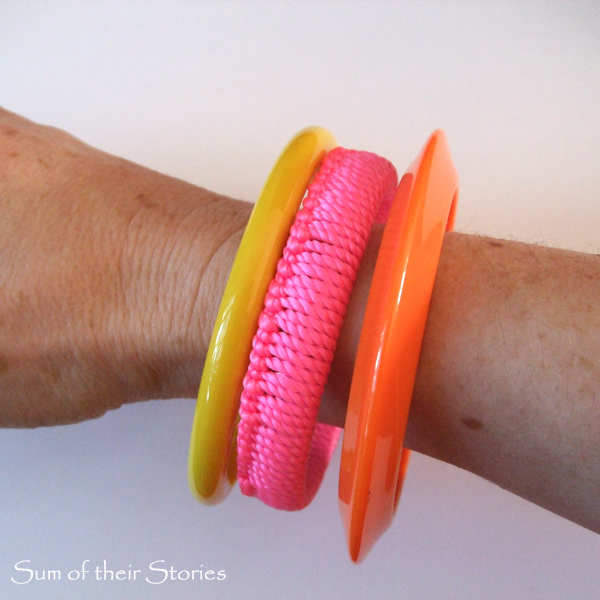
I also had these old bangles to play around with. They are the kind that make your wrist go green so they already had a coat of nail varnish on the inside to help stop that.
Wrapped Cord Bangle 1:
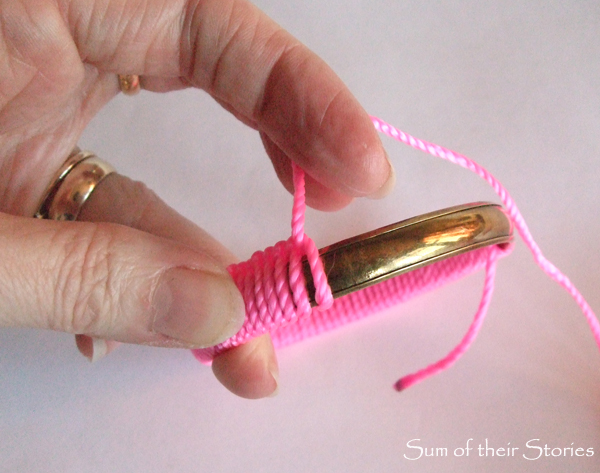
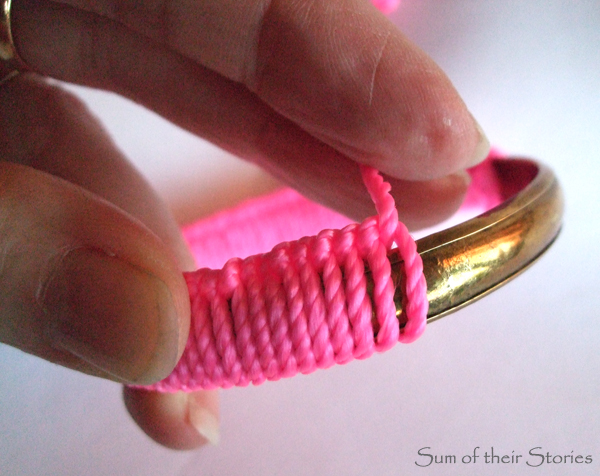
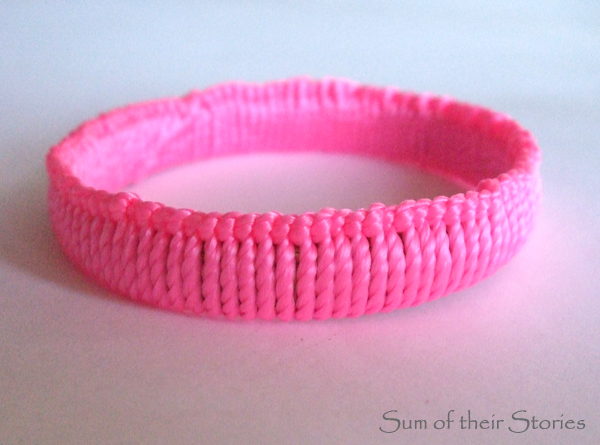
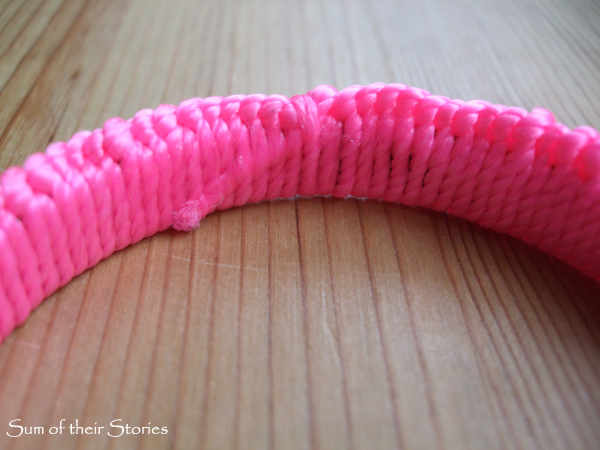
First I took the wider bangle and the cord, tied it in a tight knot then started knotting it round, pushing the cord up to itself as I went along.
When I got back to the beginning I just tied the cord as tightly as possible on the inside then glued the ends on the inside with a little dab of Superglue.
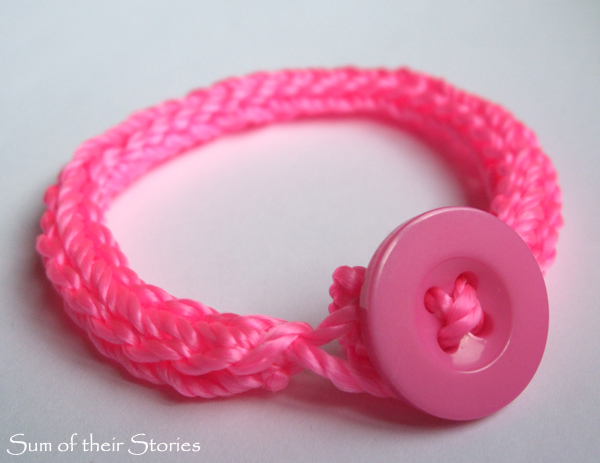
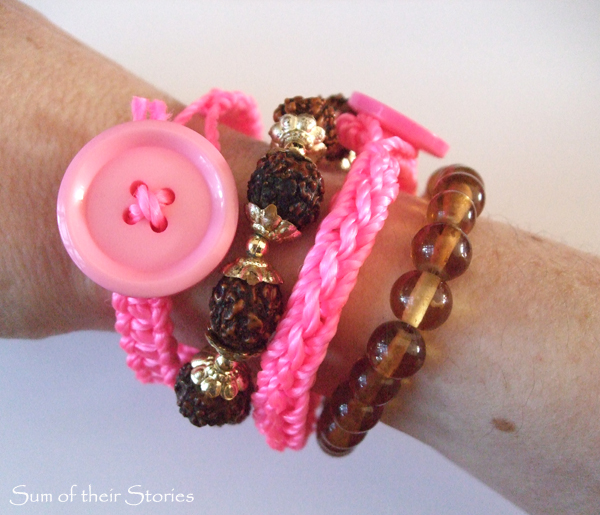
Crochet I-Cord Bracelet:
Oh my giddy aunt, I am so excited about this one. I found a tutorial on how to crochet an I-cord!!!! You can see it here at Planet June.
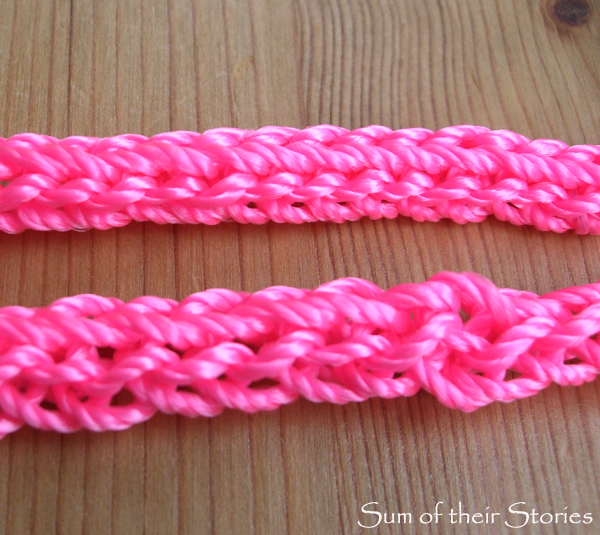
For my first attempt I used a 5mm hook and it came out a bit uneven and lumpy. Take 2 was with a old UK size 12 (2.5mm) hook and was much better.
The cords are in reverse in the photo above with cord 2 (size 12 hook) at the top and the lumpier first attempt at the bottom.
I just crocheted the cord until it was long enough to fit really snugly round my wrist.
Then pulled the cord through all three loops on the hook to finish off:
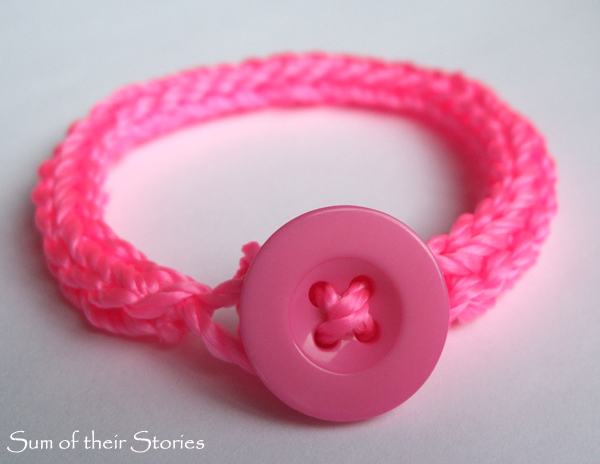
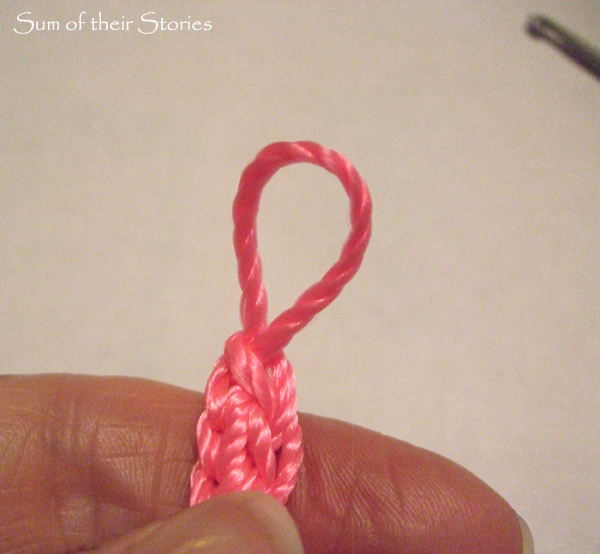
I made a loop as big as my chosen button:
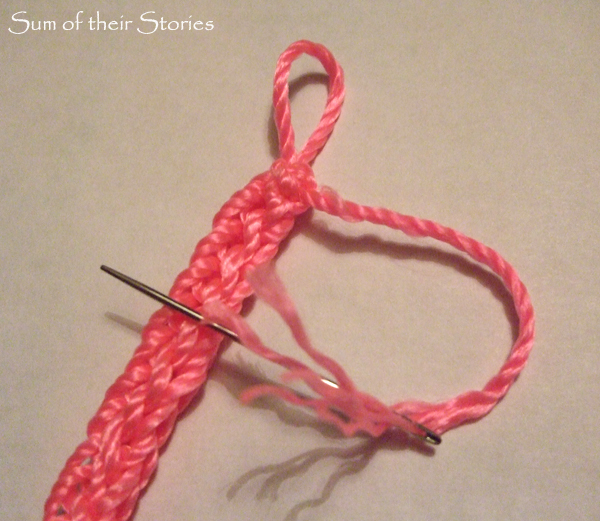
i threaded the cord onto a large sewing needle and made a knot, then "lost" the end by weaving it into the I-cord:
I Superglued the knot and the ends just to be sure they don't unravel.
The other end already has a handy thread which I used to sew the button on, again using a dab of glue over the knot and cord ends.
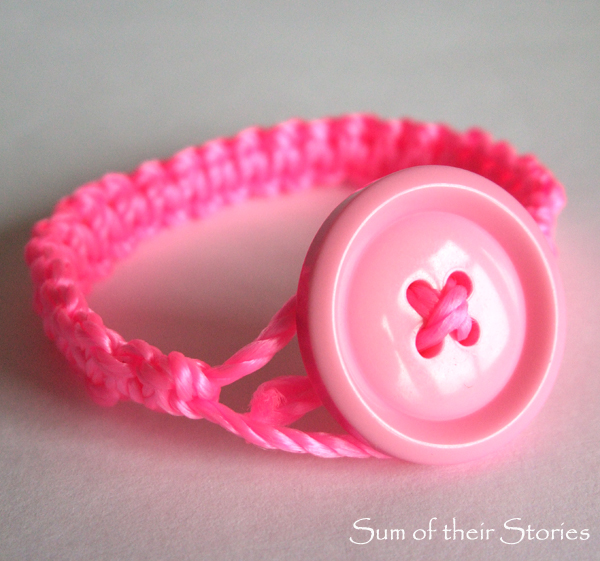
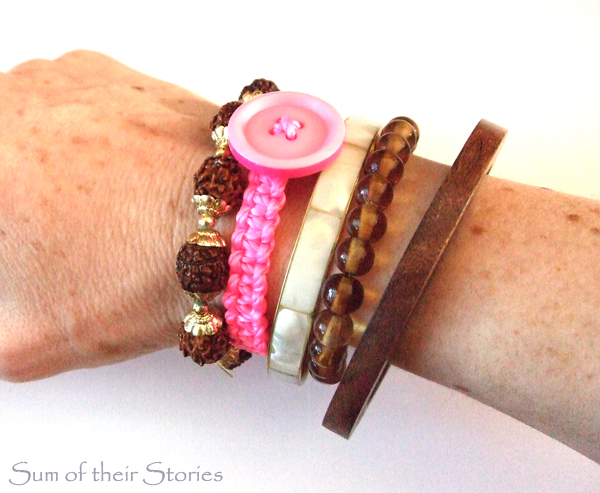
Knotted Parachute Cord Bracelet:
I followed some instructions on YouTube for how to make this. These instructions were great, really clear and straightforward. I thought I had pinned them so I could find them again easily - apparently not! I have found alternative instructions from here which is the same method but be warned, this Guy takes ages to get to the point (I went and made a cup of tea, came back and he still hadn't started the actual weaving/knots bit!)
Still, stick with it, he does tell you everything you need to know (eventually) However you don't need a jig or fancy equipment, I stuck a pencil between my knees and looped it end of the bracelet over that!
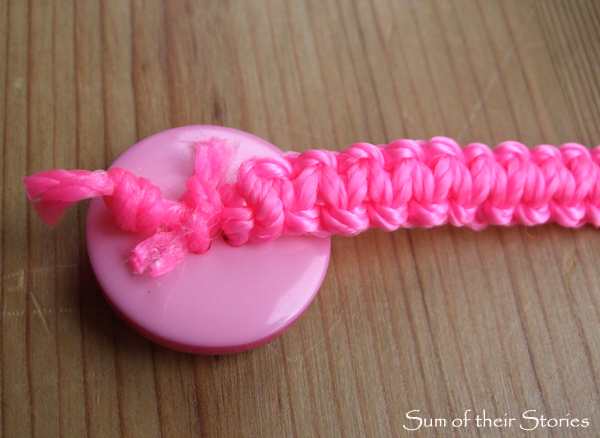
I followed the instruction until the bracelet was long enough for my wrist. If you are using a button like this, make it a bit on the short side, I found my loop and button added another cm or so. This is really adjustable though, so when I found my bracelet was a fraction too long, I could just move the end knot up a bit to shorten (once you've got a finished bracelet in front of you that sentence will make way more sense)
I sewed a big button on the end and glued the end of the cord with Superglue rather than setting fire to them like the guy on YouTube. Once the glue was dry I trimmed the ends off.
I like them all, but I think the I-cord is the one I will definitely be trying out again, with some different wools and threads.
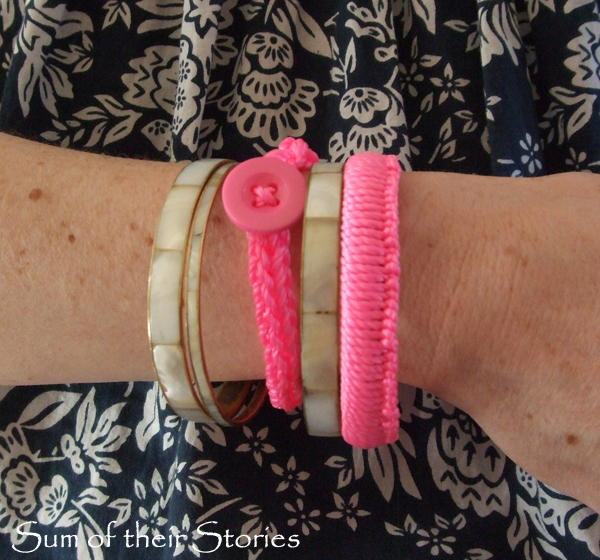
I do like to stack bracelets up a bit and I like the bright pink with other bright colours:
I really like them with natural colours:
Julie
I'll be linking up at these great link parties


