Gift Bags from Old Envelopes
/I love to recycle and reuse whatever and whenever I can. I also love a beautifully wrapped gift, so I've been trying to combine the two.
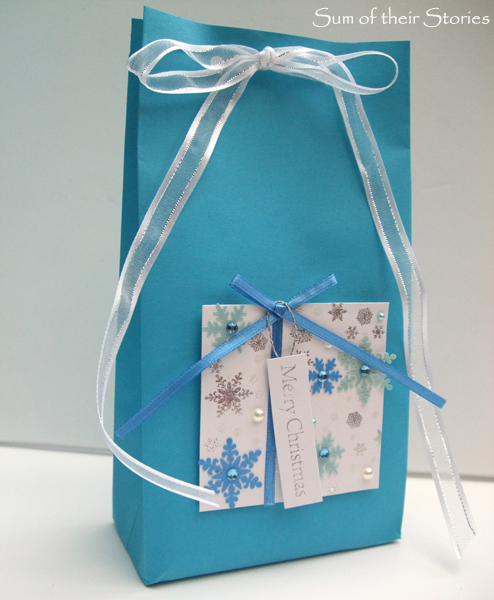
It’s easy to make gift bags from old envelopes.
How to make a gift bag from an old envelope
You can make a gift bag from new envelopes in any size or colour but if you can get in the habit of opening nice large coloured envelopes carefully then this is a great way to upcycle them. Whenever you receive a suitable looking envelope slice it open carefully on one of the short side off with your scissors.
To make a gift bag from an old envelope you will need:
An old envelope
Paper glue - I usually use a stick glue
An embellishment of some kind to cover any writing
A hole punch
Ribbon or twine
A ruler and ball tool (the end of a knitting needle works quite well if you don’t have a ball tool)
Mark your envelope
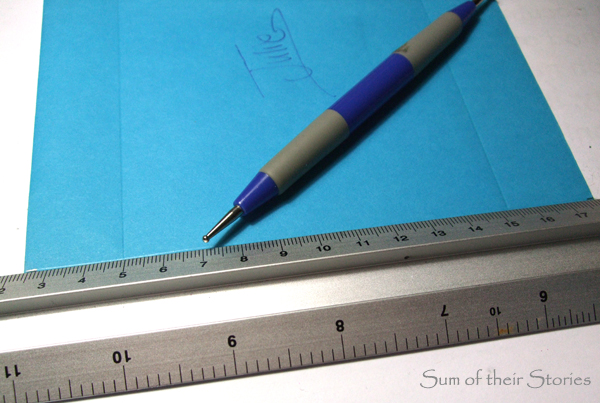
Measure and mark in from the edge on all 3 closed sides. It can be any distance but all 3 sides must be the same. This envelope was 14cm x 20cm so I marked 2.5cm in from the edge.
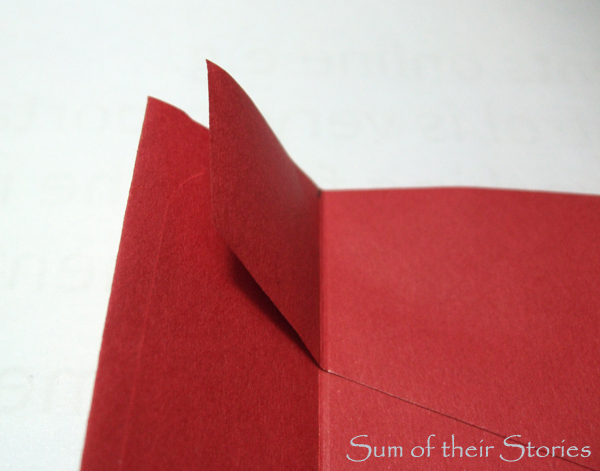
Ops! By magic my envelope has changed colour! - Don’t worry this is only because some of the photos I took of my red envelope photos were a little fuzzy.
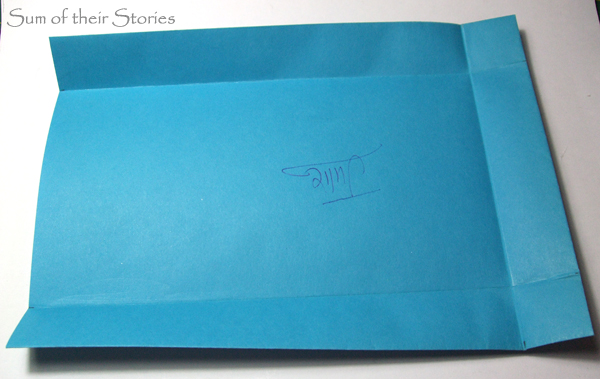
Score a line down each of the 3 sides where you have marked with the ball tool.
Fold along the line forwards and backwards to crease it.
If you have a little unstuck flap anywhere on your envelope just secure it with a little glue.
Embellishing your gift bag
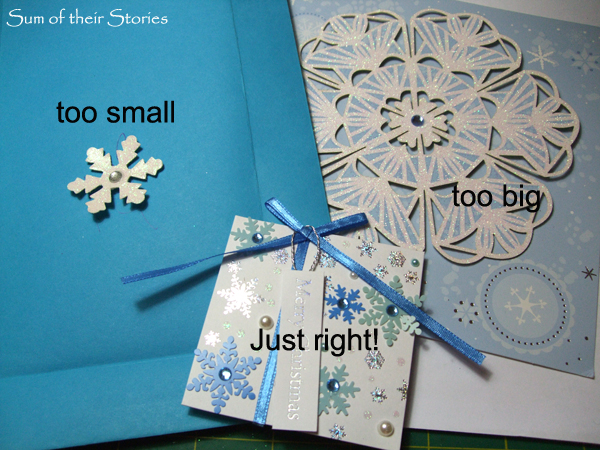
If your envelope has writing on it you can cover it up with an embellishment. It is much easier to decorate now, whilst the bag is still flat, rather than wait until it is bag shaped.
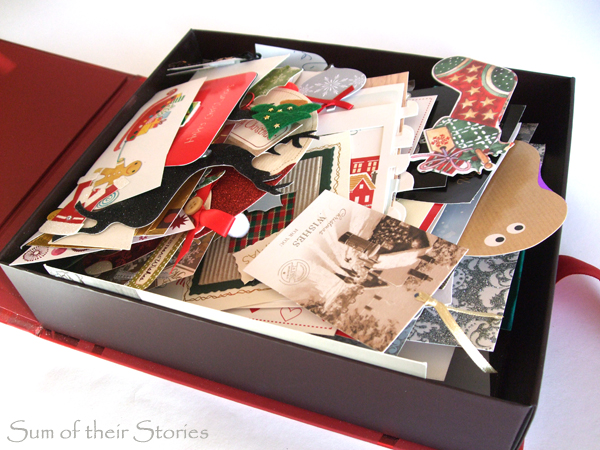
If you like to papercraft then it’s worth save bits from old greeting cards and pretty packaging. They come in handy for all sorts of things and it saves having to buy new.
It is fun to rummage through your collection of bits and pieces to find just the right thing.
Simple glue any embellishments on, covering any old writing. Just be sure to wait until any glue is dry before you move on to the next step.
Creating the gift bag shape
Pop your hand inside the envelope to open it into a bag shape.
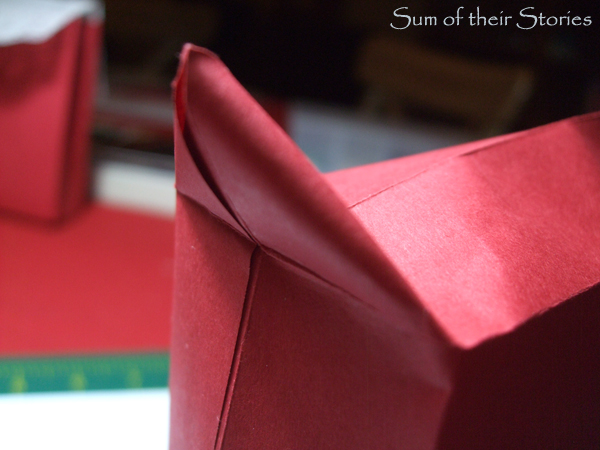
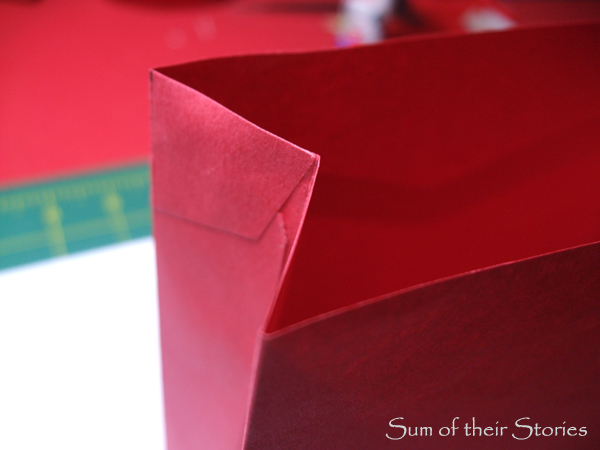
Fold the bottom corners flat and pinch the corners.
Fold the sides inwards at the top of your bag.
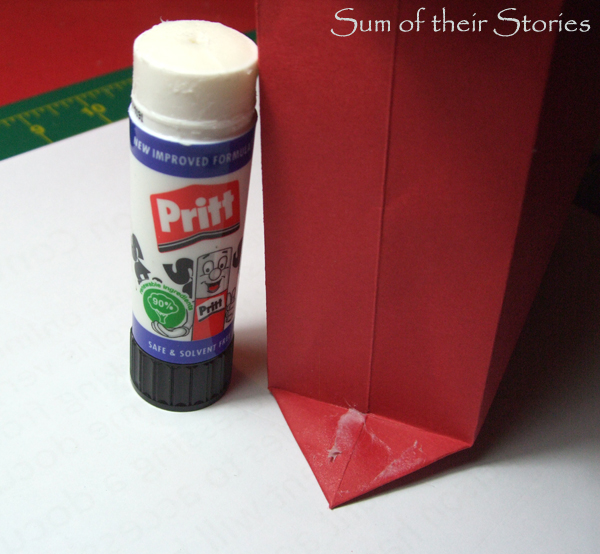
Glue the pinched corner flaps down onto the base.
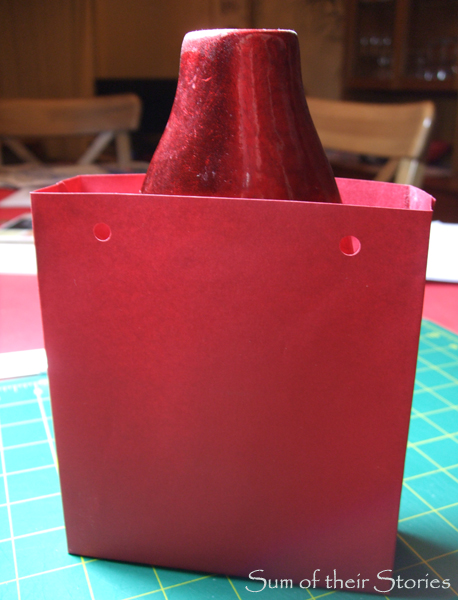
Now stand the bag up and place something reasonably heavy in it to hold the flaps securely until the glue dries. You can see I used a handy vase.
Creating the top fastening
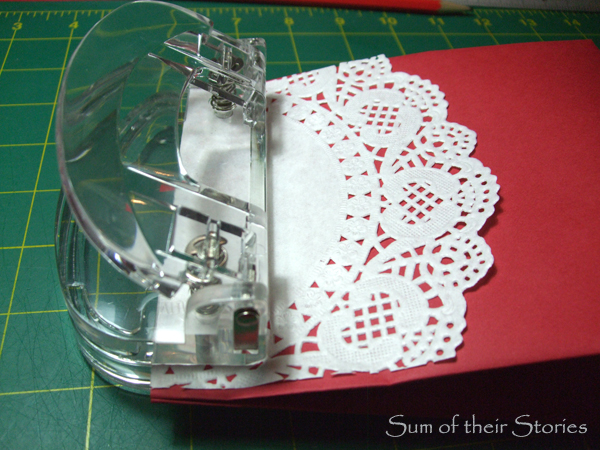
All that’s left is to punch holes in the top with a hole punch.
On this gift bag you can see I have decorated the top with a paper doily trimmed to the same width as the bag.
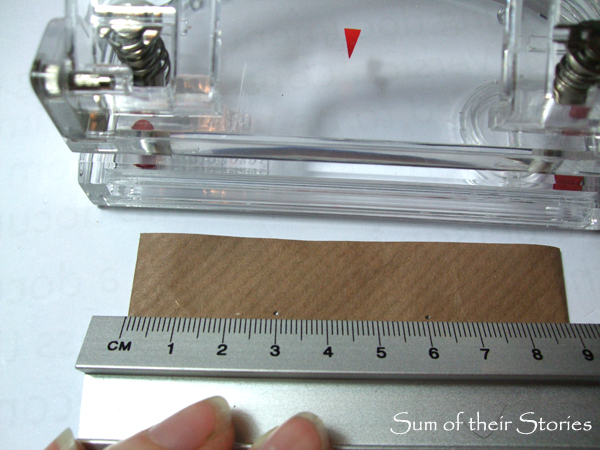
If your envelope is narrower than your hole punch then just measure, and mark where you want the holes to be with a pencil dot.
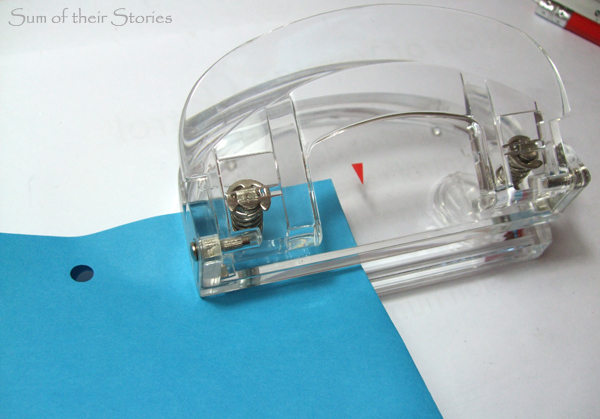
Then punch one hole at a time.
All that’s left is to pop in a present into your gift bag and then tie through the holes with ribbon, thread or twine to finish.
Coloured envelopes are not usually made of the thickest quality paper so obviously these gift bags are not especially robust. They are perfect for little light presents: jewellery, sweets or candy, a tie, a keyring, that sort of thing.
Julie
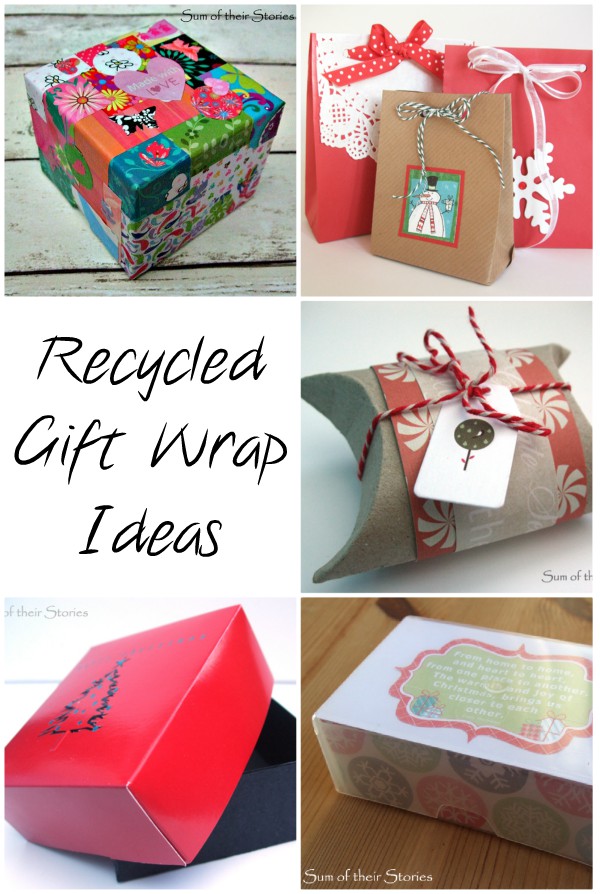
If you enjoy finding ways to gift wrap using recycled and upcycled items then you can check out this round up of ideas:
I'll be linking up this project at all these lovely link parties


