Geometric DIY art
/Using an old canvas and a little paint to make a new piece of geometric art is pretty simple and inexpensive. I had a few issues on the way and slightly overcomplicated mine. I'm sharing today so maybe you can learn from my mistakes!
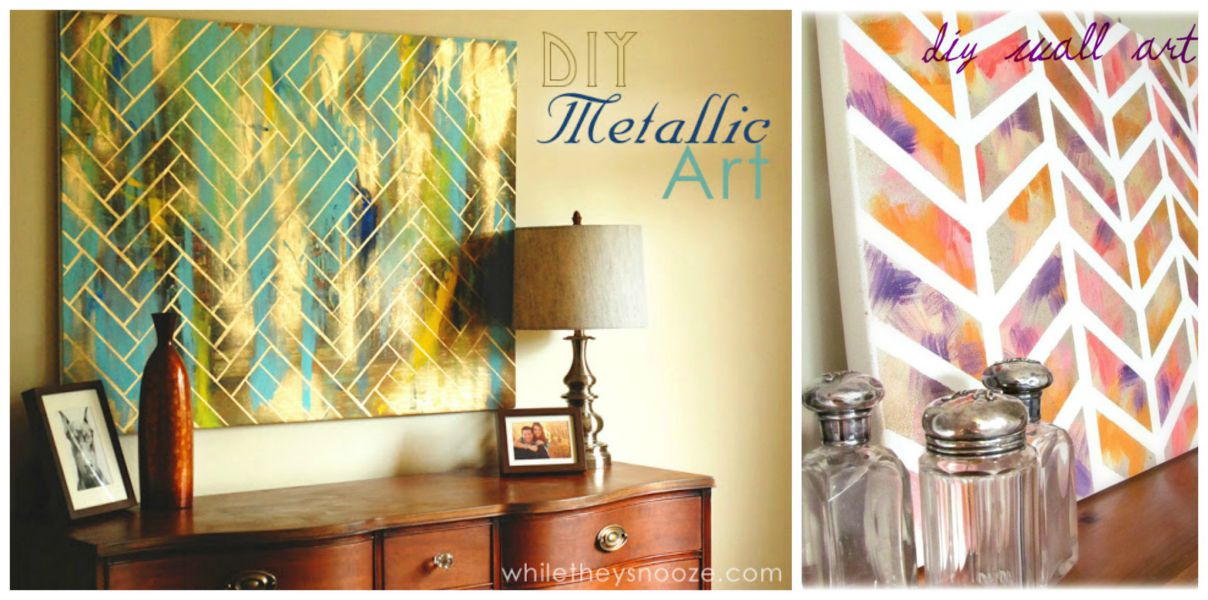
I wanted to make some art for our bedroom, had seen these two ideas on pinterest and thought the whole thing looked simple enough.
On the left is a beautiful metallic canvas from While they snooze, it's made by painting then taping over an existing painting. On the right is some herringbone pastel loveliness from Laura Wadsworth. She used a new white canvas, taped a design and then splodge painted all over it. (Sadly the blog this is from is no longer active so this is just for inspiration now)
I started with a rather unattractive canvas that I picked up from a major supermarket for £4. I haven't photographed it as it was as I thought it might be a little bit insulting to the original artist and also to anyone else who has chosen to buy this for their home. It was quite a wishy washy picture with brown and cream tones and that's all I'm prepared to say!
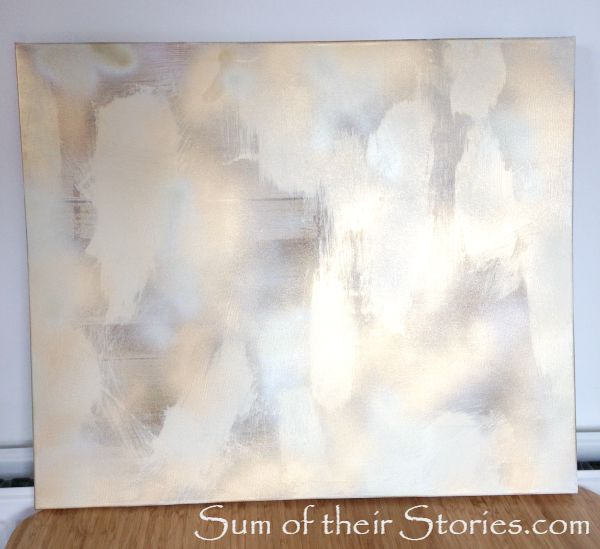
I painted over it with some gold spray paint I had left over from my various gold spray paint projects. (here, here and here) I also splodged on some regular cream and white emulsion (the kind of paint you use on walls) and left some bits of the canvas original picture showing too.
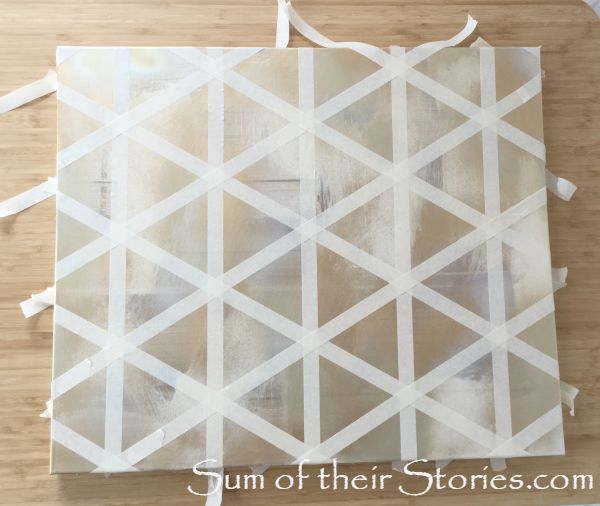
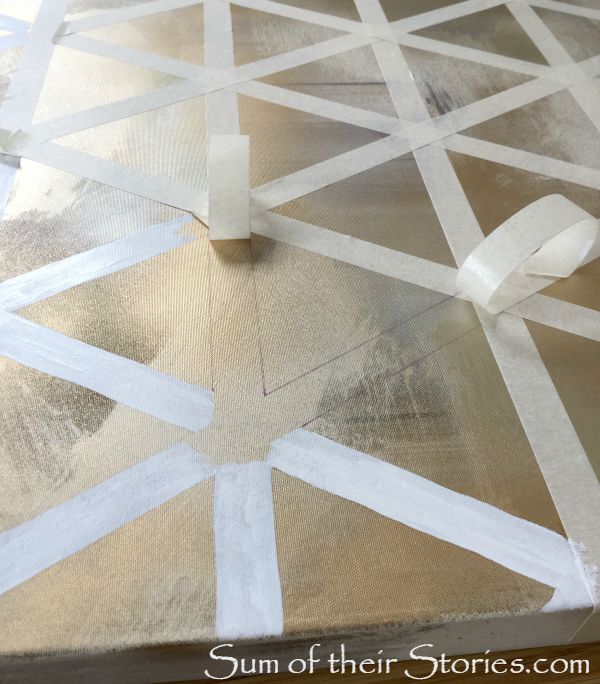
When that was dry I taped out a geometric design with decorators tape.
As you can see I went for more of a triangle design than the herringbone in the pinterest inspiration tutorials. I just googled "geometric designs" and then picked one that looked fairly simple to mark out.
Then I stopped and realised I wasn't doing this art quite the same as either of the pinned inspirations.
To use the same method as While they Snooze I should have taped off the triangles, then I could paint over in white to form the lines.
To use the same method as Laura Wadsworth I should have painted the whole canvas white to start with, then taped off, then splodged the gold etc on.
I felt I was past the point of no return with this so I soldiered on and tried to find a way to make this work.
I used my trusty air disappearing pen, the one I use for marking embroidery designs (here, here and here) and marked the decorators tape a little at a time, removed the tape, then painted in between the lines with a small paintbrush and white emulsion paint.
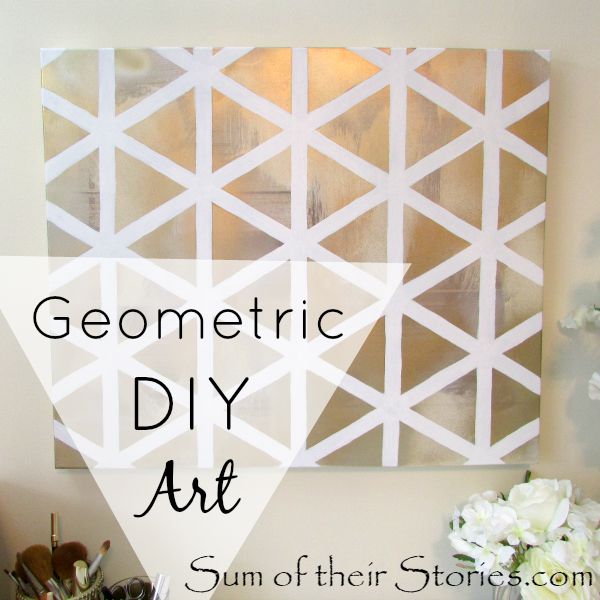
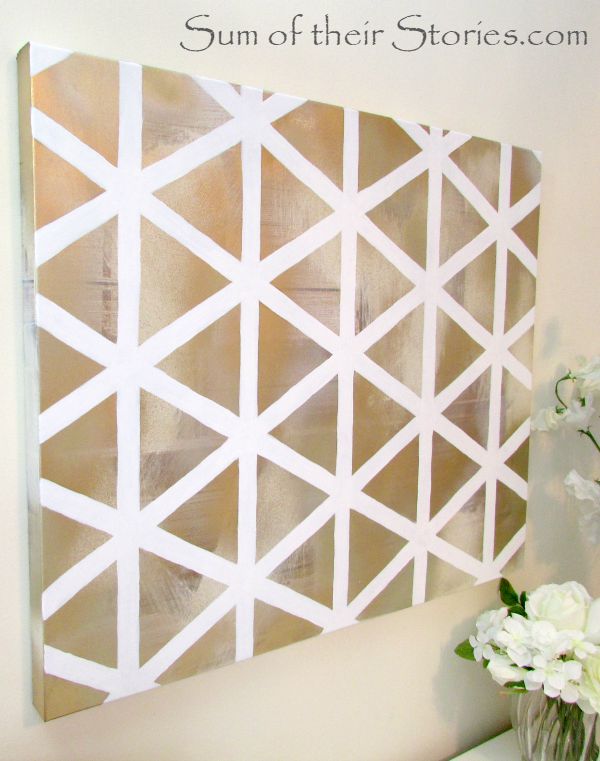
The white paint needed two coats, and this is my finished result.
I like it enough to have it hanging on the wall but I don't LOVE it as much as I'd hoped I would. Either the lines are just too thick or the canvas is just not quite big enough.
I might try again at a future point with another variation on this idea, I'm keeping my eyes open in Charity Shops for a suitable canvas. For now art hangs where previously there was just plain wall so that's an improvement!
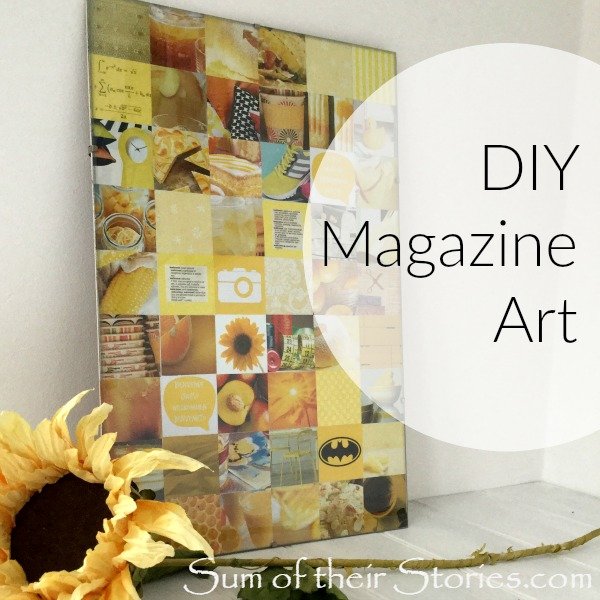
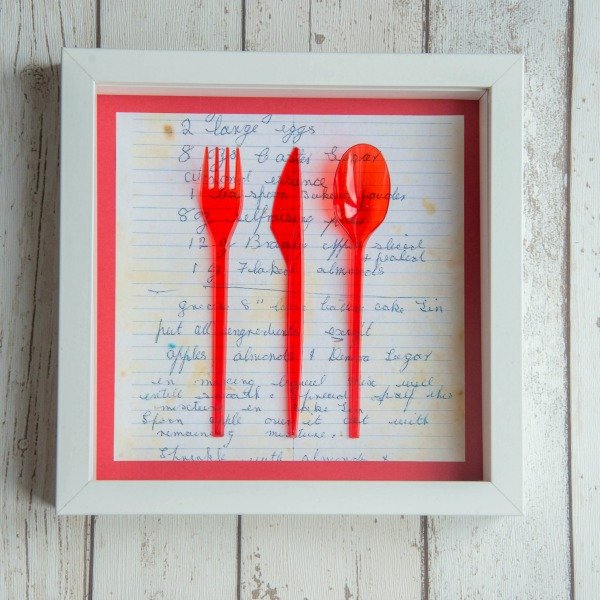
I’ve made a few other simple art pieces which you might also like to check out for inspiration.
Julie
I'll be linking up this project at all these lovely link parties, pop over for a look at loads of projects from other blogs.


