Embroidered Shirt Refashion
/Embroidery embellishment on clothing seems to be everywhere in the shops right now and it's easy to create a little of this look at home.
One of the trends that is all over the place at the moment is floral embroidery on clothes. I keep seeing it in every shop window I walk past, it was even mentioned at the CHSI stitches show a few weeks ago as a big fashion thing. Some trends come along and stay for ages, others are in and out again before you know it. I'm no great fashion expert and I don't want to spend lots of money on something that is "here today, gone tomorrow" so I thought a DIY nod to this embroidered fashion trend might be in order.
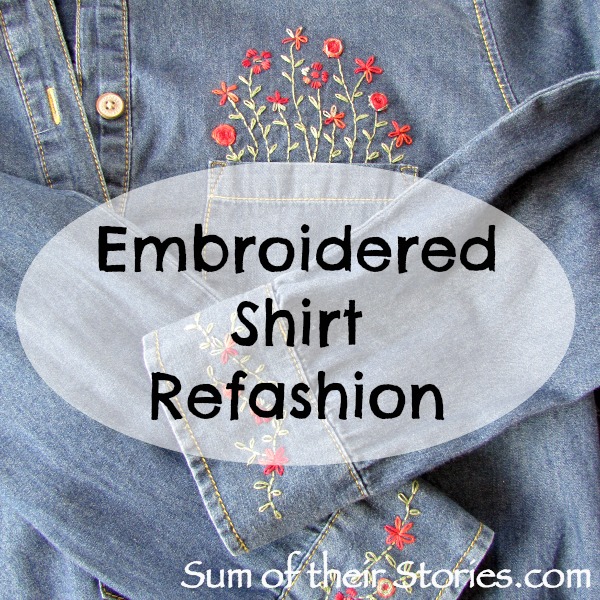
I've had this old denim shirt for a few years now, it's soft and comfy and goes with loads of things.
A couple of evenings and some pretty simple stitching later and it has a new lease of life.
I love the red embroidery thread on the denim but you could try this idea on any colour or fabric shirt.
I used the DMC magic sheet that was in my goodie bag from the CHSI stitches show to transfer my design to the fabric. I like how it makes the fabric stiffer so an embroidery hoop is not really needed (at least I didn't use one and it turned out fine) The transfer paper is optional, you can draw straight onto the fabric, but it does firm up the fabric and make the design easier to see.
To create a similar refashion you need:
A shirt - with a pocket if you want this "flowers in the pocket" effect
Embroidery threads, mine was DMC coloris 4517 for the flowers and DMC 522 for the green stems and leaves
Embroidery Transfer Magic Sheet by DMC or similar, or a water erasable fabric marker pen. I’ve tried a few different erasable pens over the years and these little ones from Leonis are my current favourites.
Sharp embroidery needle and scissors
Start by drawing a simple design on scrap paper until you are happy with it. Or you can copy mine here, it's not precisely what I ended up with on the shirt, but it gives a rough idea.
Now transfer your design onto the magic transfer paper if using. I used a pale blue pen which was probably a mistake as a darker colour would be easier to see. I'm afraid I was being lazy and just grabbed what was to hand. If you don’t have access to the transfer paper you can draw straight onto your fabric with an erasable pen. It’ll just be a little more difficult to see on a dark fabric like this denim.
If you don’t have any of the magic transfer paper you could try the window method, you can find more details on how here - How to transfer an embroidery design onto fabric - tracing the design with your erasable pen.
To put the design onto the fabric you just cut it out, peel off the backing then press it down firmly.
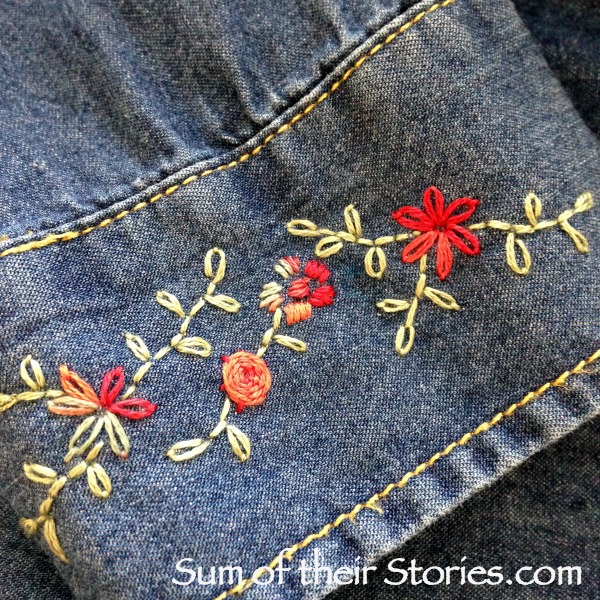
Now you just stitch your design using 2 strands of the embroidery thread. I did all the green stems and leaves first using back stitch for the stems and lazy daisy stitches for the leaves.
I used the DMC coloris thread, again with 2 strands, for the flowers and did a mix of lazy daisy stitches, simple straight stitches and some woven wheel stitch. My nan taught me these years ago and I was reminded of them just the other week by this great tutorial from Tea and a Sewing Machine. I’ve got a guide to a few basic embroidery stitches too if you need a little help.
Because the DMC coloris thread changes colour as you go it gives different shades to the flowers without you having to change anything.
The magic sheet transfer paper is pretty cool, I have no idea what it's made off but when your embroidery is all done you can just run it under the tap and in seconds the paper just turns to a kind of jelly and then vanishes.
You could embroider onto your shirt without using a transfer paper like this, just draw the design straight on with a water or air erasable pen. It would be a little more difficult to see pen on dark denim and you would miss out on the fact the transfer paper makes the fabric stiff so no embroidery hoop is needed.
I confess I started my embroidery threads with knots, normally a bit of a no no for embroidery but on the weighty denim I think I got away with it.
I added a little embroidery to the cuffs too, in exactly the same way as the pocket detail.
Dry your garment, if it needs ironing do it on the wrong side with a fluffy towel underneath so you are not squashing all your lovely stitches and the wear your embroidered embellished top with the joy of knowing no one else has one exactly the same.
You can go wild and add more or tone it down and add less. that's the beauty of doing it yourself! I can imagine a little on the collar, or maybe actually on the pocket instead of peeking out.
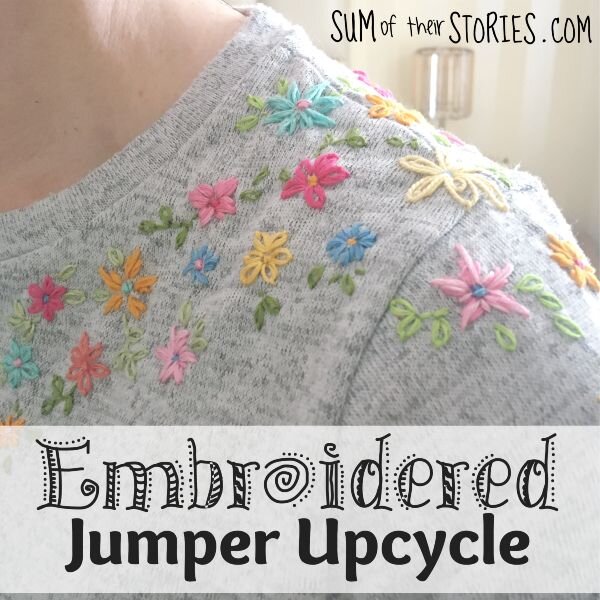
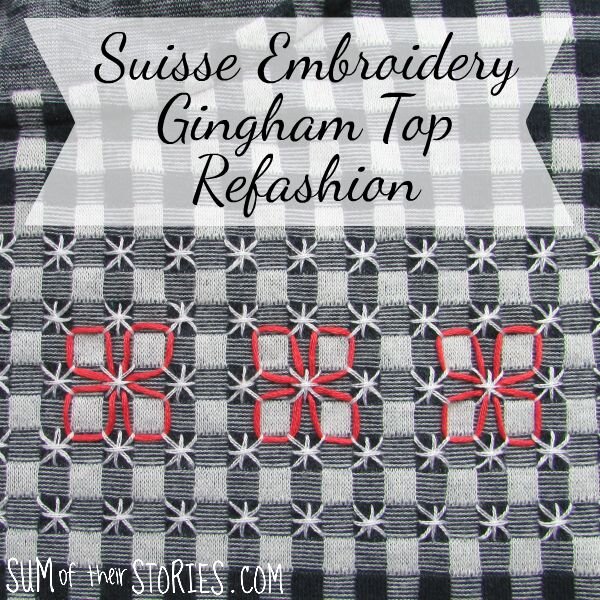
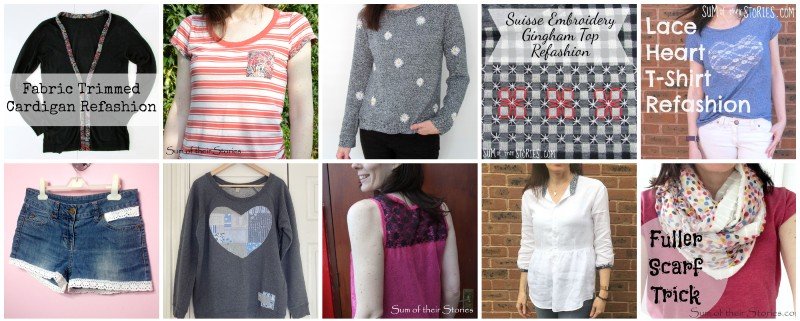
I’ve got a few ideas here on the blog for embroidering on clothes now, you might like to check these out too:
You’ll find all my clothes refashioning ideas at the bottom of the Sewing and Embroidery page, just scroll to the bottom to find all the links.
I'll be linking up at these great link parties


