Stitched Cushion Cover
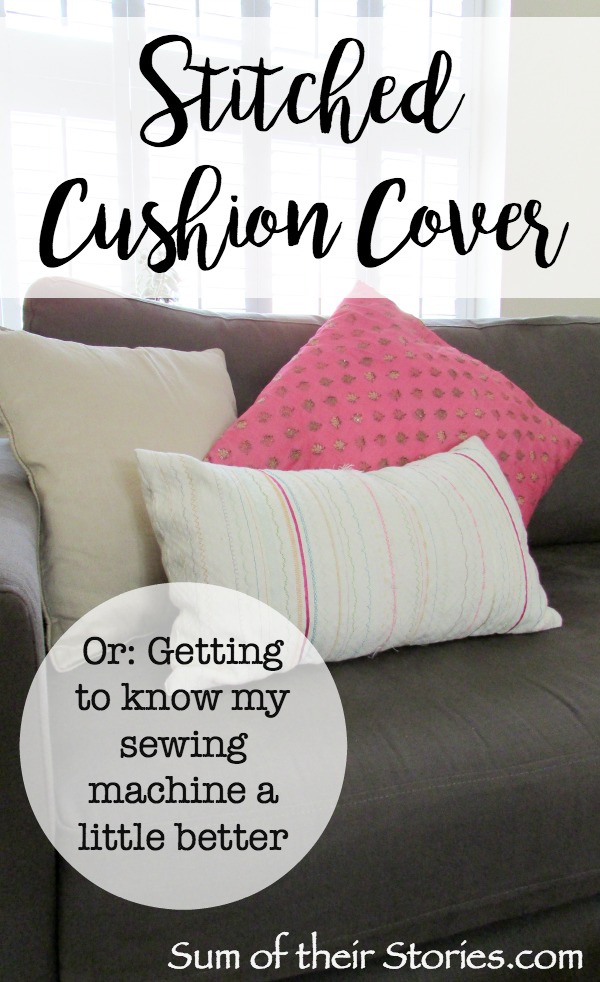
/A simple stitched Cushion Cover, or the snappily titled "Getting to Know my Sewing Machine a little better" Cushion Cover!
I had a lovely new sewing machine for my birthday last year. It's a Janome 525s which is a fairly basic one, nothing too complicated, but with a few fancy extras and a selection of decorative stitches which I was just not using at all.
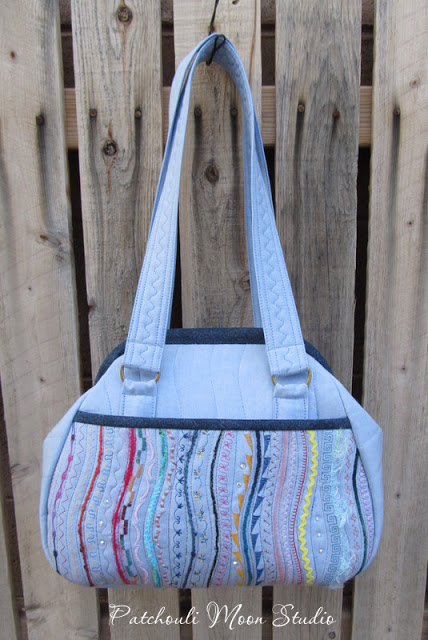
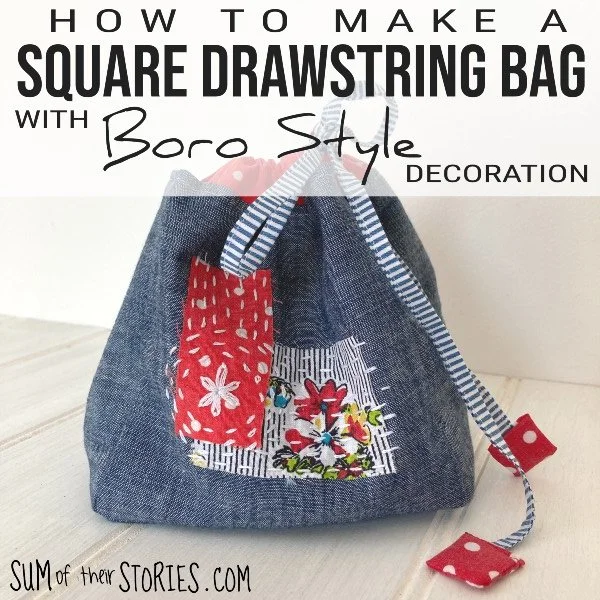
I saw this beautiful bag and felt inspired. It's a guest post from Patchouli Moon Studio on Handmade by Mrs H.
It's such a gorgeous fabric embellishment technique, I knew I'd need to try it out and get to know my machine a little better.
Quite a few months passed, but now I've finally been able to spend a little quality time with my machine and find out how it's pretty stitches actually turn out.
My version turned out really quite different to the original inspiration but that is often the way.
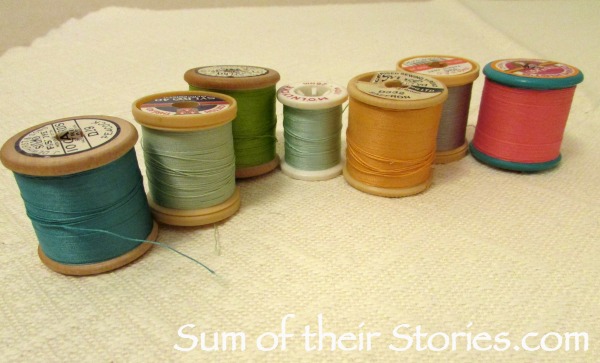
You need fabric, sewing thread in various colours and some yarn, lace or other haberdashery trimmings as take your fancy. Some of these threads have been in my sewing box for quite a long time, they don't make wooden reels anymore do they?
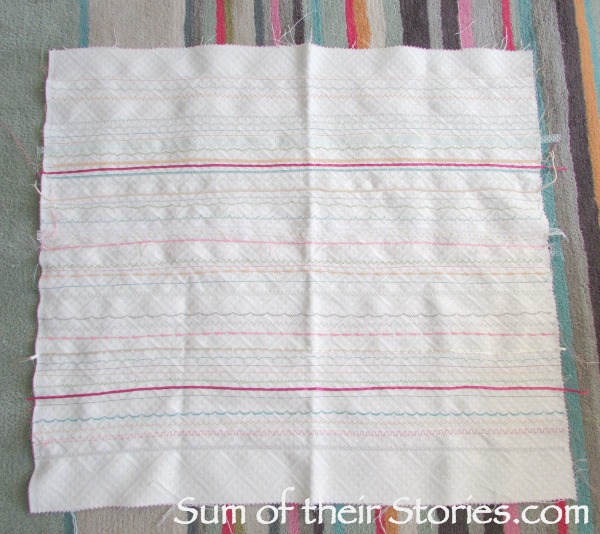
I took a piece of textured cream fabric that was 53cm(21") x 61cm(24"). It was already in my stash but you could use a different size if you like. You could even use a ready made cover but you would need to unpick the side seams in order to be able to embellish the fabric with your sewing machine.
This is a shocking photo, I'm not even sure why I've included it. I'm pretty sure you all know what a piece of fabric folded in half looks like! It gets dark here pretty early this time of year so most of my chance to make things is in artificial light - that's my excuse and I'm sticking to it!
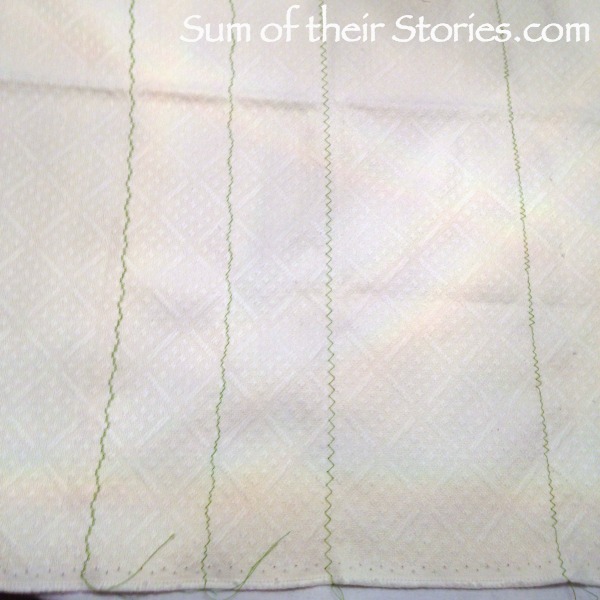
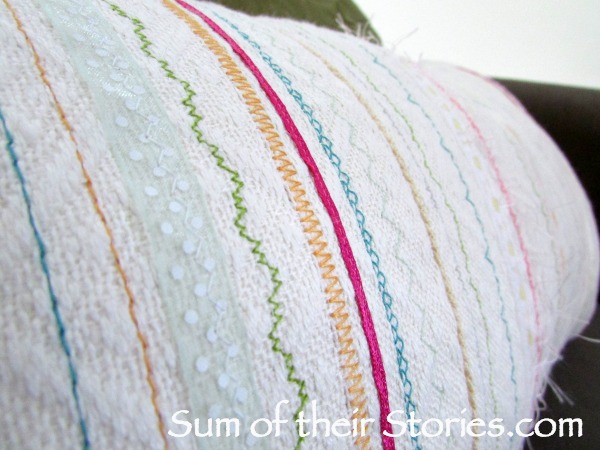
My fabric has a slight woven pattern in it so I found myself stitching in straight lines, following the pattern in the fabric, instead of the wavy lines in the inspiration bag. That just happened so I went with it.
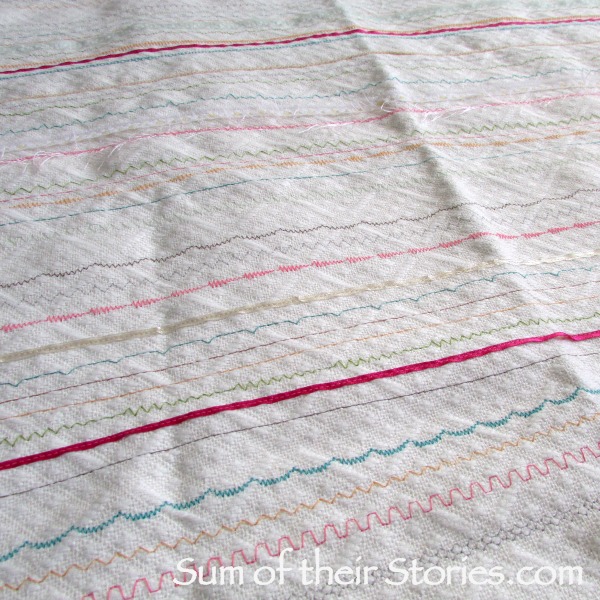
It's really easy, you just pick a decorative stitch on the sewing machine and stitch a line across your fabric.
Then pick another stitch you'd like to try and stitch another line. Try different widths and stitch lengths as takes your fancy.
Keep going until one of two things happen. A) You think that's enough of that colour or B) you run out!
Then thread up your machine with a new colour and repeat as much as you like.
I also added a few lines of lace, eyelash yarn and other haberdashery trims that were in my sewing box. Just stitch over them. The tutorial on Handmade by Mrs H has lots more detail and tips about doing this if you need help.
I just stopped when I thought it was enough. You could add more or less or the same, more texture or less, whatever you think looks best.
I laid it on our living room rug here to explain my colour choices of thread and ribbons.
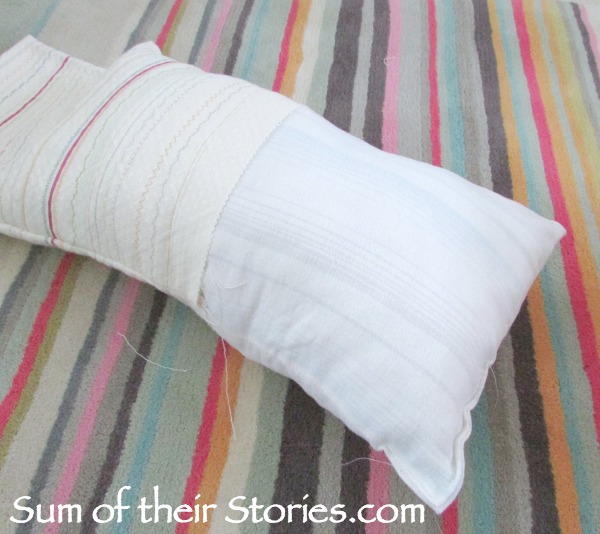
To turn this piece of fabric into a cushion cover simply fold it in half right sides together and stitch along the long side and one short side. Turn it out, slip a cushion pad inside and slip stitch the remaining short side.
My cushion did not turn out standard cushion pad size - I didn't think that far ahead when decorating my pieces of fabric - so I just made one from an old pillow case and stuffed it with the insides of 2 old and slightly flattened cushions, fluffing the stuffing up as I went.
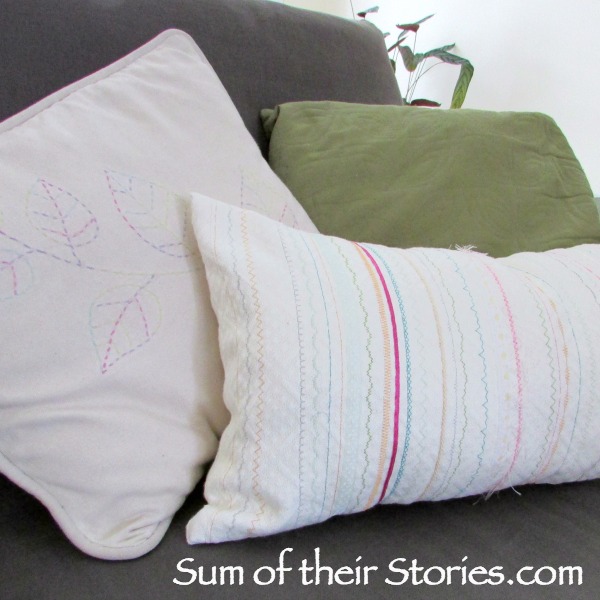
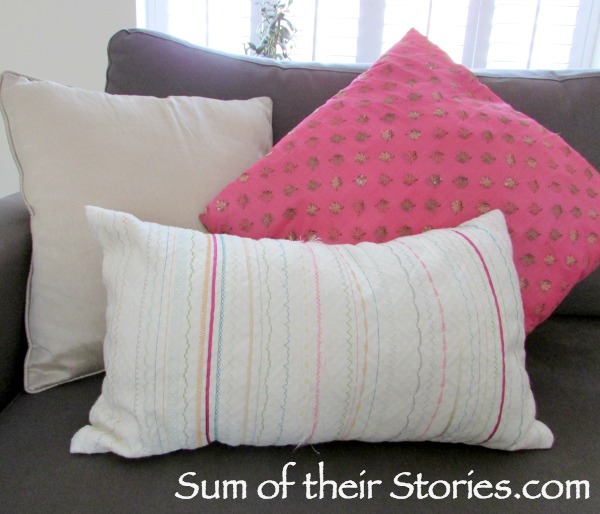
It looks pretty along side the running stitch embroidered cushion I made a while back.
Your cushion cover could be any size or shape you like. Mine is only a bolster shape because that's the fabric I had. I do have a bit of a thing about there being pattern on both sides though. I don't even like clothes when it's all fancy smancy on the front and plain on the back, I feel so cheated. I like to look just as nice as I walk away!
I realise that may just be me, so you could easily decorate just one side of a cushion cover if you prefer.
My sewing machine and I were on good terms before this, she has been in my life for 8 months now, but I feel this project has given us a much greater understanding of one another. We are closer than ever... well, at least know I know how to do decorative stitches if I need them again.
I'll be linking up at these great link parties


