Tray Desk Tidy Tutorial
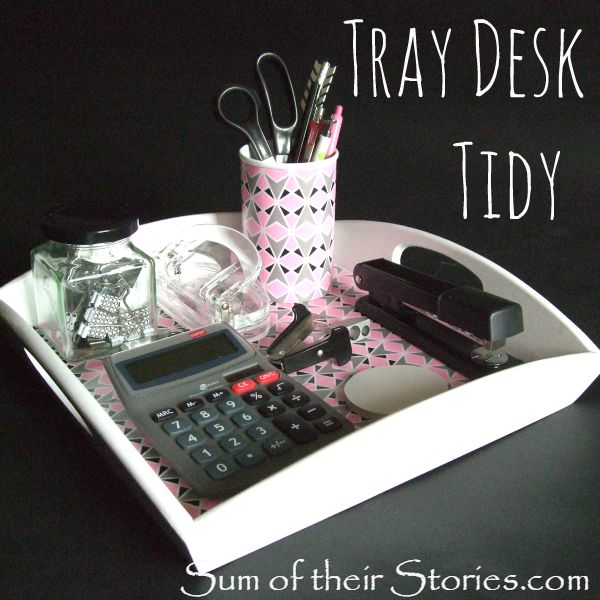
/This is a project that I originally shared over at the Pinning Mama in January. It's something I use everyday so I thought it was high time I shared it here with a little "how it looks now" update.
When I'm not here, doing this blogging malarky, or doing family things, I work in an office doing spreadsheets, pulling database reports and other admin type stuff. Last Autumn I moved desks so I wanted something to both beautify my new area and help keep all my bits and pieces together. You know the idea, a place for everything and everything in it's place - well I can try...
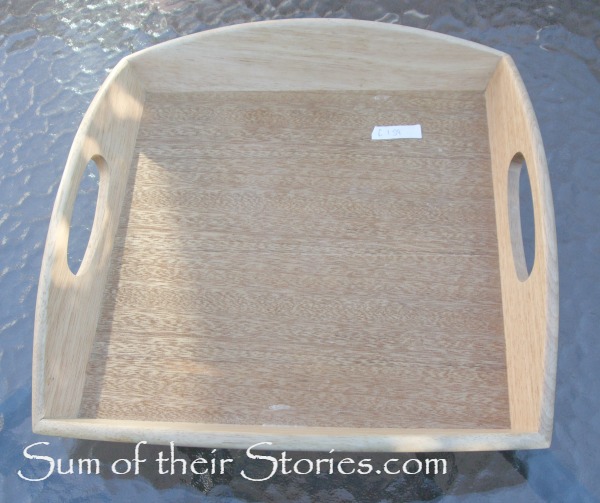
I found this fab wooden tray in the Charity shop for £1.59 - oddly priced but I am not one to argue so I snapped it up.
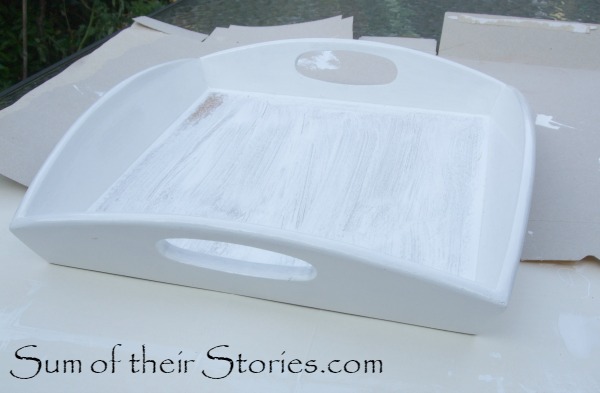
I gave it two coats of white gloss paint. I think spray paint would be great for this but I was having some problems with the spray paint I had, so gloss and a paint brush did the job.
As you can see I did give the base a quick coat but then remembered I was covering that with paper so it was completely unnecessary! The gloss gave it a lovely shine look and is pretty hard wearing so all is well.
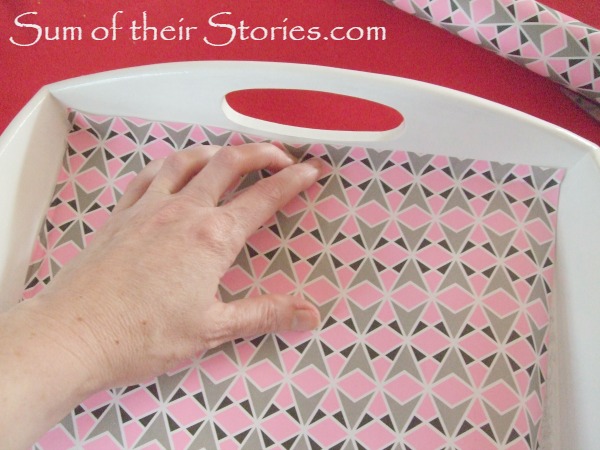
Next I measured and cut some patterned paper roughly to the size of the tray base.
This paper is the same that I used for some of the Speech Bubble Cards I made ages ago.
I'd done that thing when you buy something lovely then think it's too nice to use so it just sits in a cupboard, now I know I can't be the only one who does that!
Anyway, I digress! I just used my finger nail to push it right into the edge and crease the paper to exactly the right size.
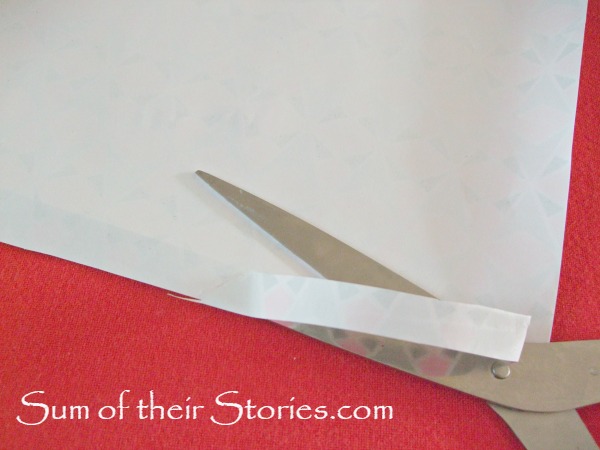
Then I turned it over and cut along the creases.
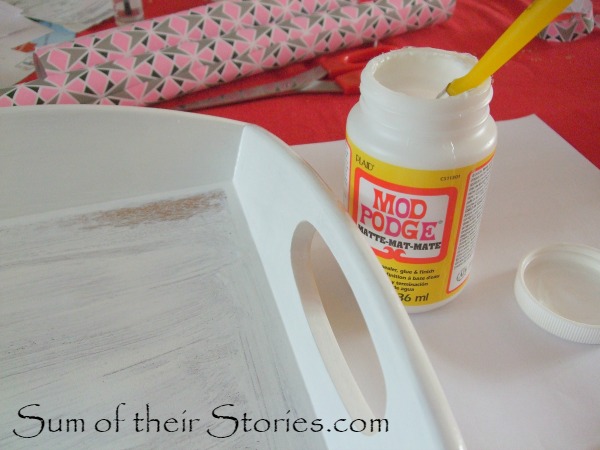
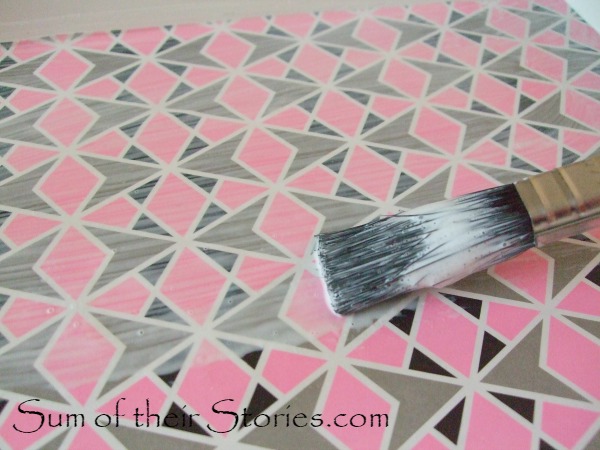
Next I Mod Podged all over the base of the tray (no photo - I did take one but you couldn't see it on the streaky paint!) Then carefully glued the paper on, smoothing any bubbles and creases.
I let that dry, then gave it 2 coats of Mod Podge over the top.
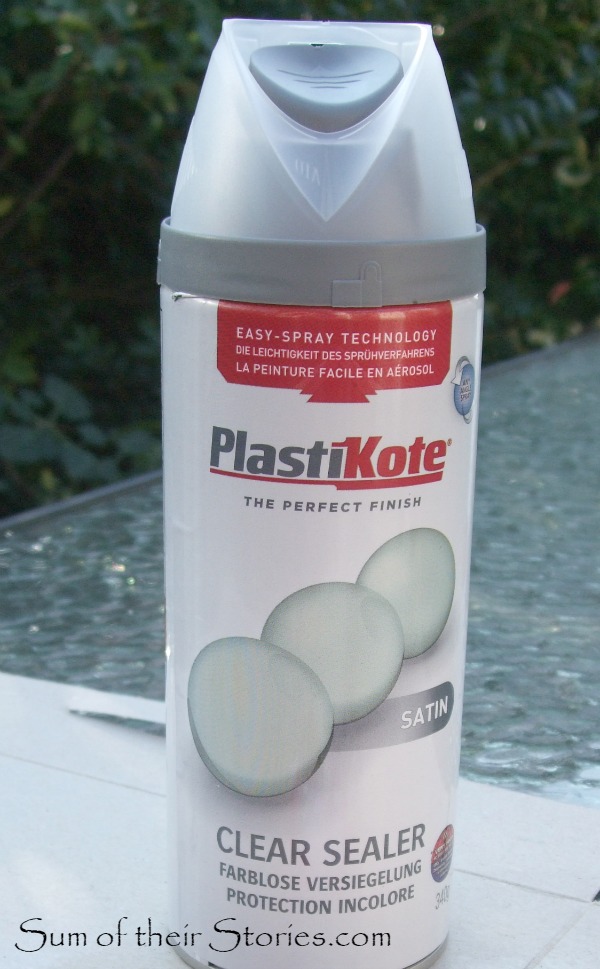
Lastly, just to make it super hard wearing, I gave it 2 coats of clear sealer spray.
This stuff stinks to high heaven so I highly recommend doing this outside!
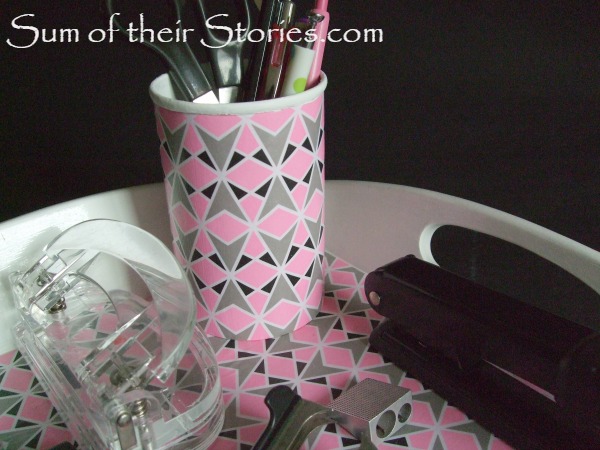
I made a little pen pot to match, just like I did here from an empty gravy granules tub.
How organised is that!
So to summarise, to make something similar you need:
A wooden tray
Paint
Wrapping paper (not too filmsy)
Mod Podge
Clear Spray Sealer (optional but advised)
Now finally a little confession. Those photos are showing a few desk items, tastefully chosen to match with the paper.
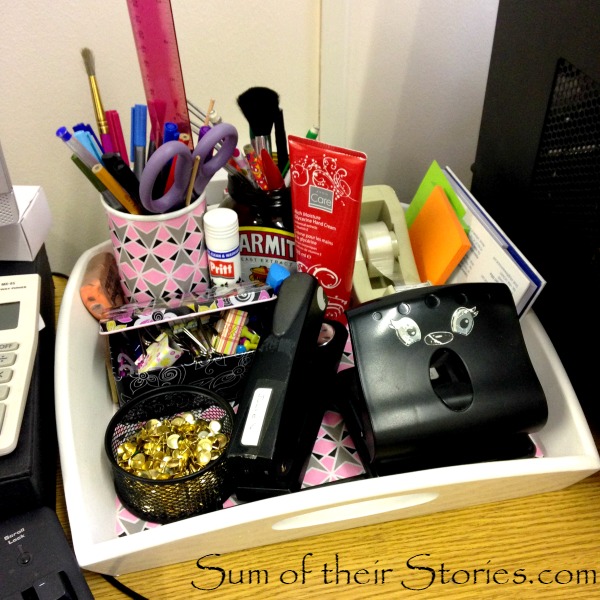
I've been using this in real life for just over a year now and this is the slightly less tastefully arranged reality.
Hummm, I think I may need to make another in my elusive quest for tidiness!
The good news though is that it remains undamaged. The layers of Mod Podge and sealant are doing their job. I throw my stapler (yes - that is my name taped to the top, what a cliché!), calculator and all sorts of other bits onto it every evening as I pack up and not a scratch, rip or dent. I just need to give it a bit of a sort out.....
Julie
I'll be linking up this project at all these lovely link parties


